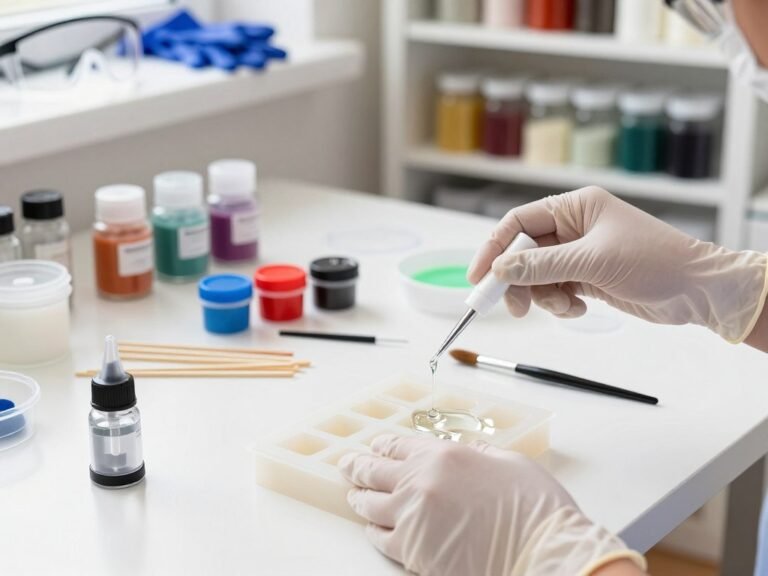

Did you know that over 60% of beginners waste their first batch of epoxy due to improper preparation? Starting a new hobby should be an exciting experience, not a frustrating one. Proper planning is the secret to achieving professional results from your very first pour.
Having the right supplies is vital to your success. Our guide helps you navigate the necessary items to ensure your projects turn out perfectly every time. By using this complete tools materials checklist for resin work, you can save both money and time while avoiding common pitfalls.
Focusing on high-quality resin work essentials allows you to build a reliable foundation for your craft. Following a structured resin project checklist ensures you never miss a critical step during your creative process. Let us help you turn your artistic vision into a stunning reality.
Key Takeaways
- Proper preparation prevents wasted supplies and costly mistakes.
- Investing in quality basics leads to more professional outcomes.
- A structured guide helps beginners stay organized during projects.
- Avoid unnecessary expenses by gathering only what you truly need.
- Enjoy a smoother crafting journey by following a proven plan.
Understanding the Basics of Resin Crafting
Resin crafting is a fascinating blend of art and science that anyone can master with the right knowledge. By learning how these materials interact, you can turn simple liquids into beautiful, solid works of art. Starting with a clear understanding of the process helps you avoid common mistakes and builds your confidence as a creator.
The Chemistry Behind Epoxy Resin
At its core, epoxy resin is a two-part system consisting of a resin and a hardener. When you mix these two components in the correct ratio, a chemical reaction occurs that transforms the liquid into a durable, solid plastic. This process is known as polymerization, and it is the secret behind every successful pour.
If the ratio is slightly off, or if the components are not mixed thoroughly, you may end up with sticky spots or a piece that never fully cures. Patience is key during the mixing phase, as thorough blending ensures the molecules bond correctly. Always follow the manufacturer’s instructions to ensure your project hardens into a smooth, professional finish.
Types of Resin Projects for Beginners
Choosing the right project is essential for building your skills without feeling overwhelmed. Beginners often find success by starting with small, manageable items that require less resin and shorter curing times. As you gain experience, you can move on to more complex designs that involve multiple layers or intricate inclusions.
The following table outlines some of the best entry-level projects to help you get started on your creative journey:
| Project Type | Difficulty Level | Estimated Curing Time | Primary Benefit |
|---|---|---|---|
| Resin Coasters | Beginner | 24 Hours | Practical and functional |
| Pendant Jewelry | Beginner | 12-24 Hours | Uses minimal materials |
| Keychains | Beginner | 12 Hours | Great for practicing molds |
| Decorative Trays | Intermediate | 24-48 Hours | Allows for artistic layering |
Starting with simple items like coasters or keychains allows you to focus on your technique rather than worrying about large-scale failures. Focusing on small wins will help you develop the steady hand and technical knowledge needed for larger, more ambitious projects in the future.
The Complete Tools Materials Checklist for Resin Work
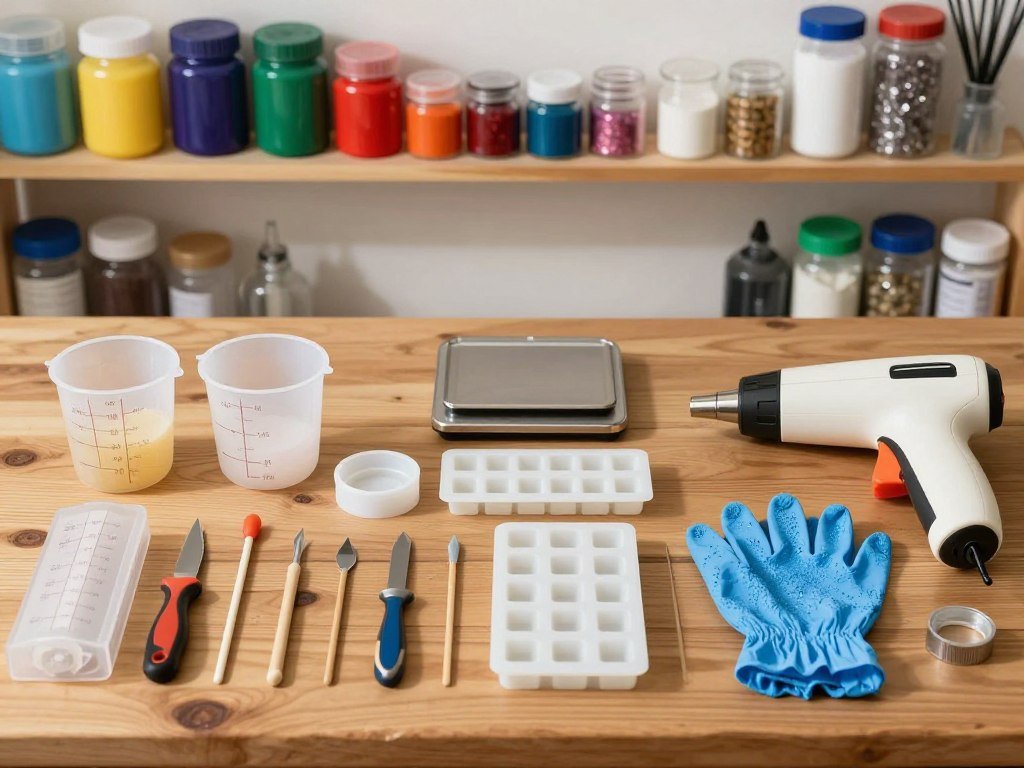
Creating a reliable resin work supplies checklist is the secret to a smooth creative process. When you have everything organized, you can focus entirely on your artistic vision rather than hunting for missing items. This complete tools materials checklist for resin work serves as your roadmap to building a functional and efficient studio.
Categorizing Your Resin Art Supplies List
To keep your workspace tidy, it helps to group your resin art supplies list by the specific stage of the project. Start by separating items into categories like measuring, mixing, casting, and finishing. This systematic approach prevents clutter and ensures you always have the right tool within reach.
You might consider using labeled bins or drawers for each category. Keeping your pigments separate from your safety gear, for example, helps maintain a clean and professional environment. Organization is truly the foundation of great resin art.
Essential vs. Optional Resin Crafting Tools
Not every item on the market is a requirement for your first project. We distinguish between essential resin crafting tools that are non-negotiable and optional upgrades that improve your workflow. Beginners should prioritize safety and precision tools before investing in advanced machinery.
The following table provides a clear breakdown of what you need to get started versus what you can add later as your skills grow.
| Category | Essential Item | Optional Upgrade |
|---|---|---|
| Safety | Nitrile Gloves | Full-Face Respirator |
| Measuring | Digital Scale | Precision Pipettes |
| Mixing | Silicone Cups | Electric Mixer |
| Finishing | Sanding Paper | Rotary Tool |
By using this resin supplies checklist, you can systematically build your studio without feeling overwhelmed. Start with the basics, master your technique, and slowly introduce new tools as your budget allows. This steady approach ensures you remain confident and inspired throughout your creative journey.
Selecting the Right Epoxy Resin for Your Project
Your project’s success depends heavily on selecting the specific resin formula designed for your goals. Using the wrong product can lead to frustrating results, such as sticky surfaces or cloudy finishes. Taking a moment to understand your options will save you time and materials in the long run.
Comparing Casting Resin vs. Coating Resin
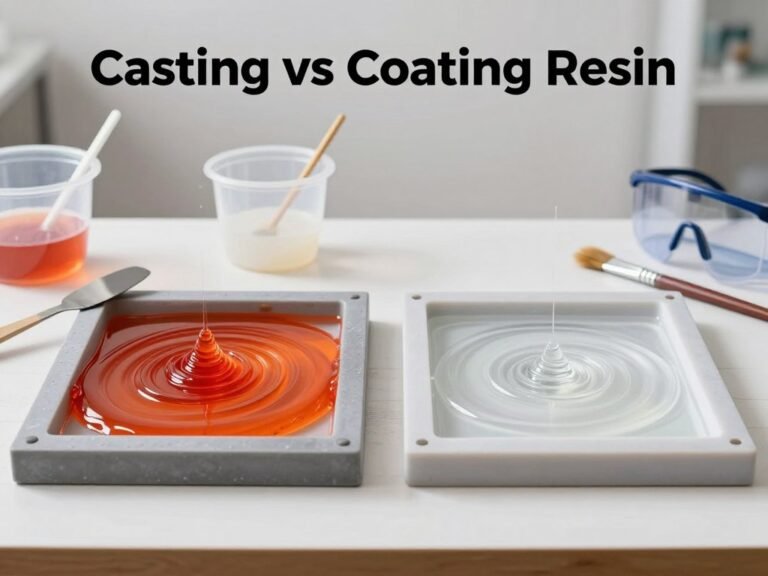
It is vital to distinguish between casting and coating resins, as they serve very different purposes. Casting resin is specifically formulated to cure clear and durable within molds. It has a lower viscosity, which allows it to flow into intricate details and release trapped air bubbles with ease.
In contrast, coating resin is designed to create a thin, protective layer over surfaces like paintings or tabletops. If you attempt to use a coating resin inside a deep mold, you will likely encounter significant issues. These formulas often trap microbubbles and may lack the structural integrity needed for thick, solid pieces.
Factors to Consider When Buying Resin Supplies
When shopping for your supplies, you should always evaluate the viscosity of the liquid. A thinner resin is perfect for detailed molds, while a thicker resin works better for doming or coating projects. Always check the manufacturer’s label to ensure the product matches your specific needs.
Another critical factor is the cure time of the resin. Some projects require a fast-setting formula for quick results, while others benefit from a slower cure that allows more time for bubble removal. Consider the intended use of your finished piece, as items meant for heavy wear or outdoor exposure may require specialized, UV-resistant formulas.
Essential Measuring and Mixing Equipment
Precision is the secret ingredient that separates amateur resin crafts from professional-grade masterpieces. When you work with chemical components, accuracy is non-negotiable. Using the right epoxy resin tools and materials ensures that your mixture cures perfectly every single time.
Inaccurate ratios are the most common cause of sticky, uncured resin that ruins beautiful projects. By investing in high-quality measuring gear, you protect your hard work and save money on wasted supplies. Taking the time to measure correctly is a small step that yields massive results.

Digital Scales for Accurate Ratios
Many professional artists prefer digital scales because they offer the highest level of precision. Unlike volume-based measuring, weight-based measurement is not affected by air bubbles or meniscus curves in your cup. A reliable digital scale allows you to measure your resin and hardener by weight, which is often the most accurate method recommended by manufacturers.
When shopping for these epoxy resin tools and materials, look for a scale that features a “tare” function. This allows you to reset the weight to zero after placing your empty mixing container on the platform. Consistency is the key to success, and a digital scale provides the exact data you need to avoid sticky, soft spots in your finished castings.
Graduated Silicone Cups and Measuring Pitchers
If you prefer measuring by volume, graduated silicone cups are an essential addition to your workspace. These cups feature clear, molded-in markings that make it easy to read the ratio of resin to hardener. Because they are made of silicone, cured resin peels right off, making them environmentally friendly and cost-effective.
Always ensure your cups are placed on a perfectly level surface before you begin pouring. Even a slight tilt can lead to an incorrect ratio, which prevents the chemical reaction from completing properly. Using these specialized tools helps you maintain a clean, efficient, and professional workflow throughout your creative process.
Must-Have Mixing Containers and Stirring Tools
High-quality resin crafting tools are the secret to achieving a bubble-free and perfectly cured finish. When you prepare your workspace, selecting the right vessels and stirrers ensures that your chemical ratios remain precise. Consistency is key to avoiding sticky spots or soft patches in your finished art.
Choosing Between Reusable and Disposable Mixing Vessels
Deciding between reusable and disposable containers often comes down to your personal budget and environmental goals. Disposable paper or plastic cups are convenient for quick projects, as you can simply toss them away once the resin hardens. However, they can create significant waste over time.
Reusable silicone containers are a fantastic investment for frequent creators. These resin crafting tools are flexible, allowing you to pop out cured resin remnants with ease. Because they are durable and easy to clean, they provide a more sustainable solution for your studio.
Selecting the Best Stirring Sticks and Spatulas
Thorough mixing is vital to ensure your resin cures properly. Using high-quality stir paddles allows you to scrape the sides and bottom of your container effectively for a perfect blend. Plastic stir paddles are particularly strong and can be wiped clean for reuse, making them a staple in any professional kit.
Avoid using wooden sticks if you want to minimize air bubbles, as they can introduce trapped air into your mixture. Instead, opt for silicone spatulas or flat plastic tools that glide smoothly through the liquid. These resin crafting tools help you maintain control and precision during every pour.
| Tool Type | Best For | Durability | Cleanup |
|---|---|---|---|
| Silicone Cups | Large batches | High | Easy (peel off) |
| Paper Cups | Small, quick pours | Low | None (disposable) |
| Plastic Paddles | Thorough mixing | High | Wipe clean |
| Silicone Spatulas | Scraping edges | High | Washable |
Silicone Molds and Casting Accessories
Every successful project begins with selecting the perfect mold from your resin casting materials list. These tools serve as the foundation for your art, dictating the final shape and surface finish of your cured pieces. Investing in high-quality silicone ensures that your work looks professional and remains consistent across multiple pours.
Types of Silicone Molds for Resin Casting
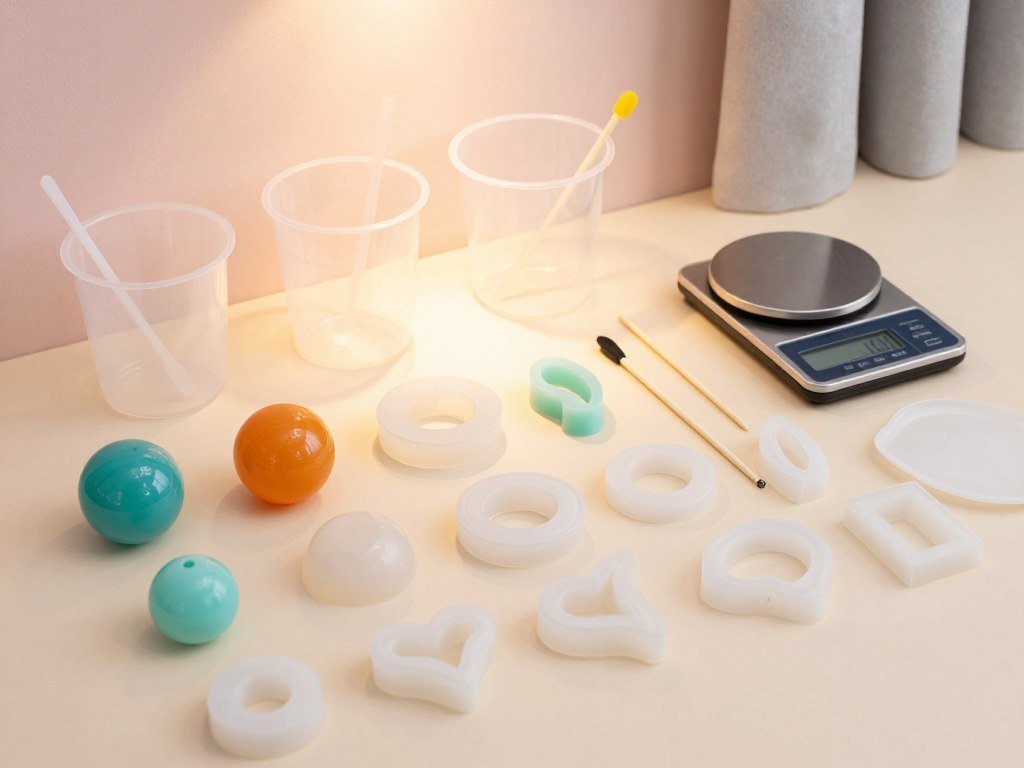
Silicone molds come in a wide variety of shapes and sizes to suit different artistic needs. Open-faced molds are perfect for beginners, as they allow for easy pouring and simple decorative additions. These are commonly used for coasters, jewelry pendants, and small trinkets.
For more advanced projects, you might choose complex, 3D silicone molds. These designs often require careful pouring to ensure the resin reaches every intricate detail without trapping air bubbles. Whether you prefer geometric shapes or organic forms, your resin casting materials list should reflect the specific style of art you intend to create.
| Mold Type | Best For | Difficulty Level |
|---|---|---|
| Open-Faced | Coasters, Trays | Beginner |
| 3D/Complex | Figurines, Spheres | Intermediate |
| Flexible Sheets | Jewelry, Charms | Beginner |
Mold Release Sprays and Conditioners
Maintaining your equipment is just as important as the casting process itself. Using a high-quality mold release spray is a critical step in your resin casting materials list. This product creates a thin barrier between the resin and the silicone, which makes demolding effortless and prevents the resin from bonding permanently to the mold.
Regular application of a conditioner also helps to prolong the life of your silicone. It prevents micro-tears and warping that can occur over time with frequent use. By protecting your molds, you ensure that your favorite shapes remain in perfect condition for many future projects.
Surface Preparation and Workstation Protection
A clean and level workspace is the secret to professional-looking resin art. Preparing your area properly prevents accidental damage to your furniture and ensures your projects turn out exactly as planned. Taking the time to set up correctly saves you from frustration later.
Silicone Mats and Protective Table Covers
Resin is notoriously sticky and can be nearly impossible to remove from wood or plastic surfaces once it cures. Using the right protective barrier is essential for a stress-free crafting experience.
We recommend using high-quality silicone mats because they are durable and heat-resistant. If you are on a budget, waxy surfaces like freezer paper also work well for smaller projects.
- Silicone Mats: These are reusable and allow cured resin to peel off easily.
- Freezer Paper: An affordable, disposable option for messy pours.
- Plastic Drop Cloths: Great for covering larger areas to prevent drips.
“Proper preparation is the foundation of every successful project. If you fail to protect your workspace, you are essentially planning for a difficult cleanup.”
Leveling Your Workspace for Even Curing
A perfectly level surface is a non-negotiable requirement for resin casting. If your table is tilted, the resin will naturally flow toward the lowest point, causing uneven thickness and potential pooling in your molds.
You can easily check your workspace using a simple bubble level tool. If you find that your table is not flat, use shims or small pieces of cardboard to adjust the legs until the bubble sits perfectly in the center.
Consistent leveling ensures that your resin cures with a uniform finish across the entire piece. This small adjustment prevents distorted designs and ensures that your final product looks professional and polished.
Pigments, Dyes, and Decorative Inclusions
Your resin art supplies list is incomplete without a selection of pigments and decorative elements. These additives allow you to transform a simple, clear pour into a vibrant and unique masterpiece. Choosing the right materials ensures that your creative vision comes to life exactly as you imagined.
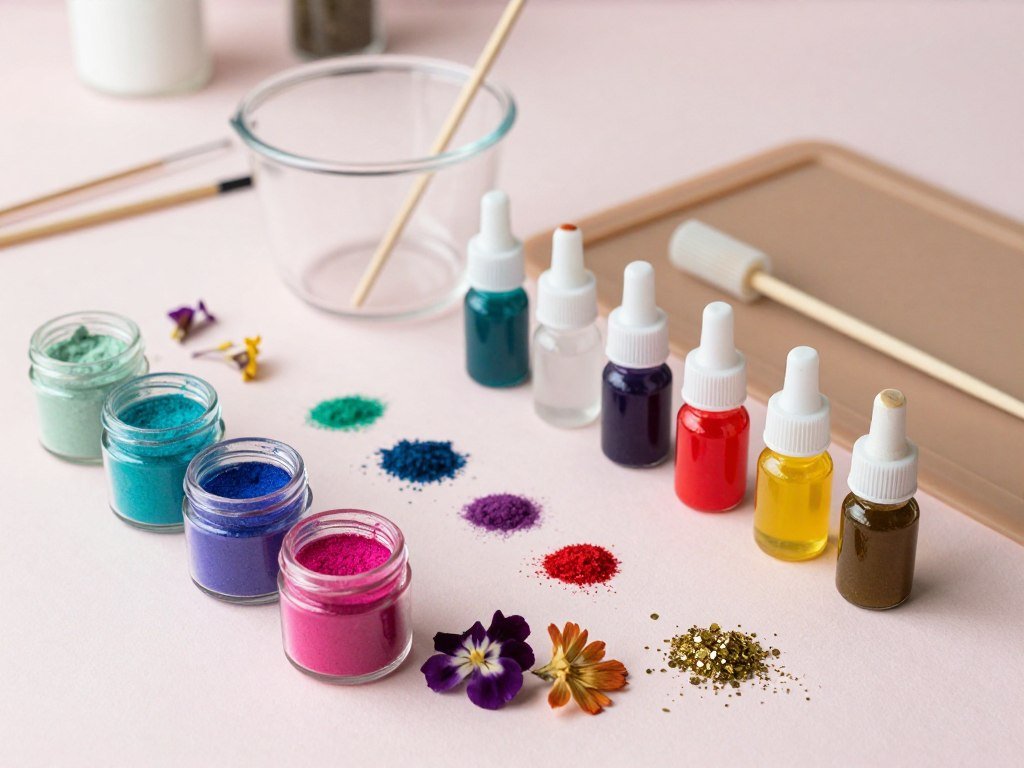
Liquid Dyes vs. Mica Powders
When you want to add color, you generally choose between liquid dyes and mica powders. Liquid dyes are highly concentrated and typically offer a transparent or translucent finish. They are perfect for creating stained-glass effects in your resin projects.
In contrast, mica powders provide a shimmering, opaque, or metallic finish. These fine mineral powders create beautiful swirls and depth within the resin. Consider the following comparison to help refine your resin art supplies list:
| Additive Type | Finish | Best Use |
|---|---|---|
| Liquid Dye | Transparent | Jewelry and stained glass |
| Mica Powder | Opaque/Shimmer | Geode art and coasters |
| Alcohol Ink | Transparent | Petri dish effects |
Adding Glitter, Dried Flowers, and Metal Leaf
Incorporating physical inclusions like glitter, dried flowers, and metal leaf adds wonderful texture to your work. However, you must handle these items with care to avoid common issues. Always ensure that organic materials, such as flowers, are completely dried before use to prevent rot or mold inside the cured resin.
To keep your project looking professional, follow these tips for adding inclusions:
- Seal your flowers: Use a thin layer of spray sealer on dried flowers to prevent them from absorbing resin and turning translucent.
- Control the bubbles: Sprinkle glitter slowly and stir gently to avoid trapping air pockets.
- Placement matters: Use tweezers to position metal leaf carefully, as it is extremely lightweight and can easily drift during the pour.
By carefully selecting your additives, you ensure that your resin art supplies list supports both your aesthetic goals and the structural integrity of your final piece. Proper preparation of these decorative elements will help you achieve a flawless, bubble-free finish every time.
Precision Tools for Finishing and Detailing
Transforming a raw resin casting into a professional-grade piece requires a few essential finishing tools. While the pouring process is creative, the finishing stage is where your project truly comes to life. By investing in the right equipment, you can easily turn amateur crafts into high-quality, polished art pieces.
Sanding Blocks and Polishing Compounds
After your resin has cured, you will often find sharp edges or minor imperfections that need attention. Sanding blocks are your best friend for smoothing out these rough spots. Start with a coarser grit to remove excess material, then move to a finer grit to prepare the surface for a high-gloss shine.
Once the surface is smooth, apply a polishing compound to restore that signature glass-like clarity. Using a soft cloth or a buffing pad, work the compound into the resin in circular motions. This simple step effectively removes tiny scratches and leaves your work looking crystal clear and professional.
Hand Drills and Dremel Rotary Tools
If you are creating jewelry or decorative items, you will eventually need to add holes for findings or jump rings. A hand drill is a perfect, low-cost option for beginners who want precise control over small holes. It allows you to work slowly, which prevents the resin from cracking or overheating during the process.
For more complex projects, a Dremel rotary tool is an invaluable asset. These versatile power tools come with various attachments that make cleaning up rough edges or carving intricate details much faster. Always remember to wear safety gear when using power tools to ensure your crafting experience remains safe and enjoyable.
Safety Gear and Personal Protective Equipment
When gathering your resin work essentials, never overlook the critical importance of personal safety gear. Working with chemical compounds requires a proactive approach to ensure your long-term health and comfort. By prioritizing these tools, you create a safe environment where your creativity can truly flourish without unnecessary risks.
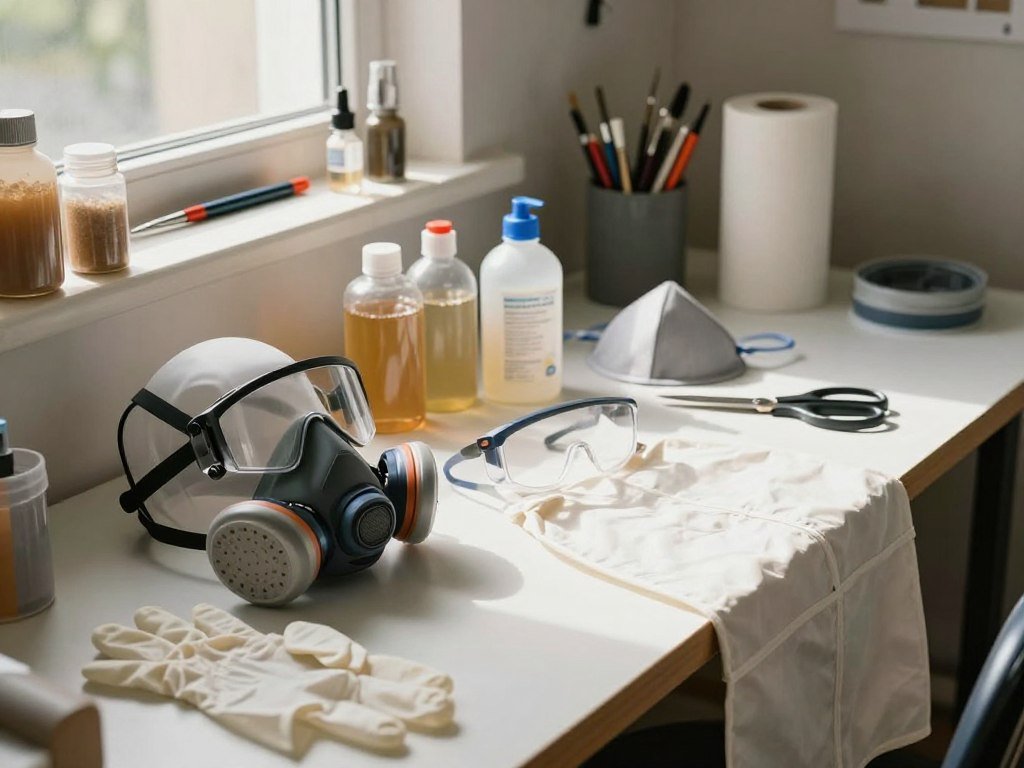
Selecting the Right Respirator for Resin Fumes
Proper ventilation is vital, but it is often not enough on its own. You should invest in a high-quality respirator equipped with organic vapor cartridges to filter out harmful fumes effectively. A standard dust mask will not provide the protection you need when working with liquid chemicals.
Always ensure your respirator fits snugly against your face to create a proper seal. Regularly replacing your filters is a key part of your resin work essentials maintenance routine. This simple habit keeps your lungs protected during every pouring session.
Nitrile Gloves and Protective Eyewear
Your skin and eyes are highly sensitive to the chemicals found in epoxy resin. Wearing nitrile gloves is the best way to prevent direct contact and potential skin irritation. Unlike latex, nitrile provides a superior barrier against chemical penetration, making it a staple for any serious crafter.
In addition to gloves, you must wear safety glasses or goggles to shield your eyes from accidental splashes. Even a tiny drop can cause significant discomfort or damage. Keeping these items within reach is a fundamental rule of safe studio practice.
| Safety Item | Primary Function | Replacement Frequency |
|---|---|---|
| Nitrile Gloves | Skin Protection | Every Session |
| Safety Glasses | Eye Shielding | When Scratched |
| Respirator | Fume Filtration | Per Manufacturer |
By integrating these essential safety habits into your workflow, you protect your health while focusing on your art. Remember that consistent use of your resin work essentials is the hallmark of a professional and responsible artist.
Curing and Environmental Control Tools
Managing the curing environment is a vital step on your resin supplies checklist for achieving a flawless, bubble-free finish. Even with perfect mixing, external factors can ruin a project if you are not prepared. Controlling these variables ensures your hard work results in professional-looking pieces every time.
Heat Guns and Torches for Bubble Removal
Bubbles are a common challenge, but they are easily managed with the right equipment. A heat gun is highly recommended for this task because it gently pops surface bubbles before the resin begins to set. Many artists prefer heat guns over open flames because they are significantly safer and easier to control.
When using a heat gun, keep it moving constantly across the surface to avoid scorching the resin. This simple addition to your resin supplies checklist helps maintain the integrity of your pour. By removing trapped air early, you ensure a crystal-clear finish that highlights your artistic details.
Temperature Control and Dust Covers
Resin is sensitive to its surroundings, making temperature control a critical factor for success. Most epoxies require a consistent room temperature to cure properly without becoming tacky or brittle. Keeping your workspace within the manufacturer’s recommended range is a key part of your resin supplies checklist.
Dust and debris are the enemies of a smooth, glossy surface. Always use a protective dust cover, such as a plastic bin or a cardboard box, to shield your wet resin while it cures. This simple habit prevents unwanted particles from settling into your work, ensuring a professional result that you can be proud of.
Cleaning and Maintenance Supplies
Proper care for your tools ensures your resin casting materials list remains in top condition for years to come. When you treat your equipment with respect, you avoid the frustration of ruined projects and unnecessary replacement costs. A tidy workspace is the hallmark of a professional artist.
“Quality is never an accident; it is always the result of high intention, sincere effort, intelligent direction and skillful execution.”
Safe Solvents for Resin Cleanup
Cleaning up uncured resin requires the right approach to keep your skin and tools safe. Isopropyl alcohol, specifically at 90% concentration or higher, is the gold standard for removing sticky residue from surfaces and mixing tools. Always work in a well-ventilated area when using solvents to avoid inhaling fumes.
Avoid using harsh chemicals like acetone unless absolutely necessary, as they can damage certain plastics. Instead, wipe your tools down immediately after use while the resin is still in its liquid state. This simple habit prevents hardened buildup and keeps your resin casting materials list organized and functional.
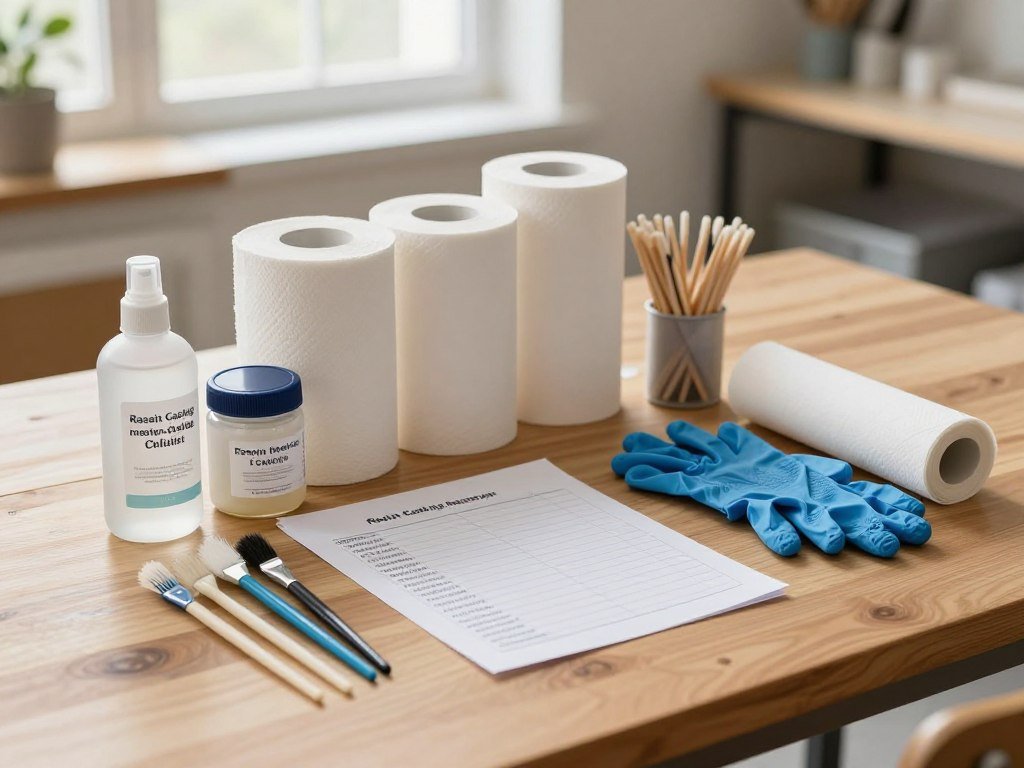
Maintaining Your Tools for Longevity
Your silicone molds are delicate investments that require gentle handling to prevent tearing or surface degradation. After each use, clean them with mild soap and warm water, then allow them to air dry completely. Never use sharp objects to pry cured resin from your molds, as this will scratch the finish and ruin future casts.
Mixing vessels also benefit from a consistent maintenance routine. If you prefer reusable silicone cups, let the leftover resin cure fully before peeling it out in one solid piece. This method is far more efficient than scrubbing wet resin and helps preserve the integrity of your resin casting materials list. By dedicating a few minutes to cleaning after every session, you ensure your gear is always ready for your next creative endeavor.
Storage Solutions for Resin Supplies
A well-organized studio is the secret weapon of every professional resin artist. By maintaining a clean environment, you ensure that your resin work supplies checklist remains functional and easy to navigate. Effective storage not only saves you time but also protects your materials from damage or premature degradation.
Organizing Pigments and Small Inclusions
Managing your collection of mica powders, liquid dyes, and decorative inclusions requires a systematic approach. Use clear, airtight containers to keep these items visible and free from moisture. Moisture is the enemy of many pigments, as it can cause clumping and ruin the consistency of your final pour.
Labeling your storage bins is a simple way to streamline your workflow. You might consider grouping items by color family or by their specific finish, such as metallic, matte, or translucent. Keeping these small items in a dedicated drawer unit will prevent them from cluttering your main workspace.
Proper Storage Conditions for Unopened Resin
Your resin work supplies checklist should always prioritize the longevity of your base materials. Unopened resin bottles are sensitive to their environment and require specific conditions to maintain their chemical integrity. Always store your resin in a cool, dark place, away from direct sunlight or extreme temperature fluctuations.
Heat can cause resin to thicken or yellow over time, while freezing temperatures may lead to crystallization. Keep your bottles tightly sealed to prevent air exposure, which can introduce contaminants. Following these storage guidelines ensures that your materials are ready for use whenever inspiration strikes.
| Supply Category | Storage Method | Ideal Environment |
|---|---|---|
| Liquid Pigments | Upright in bins | Cool, dark cabinet |
| Mica Powders | Airtight jars | Dry, moisture-free |
| Unopened Resin | Original bottles | Stable room temp |
| Dried Flowers | Sealed containers | Away from light |
By integrating these storage habits into your routine, you maintain a professional studio space. A tidy area allows you to focus entirely on your creative process rather than searching for lost tools. Remember that a well-maintained resin work supplies checklist is the foundation of every successful project.
Advanced Tools for Professional Resin Artists
Transitioning from hobbyist to professional requires a new set of specialized equipment. When you aim for gallery-quality results, standard mixing tools may no longer suffice. Investing in high-end epoxy resin tools and materials allows you to push the boundaries of your creative potential.
Vacuum Chambers and Pressure Pots
Achieving a crystal-clear finish is the hallmark of a professional artist. Microbubbles often trap themselves within thick pours, ruining the clarity of your work. A vacuum chamber removes air from the resin before you pour, while a pressure pot compresses any remaining bubbles until they become invisible to the naked eye.
Using these devices ensures that your castings remain free of defects. This is especially important for deep-pour projects or intricate jewelry pieces. By eliminating air pockets, you create a durable and professional-grade final product that stands out in any collection.
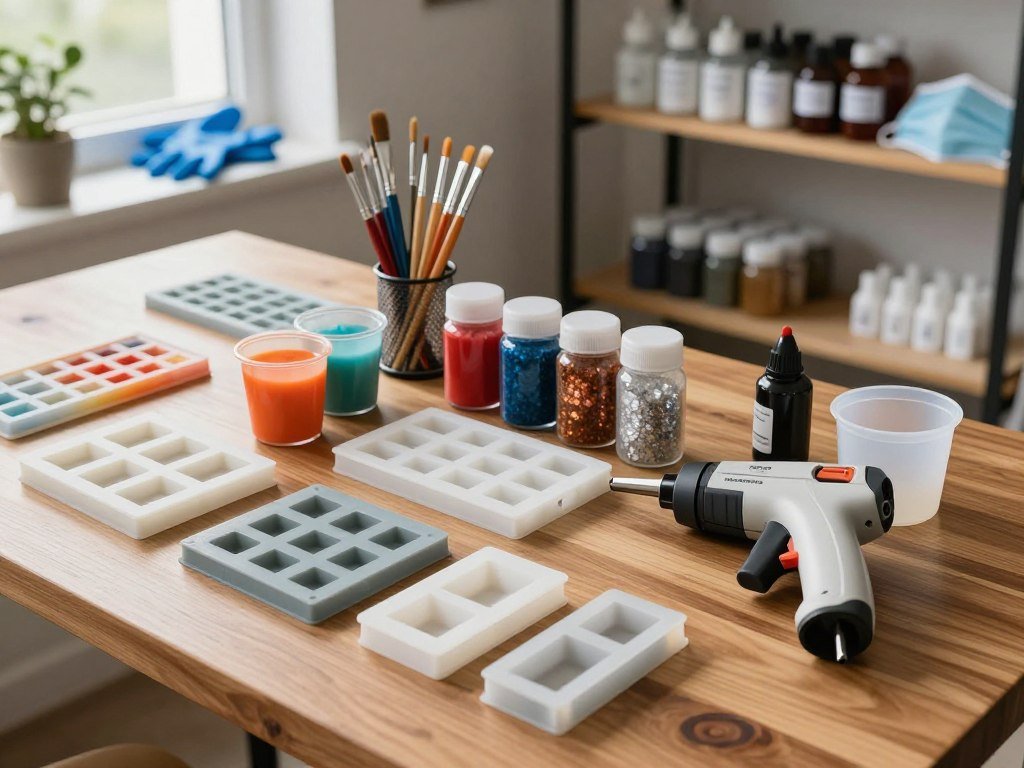
UV Resin Lamps and Curing Stations
Time is a valuable resource for any busy creator. UV resin lamps offer a significant advantage by curing your projects in mere minutes rather than hours. These lamps are essential for artists who work with thin layers or need to secure decorative inclusions quickly.
Dedicated curing stations provide a controlled environment that ensures even light distribution. This consistency prevents tacky spots and uneven hardening across your surface. Incorporating these epoxy resin tools and materials into your workflow will drastically improve your project turnaround times and overall efficiency.
Troubleshooting Common Tool-Related Issues
Even the most dedicated artists occasionally face hurdles that require a quick fix during their creative process. When your latest creation does not turn out as planned, having a reliable resin project checklist is essential to identify where things went wrong. These simple steps provide the confidence you need to handle unexpected problems without frustration.
Fixing Sticky Resin Due to Improper Mixing
If your resin remains tacky or soft after the recommended curing time, the culprit is almost always improper mixing ratios. Resin chemistry relies on a precise balance between the resin and the hardener. If you do not measure these components exactly, the chemical reaction will fail to complete properly.
Inadequate stirring is another common cause of sticky spots. You must scrape the sides and bottom of your mixing container thoroughly to ensure every drop is incorporated. If you find yourself in this situation, it is often best to carefully remove the uncured layer and apply a fresh, properly mixed top coat to save your project.
Removing Resin Spills from Surfaces
Accidental spills are a natural part of the crafting journey, but they do not have to ruin your workspace. The most effective way to handle a spill is to act quickly while the resin is still in its liquid state. Using a paper towel or a silicone scraper, gently lift the excess material away from the surface.
For resin that has already begun to harden, you can often use a plastic putty knife to carefully pry it off without damaging your table. If residue remains, a small amount of isopropyl alcohol on a soft cloth can help dissolve the sticky film. Always test a small, hidden area first to ensure your cleaning method is safe for your specific workstation material.
Conclusion
Building a reliable collection of supplies marks the start of your artistic growth. You now possess the knowledge to select quality gear and maintain a safe, productive studio space.
Every pour brings you closer to professional results. Your ability to troubleshoot challenges ensures that your creative flow remains steady and enjoyable.
Brands like ArtResin or TotalBoat offer consistent performance for your unique projects. Experimenting with different pigments and molds helps you define your personal aesthetic over time.
Share your latest creations with fellow makers to gain fresh perspectives. Your dedication to learning the craft will lead to stunning pieces that showcase your talent.
Keep exploring new techniques to push the boundaries of your work. Your artistic path is just beginning, and the possibilities for your next masterpiece are endless.
FAQ
What are the absolute must-haves for a beginner’s resin work supplies checklist?
Why is casting resin preferred over coating resin for molds?
Do I really need a digital scale for my resin work essentials?
How can I ensure my resin art supplies list is eco-friendly?
What is the best way to remove bubbles based on a professional resin supplies checklist?
Can I use wood stir sticks for my resin crafting tools?
What safety gear should be on my resin project checklist?
How do I choose the right pigments for my resin casting materials list?
Is a pressure pot necessary for a standard resin work supplies checklist?

SmartLivingJournal
Prabir Dutta is a passionate digital creator, affiliate marketer, and wellness enthusiast who simplifies complex topics like AI tools, Vastu, pet care, and modern living. With a keen eye for SEO, tech trends, and everyday health solutions, he writes to empower readers with actionable, smart-living insights. When not curating content across his network of niche blogs, Prabir enjoys exploring new digital tools that make life easier and more efficient.
Keep exploring Smart Living Journal
Discover more practical ideas on wellness, home living, plants, pets, routines, and smarter everyday upgrades.