Did you know that the global market for home fragrance products is expected to reach billions by 2028? This massive growth highlights how many people now value the warmth and ambiance of a well-crafted flame. Whether you want a relaxing hobby or a potential business venture, diy candle crafts offer a perfect outlet for your creativity.
Belinda discovered this passion in 2020, turning a simple kitchen experiment into the thriving brand XO Illuminated by 2021. Her journey proves that anyone can master the basics of candle making for beginners with just a few supplies and patience. You will learn how to blend scents, pour wax, and design unique pieces that brighten any room.
This guide helps you explore safe techniques while building your skills from scratch. We invite you to experiment with colors and textures to find your signature style. Let us begin this glowing journey together.
Key Takeaways
- Discover how simple kitchen experiments can evolve into professional brands.
- Learn the essential tools needed for successful home projects.
- Understand the importance of safety when working with hot wax.
- Explore creative ways to customize your designs with scents and colors.
- Gain confidence in your ability to master a rewarding new hobby.
What Introduction to Candle Art Includes
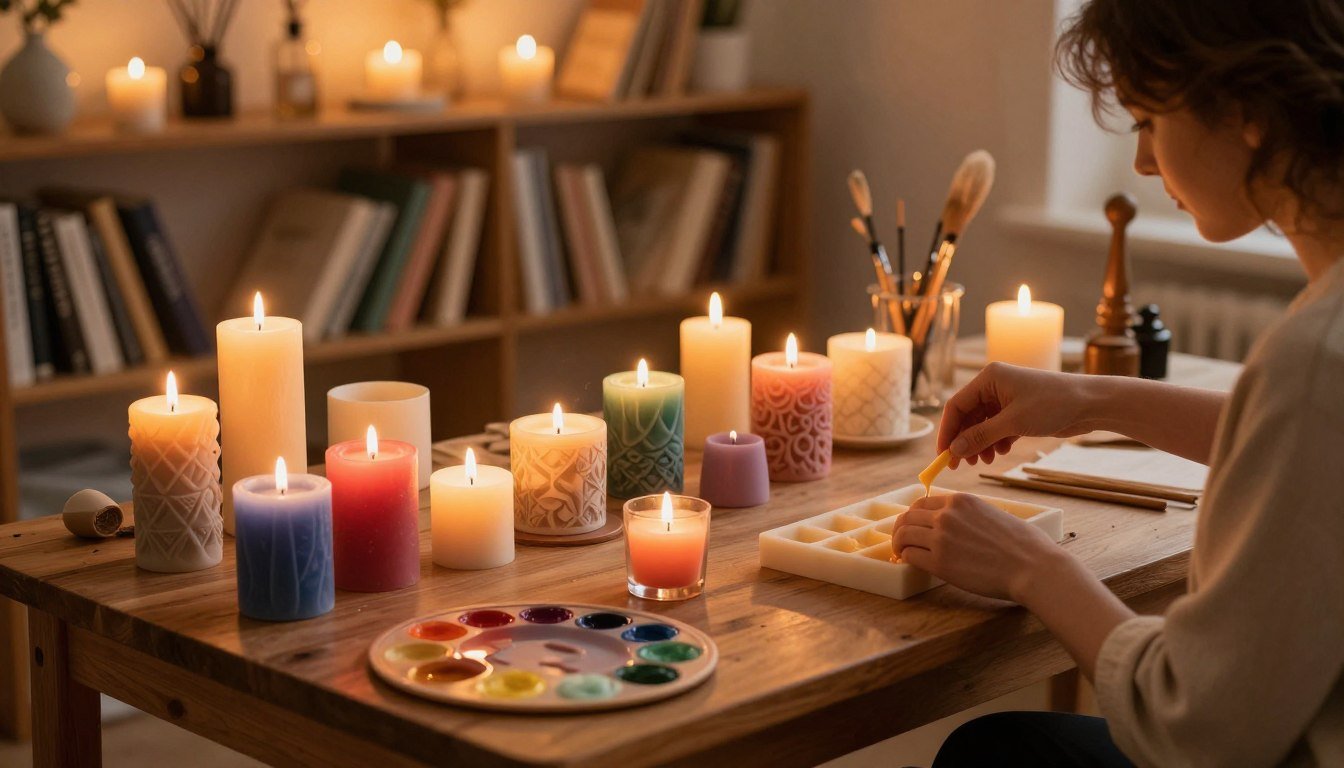
The craft of making candles is much more than just melting wax; it is a creative outlet that bridges the gap between design and function. An introduction to candle art invites you to explore how simple materials can become expressive pieces of home decor. By mastering these skills, you turn raw ingredients into items that reflect your personal style.
How Candle Art Combines Craft, Design, and Function
Creating handmade candles requires a delicate balance of technical precision and artistic vision. You must understand how wax behaves under heat while simultaneously considering the aesthetic appeal of the final product. This dual focus ensures that your creations are not only beautiful to look at but also perform reliably when lit.
“The true beauty of a candle lies in its ability to transform a space through both its gentle glow and its intentional design.”
Differences Between Decorative Candles and Everyday Candles
It is helpful to distinguish between pieces meant for display and those intended for daily use. Decorative candles often feature intricate shapes or bold colors, while everyday candles prioritize a clean, consistent burn. Brands like XO Illuminated demonstrate this by focusing on soy-vegan and chemical-free ingredients, ensuring that even functional candles remain safe and high-quality.
| Feature | Decorative Candles | Everyday Candles |
|---|---|---|
| Primary Goal | Visual Impact | Consistent Burn |
| Material Focus | Shape and Texture | Scent and Safety |
| Usage | Occasional Display | Daily Relaxation |
Choosing a Creative Direction for Your First Projects
Finding your unique style is a rewarding part of the introduction to candle art process. Many makers draw inspiration from their own lives, such as favorite films or cherished childhood memories. Whether you prefer minimalist designs or vibrant, sculptural handmade candles, your personal history provides a wealth of creative fuel.
Start by experimenting with small batches to see what resonates with your aesthetic. As you refine your techniques, you will discover that handmade candles become a true reflection of your personality. This journey of discovery is what makes the craft so deeply satisfying for beginners and enthusiasts alike.
Essential Candle Art Supplies for a Strong Start
Building a professional-grade workspace begins with selecting the right candle art supplies. You do not need a massive inventory to create beautiful, high-quality candles at home. Focusing on quality materials ensures your projects remain safe and visually stunning.
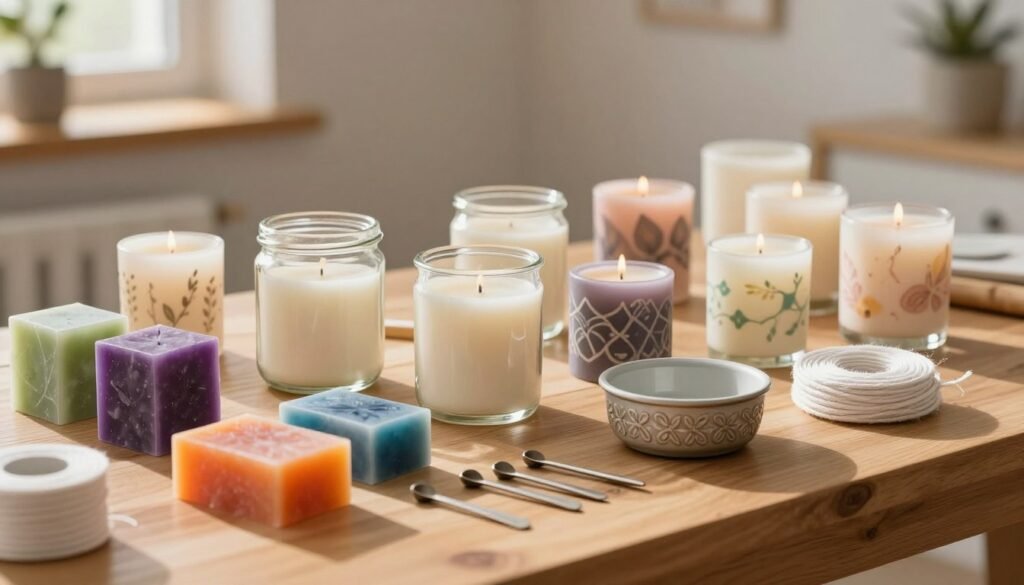
Wax Types for Containers, Pillars, and Sculptural Candles
Choosing the correct wax is the most critical step in your creative process. Container waxes are typically softer and designed to adhere well to glass jars. In contrast, pillar waxes are harder and formulated to shrink slightly, allowing them to release easily from rigid molds.
For sculptural designs, you might prefer a blend that holds intricate details without cracking. Suppliers like Brambleberry or Bulk Apothecary offer various options tailored to specific project needs. Always check the manufacturer’s guidelines to ensure your wax is compatible with your intended vessel or mold.
Wicks, Wick Tabs, and Wick-Centering Tools
A candle is only as good as its wick. You must match the wick size to the diameter of your candle to ensure an even burn and prevent tunneling. Wick tabs are essential for securing the wick to the bottom of your container, while centering tools keep the wick upright during the cooling process.
Fragrance Oils, Candle Dyes, and Decorative Add-Ins
Adding fragrance and color transforms a simple wax block into a piece of art. Use only oils specifically formulated for candle making to ensure they burn cleanly. Candle dyes come in liquid or chip form, allowing you to experiment with soft pastels or deep, saturated hues.
For extra flair, consider decorative add-ins like dried botanicals or glitter. Remember that these elements must be placed carefully to avoid interfering with the flame. Always prioritize safety by testing how your additives react with the hot wax.
Thermometers, Pouring Pots, Molds, and Finishing Tools
Precision is the secret to professional results. A reliable thermometer is vital for monitoring temperatures, as adding fragrance at the wrong heat can ruin your scent throw. Use a dedicated pouring pot to manage your wax safely and keep your workspace clean.
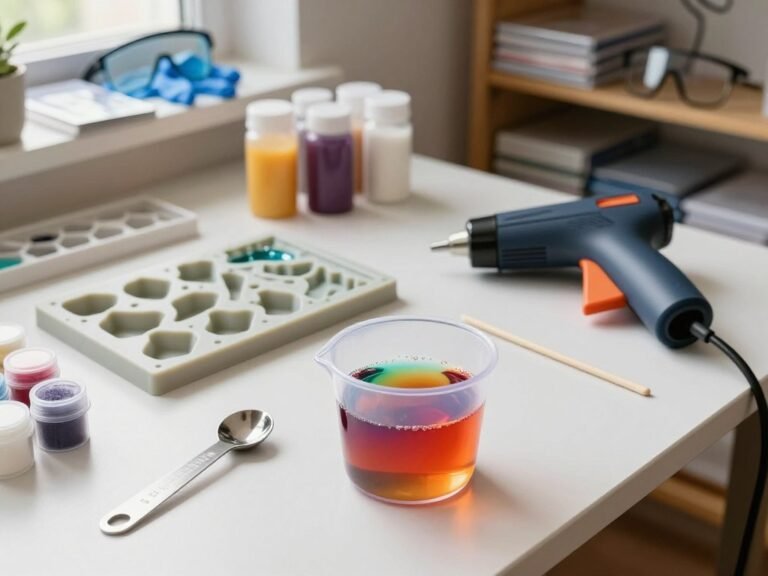
Specialized molds allow you to explore geometric shapes and sculptural forms. When you are ready to finish your piece, simple tools like a heat gun can smooth out surface imperfections. The following table provides a quick reference for your essential candle art supplies.
| Supply Item | Primary Use | Beginner Importance |
|---|---|---|
| Pouring Pot | Melting and pouring wax | High |
| Thermometer | Monitoring wax temperature | High |
| Wick Centering Tool | Keeping wicks straight | Medium |
| Silicone Molds | Creating unique shapes | Medium |
Understanding Wax, Wicks, Fragrance, and Heat
Every successful candle starts with a deep understanding of how wax, heat, and fragrance interact. Mastering these candle making techniques allows you to create products that burn cleanly and smell wonderful. By learning how your materials behave, you move from simple hobbyist to a skilled artisan.
How Soy, Beeswax, Paraffin, and Coconut Wax Behave
Different waxes have unique melting points and cooling characteristics. Paraffin is known for its excellent scent throw, while soy wax offers a cleaner, slower burn. Beeswax provides a natural, honey-like aroma and a high melting point, making it ideal for pillars.
Coconut wax is often blended with other waxes to improve performance and fragrance retention. Understanding these differences is a core part of professional candle making techniques. You must observe how each wax cools to avoid common surface issues like frosting or tunneling.
| Wax Type | Melting Point | Best Use | Scent Throw |
|---|---|---|---|
| Soy | 120°F | Containers | Moderate |
| Paraffin | 130°F | Pillars/Votives | Excellent |
| Beeswax | 145°F | Sculptural | Light |
| Coconut | 110°F | Containers | High |
Matching Wick Size to Candle Diameter and Wax Type
The wick is the engine of your candle. If the wick is too small, the candle will tunnel and leave wax on the sides of the container. If it is too large, the flame will be unstable and produce excess soot.
Always test your wick size against the diameter of your vessel. Harder waxes like beeswax often require thicker, more rigid wicks to maintain a steady flame. Proper wick selection is one of the most critical candle making techniques for safety and performance.
Using Fragrance Oil at an Appropriate Wax Temperature
Adding fragrance at the wrong temperature can ruin your hard work. If the wax is too hot, the fragrance oil may evaporate before it binds to the wax molecules. If the wax is too cool, the oil will not mix properly, leading to a weak scent throw.
Most fragrance oils should be added when the wax is between 170°F and 185°F. Stir the mixture gently for at least two minutes to ensure a complete bond. Consistent temperature control is a hallmark of refined candle making techniques that ensure every candle smells as good as it looks.
Creating a Safe and Organized Candle-Making Workspace
Candle-making safety starts long before you light your first wick or pour your first mold. By setting up a controlled environment, you ensure that your creative process remains enjoyable and free from unnecessary accidents. A well-prepared area allows you to focus on your designs rather than worrying about potential spills or heat damage.
Protecting Surfaces and Managing Hot Wax
Wax can be difficult to remove once it hardens on furniture or floors. You should always cover your workstation with heat-resistant materials like silicone mats or heavy-duty parchment paper. These simple additions make cleanup much faster and protect your home surfaces from accidental drips.
It is also wise to keep a dedicated spill kit nearby. Having paper towels and a gentle cleaner specifically for wax removal will help you maintain a safe candle workspace at all times. Never leave hot wax unattended, as it can quickly become a fire hazard if it overheats.
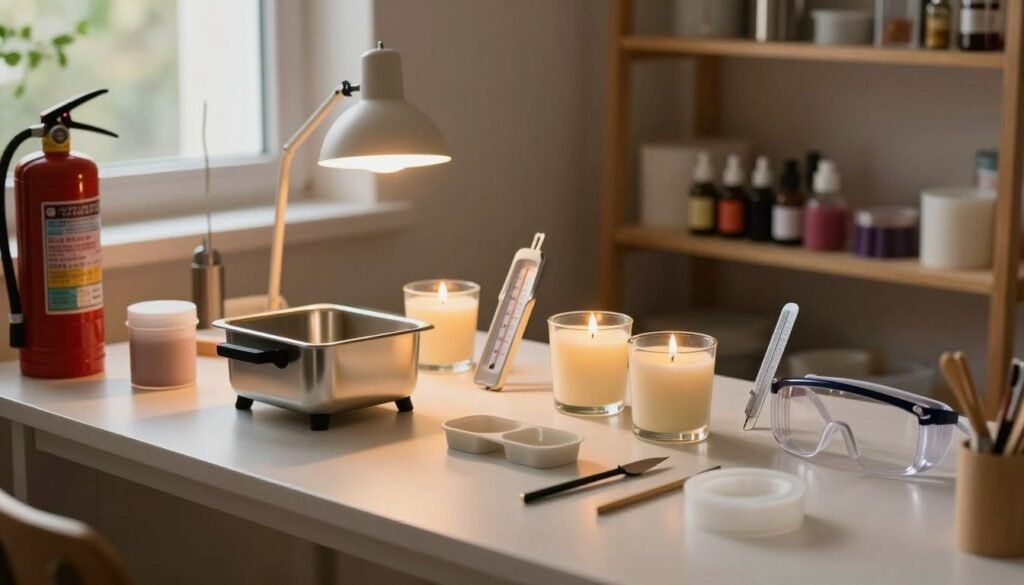
Safe Heating Practices and Temperature Monitoring
Using the right equipment is essential for maintaining consistent temperatures. Always use a double boiler method to melt your wax, as direct heat can cause the wax to reach its flash point too quickly. A reliable digital thermometer is your best tool for monitoring the process.
- Always keep your thermometer calibrated for accuracy.
- Never walk away from a pot of melting wax.
- Use a stable heat source that you can easily turn off.
Handling Fragrance Oils, Dyes, and Flammable Materials
Fragrance oils and dyes are highly concentrated and should be handled with care. Always work in a well-ventilated room to avoid inhaling strong fumes during the mixing process. Store these materials in a cool, dark place away from direct sunlight and heat sources.
Keep all flammable items, such as paper scraps or extra wicks, far away from your heating station. Proper organization prevents clutter, which is a key component of overall candle-making safety. When you treat your supplies with respect, you reduce the risk of accidental ignition.
Keeping Children and Pets Away from the Work Area
Your workspace should be a sanctuary for your creativity, which means keeping it off-limits to curious children and pets. Even a small spill of hot wax can cause serious burns, so it is vital to maintain a clear boundary. Consider using a folding screen or simply choosing a room that you can lock while you are working.
By establishing these clear rules, you create a safe candle workspace that supports your growth as an artist. Taking these precautions allows you to experiment with new formulas and techniques with total peace of mind. Remember that a professional approach to safety is the hallmark of a skilled candle maker.
Core Candle Making Techniques to Learn First
Transforming raw wax into a finished masterpiece involves several essential stages that every maker should master. By focusing on these fundamental candle making techniques, you ensure that your final product burns cleanly and looks professional. Consistency is the secret ingredient that separates a hobbyist from a skilled artisan.
Measuring Wax and Preparing Containers
Precision is vital when you begin your project. Always use a digital scale to measure your wax by weight rather than volume, as this provides the most accurate results for your formulas. Cleanliness is equally important; ensure your containers are free of dust or debris to prevent surface imperfections.
- Wipe the inside of your glass or metal vessels with a lint-free cloth.
- Pre-heat your containers slightly to help the wax adhere evenly to the sides.
- Keep a detailed log of your measurements to replicate successful batches later.
Securing and Centering the Wick
A candle that burns unevenly often suffers from a poorly placed wick. Use a high-quality wick sticker or a dab of hot glue to anchor the metal tab firmly to the center of the container base. You can use a wick-centering tool or even a simple clothespin to keep the wick taut and upright while the wax cools.
Melting, Mixing, and Pouring Wax Smoothly
When practicing candle making for beginners, always use a double boiler setup to melt your wax gently. Avoid direct heat, which can scorch the wax and ruin its chemical structure. Once the wax reaches the manufacturer’s recommended temperature, stir in your fragrance oils slowly to ensure a perfect bond.
Pour the mixture into your prepared containers with a steady, slow hand. This helps minimize air bubbles and prevents the wax from splashing against the sides of the vessel. Patience during this stage pays off with a smooth, professional-looking top.
Cooling, Curing, and Removing Candles from Molds
Allow your candles to cool undisturbed in a draft-free area. Moving them too soon can cause the wax to shrink unevenly or pull away from the container walls. If you are using molds, wait until the wax is completely solid and cool to the touch before attempting to remove it.
For those using silicone or metal molds, a gentle tap is usually enough to release the candle. If you find the candle is stuck, placing it in the refrigerator for a few minutes can help the wax contract slightly. Always remember to test your candles after a proper curing period to ensure the fragrance throw and burn quality meet your standards.
Building Shapes with Molds and Sculptural Wax
Creating unique candle shapes is a rewarding way to elevate your craft from basic utility to fine art. While many beginners start with simple glass jars, the real magic happens when you begin experimenting with decorative wax molds. These tools allow you to transform liquid wax into intricate, stand-alone pieces that serve as stunning home decor.
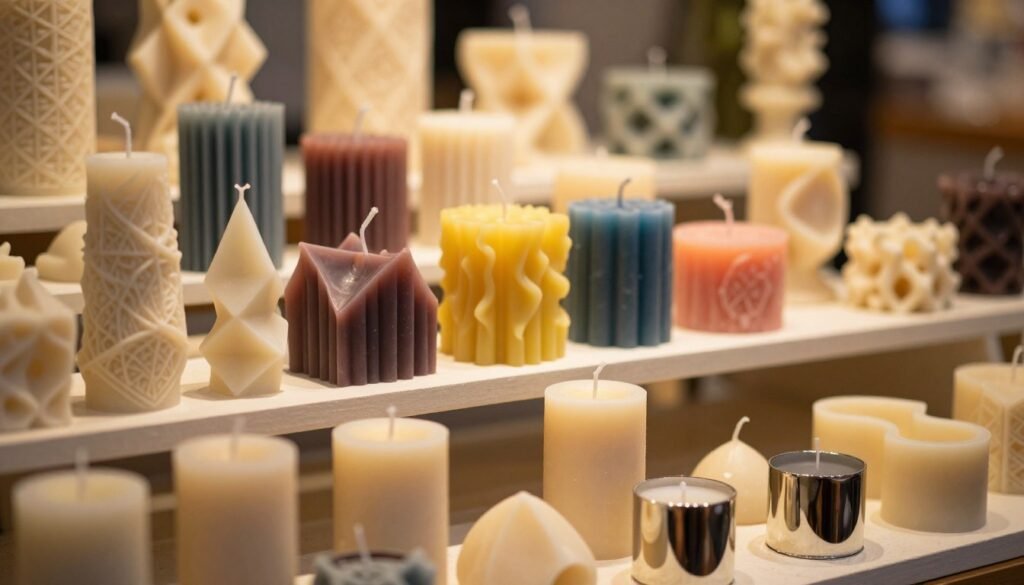
Selecting Container, Pillar, Silicone, and Novelty Molds
Choosing the right mold is the first step toward a successful project. Silicone molds are highly popular because they are flexible, making it much easier to remove delicate designs without breaking them.
- Pillar molds: Ideal for classic, smooth-sided candles that stand on their own.
- Silicone molds: Perfect for complex, sculptural candles with fine details.
- Novelty molds: Great for seasonal shapes like spheres, stars, or geometric figures.
- Container molds: Used when you want the wax to remain inside a vessel for safety.
Making Layered, Geometric, and Tapered Candles
Once you have your molds, you can start playing with different styles. Layered candles are created by pouring wax at different temperatures or using various colors to create a striped effect. Geometric shapes, such as cubes or pyramids, require precise pouring to ensure the edges remain sharp and clean.
Tapered candles are a classic choice that adds elegance to any dining table. To achieve the best results, ensure your wax is poured at the correct temperature to prevent air bubbles from forming along the sides.
Releasing Candles Without Cracks or Surface Damage
Removing a candle from a mold can be a nerve-wracking experience for beginners. To avoid cracks, always wait until the wax has fully cured and reached room temperature before attempting to release it. Patience is your best tool during this phase of the process.
If you find that a candle is stuck, try placing the mold in the refrigerator for ten to fifteen minutes. The cold temperature causes the wax to contract slightly, which helps it pull away from the walls of the mold for an easy release.
Designing Sculptural Candles That Remain Stable
When designing sculptural candles, stability is just as important as aesthetics. A beautiful design is useless if the candle tips over or burns unevenly due to a poorly placed wick.
Always consider the center of gravity when planning your shapes. If you are creating a tall or irregular form, ensure the base is wide enough to support the weight of the wax. By balancing artistic vision with structural integrity, you can create pieces that are both safe to burn and visually captivating.
Adding Color, Texture, and Dimension to Handmade Candles
Discover how to bring your candles to life through the clever use of color, texture, and dimension. Transforming a plain wax pour into a stunning piece of art is one of the most rewarding aspects of this craft. By exploring various creative candle designs, you can turn simple functional items into beautiful focal points for any room.
Blending Candle Dyes for Soft and Saturated Colors
Achieving the perfect hue starts with understanding how dyes interact with different wax types. You can create soft, pastel tones by using just a tiny fraction of dye, or go for bold, saturated colors by increasing the concentration. Always test your colors in small batches to see how they look once the wax has fully cooled and hardened.
Creating Marbling, Ombre, and Layered Effects
There are many candle decorating ideas that rely on the timing of your pour. For an ombre effect, gradually add more dye to your pouring pot as you fill the container to create a smooth color transition. Marbling is achieved by gently swirling two different colored waxes together just before they set, while layered pours require patience as each section must firm up before the next is added.
Using Wax Shavings, Carvings, and Embedded Elements
Adding physical texture can make your candles stand out instantly. You might consider using wax shavings for a rustic look, or even applying wax-paint to the surface for intricate, hand-drawn patterns. Embedded elements like dried botanicals or small wax shapes add a unique touch, but you must ensure these items are placed away from the wick to prevent fire hazards.
Balancing Texture with Reliable Candle Performance
While it is tempting to go overboard with decorations, you must prioritize the safety of your finished product. Excessive glitter, heavy embeds, or thick surface textures can interfere with the melt pool and cause the wick to drown. Always perform a burn test on your new candle decorating ideas to ensure that your artistic choices do not compromise the candle’s performance or safety.
Creative Candle Designs for Different Skill Levels
Transforming simple wax into artistic masterpieces is a rewarding journey for any craft enthusiast. By selecting projects that match your current experience, you can build confidence while exploring your unique aesthetic. Whether you prefer minimalist styles or elaborate sculptures, there are endless ways to bring your vision to life.
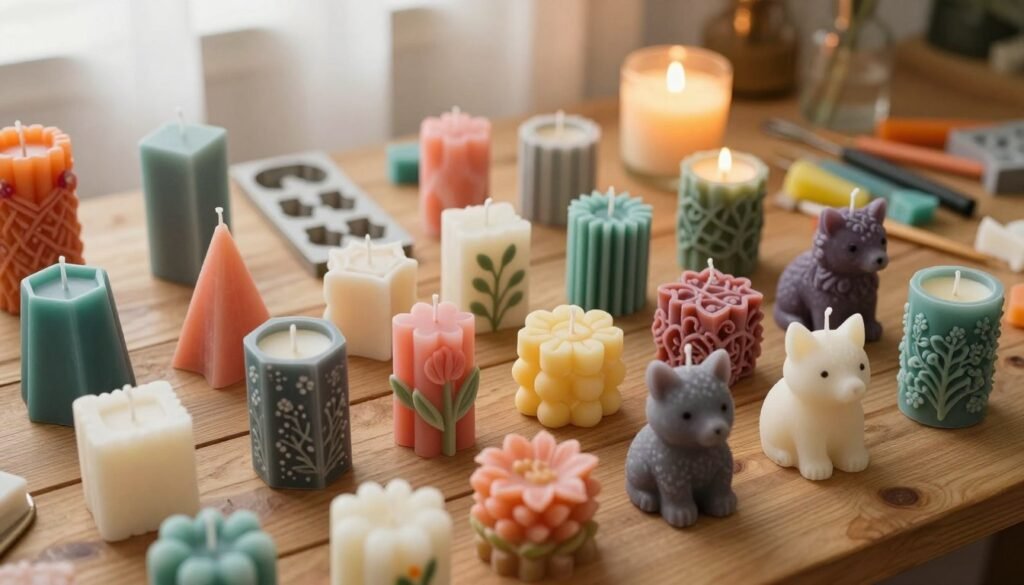
Simple Container Candles with Personalized Labels
For those just starting their journey, container candles offer a forgiving and satisfying entry point. You can focus on mastering the basics of wick placement and wax temperature while creating beautiful gifts. Adding a custom label or a handwritten note transforms a standard jar into a thoughtful, personalized piece of home decor.
Dip-Dyed Tapers and Hand-Painted Candle Details
Once you feel comfortable with basic pours, try experimenting with dip-dyed tapers to add a splash of color to your space. This technique allows you to create stunning ombre effects that look professional and elegant. You can also use wax-safe paints to add intricate patterns, turning your diy candle crafts into miniature works of art.
Carved Pillar Candles with Repeating Patterns
Advanced crafters often enjoy the challenge of carving pillar candles to create depth and texture. By using specialized tools, you can etch repeating geometric patterns or floral motifs directly into the hardened wax. This process requires patience, but the result is a sophisticated, high-end look that stands out in any collection.
Pressed Wax Shapes and Seasonal Candle Decorating Ideas
Incorporating pressed wax shapes is one of the most versatile candle decorating ideas available today. You can use silicone molds to create stars, leaves, or seasonal icons to embed onto the surface of your candles. These small details allow you to celebrate holidays or childhood memories through your work, making every project feel special.
| Project Type | Difficulty | Key Material | Best For |
|---|---|---|---|
| Container Candles | Beginner | Glass Jars | Gifts |
| Dip-Dyed Tapers | Intermediate | Paraffin Wax | Table Decor |
| Carved Pillars | Advanced | Hard Pillar Wax | Display Pieces |
| Pressed Shapes | Intermediate | Silicone Molds | Seasonal Themes |
Planning a First DIY Candle Craft from Start to Finish
Turning raw wax into a beautiful, functional piece of art starts with a solid plan. When you approach candle making for beginners, the secret to success lies in breaking down the process into small, manageable steps. By focusing on a single, well-defined project, you can master the fundamentals without feeling overwhelmed by the technical details.
Choosing a Manageable Project and Gathering Materials
For your first endeavor, a simple layered pillar candle is an excellent choice. This project allows you to practice temperature control and color blending in a controlled environment. Before you begin, gather all your candle art supplies, including high-quality wax, a sturdy mold, a pre-tabbed wick, and your chosen dyes.
Having everything organized on your workspace prevents unnecessary stress during the heating process. Preparation is truly the foundation of every great candle. Ensure you have a reliable thermometer and a heat-safe pouring pitcher ready to go.
Preparing the Mold, Wick, Wax, and Color Plan
Start by securing your wick in the center of the mold using a wick-centering tool or a simple wooden stick. A centered wick is essential for an even burn and long-lasting performance. Next, calculate the amount of wax needed for each layer to ensure your color transitions look clean and professional.
Decide on your color palette before you melt any wax. Whether you choose soft pastels or bold, saturated tones, having your dyes measured out will help you maintain consistency. Careful planning at this stage saves time and prevents mistakes later.
Pouring and Finishing a Beginner-Friendly Layered Candle
Begin by melting your wax to the manufacturer’s recommended temperature. Once melted, add your dye and fragrance, stirring gently to avoid creating air bubbles. Pour the first layer into the mold and allow it to set until it is firm but still slightly warm to the touch.
Repeat this process for each subsequent layer, ensuring the wax is at the right temperature before pouring. Patience is your best tool here, as rushing the cooling process can lead to unwanted cracks or surface imperfections. Once the final layer is poured, let the candle cure completely in a cool, draft-free area.
Inspecting the Finished Candle Before Burning
After removing your creation from the mold, take a moment to inspect it thoroughly. Check for any surface cracks, sinkholes, or signs of poor adhesion to the mold walls. A high-quality finish is the hallmark of a well-planned project.
Verify that the wick is straight and trimmed to the correct length. If you notice any minor issues, do not be discouraged; every imperfection is a valuable lesson. Keep a design journal to document your formulas and results, which will help you refine your technique for your next batch of candle making for beginners.
Troubleshooting Common Problems in Candle Art
Every imperfection in a candle provides valuable data for your next batch. Rather than viewing a failed project as a loss, treat it as a learning opportunity to refine your craft. By changing one variable at a time, you can systematically improve your results.
“Success is not final, failure is not fatal: it is the courage to continue that counts.”
Fixing Frosting, Wet Spots, Cracks, and Sinkholes
Frosting often appears as white, crystalline patterns on the surface of soy wax. This is a natural characteristic of the wax and is usually caused by rapid temperature changes during cooling. To minimize this, try pouring your wax at a slightly lower temperature or cooling the candles in a draft-free environment.
Wet spots occur when the wax pulls away from the container wall during cooling. You can often prevent this by pre-heating your glass containers before pouring. If you notice sinkholes or cracks after the wax sets, simply use a heat gun to melt the top layer and allow it to cool slowly.
Addressing Tunneling, Soot, Weak Flames, and Wick Issues
If your candle burns straight down the center, it is likely suffering from tunneling. This usually means the wick is too small for the diameter of your container. Consistent candle burn testing is the best way to ensure your wick size matches your wax type and vessel width.
Soot and weak flames are often signs of an improperly trimmed wick or an incorrect fragrance load. Always trim your wick to one-quarter inch before every burn to maintain a clean, steady flame. If the flame remains weak, consider testing a different wick series that offers a higher heat output.
| Problem | Likely Cause | Quick Fix |
|---|---|---|
| Tunneling | Wick too small | Increase wick size |
| Sooting | Wick too long | Trim to 1/4 inch |
| Sinkholes | Rapid cooling | Use a heat gun |
Correcting Faded Color and Uneven Fragrance Distribution
Faded colors often result from adding dye at the wrong temperature or using too little pigment. Ensure you stir your dye thoroughly into the wax at the recommended temperature to achieve a vibrant, consistent hue. If your scent throw is weak, you may need to adjust your fragrance load or ensure the oil is fully incorporated.
Effective candle troubleshooting relies on keeping a detailed journal of your formulas. Record your pouring temperatures, fragrance percentages, and the results of your candle burn testing. This practice allows you to replicate your successes and avoid repeating past mistakes in future batches.
Growing Skills Through Practice, Workshops, and Display
Transforming your hobby into a refined craft involves a blend of hands-on education, consistent practice, and careful documentation. While online tutorials provide a great starting point, true mastery comes from active engagement with the community and a disciplined approach to your creative process.
Finding Useful Candle Making Workshops and Local Classes
When you decide to seek out candle making workshops, prioritize instructors who emphasize safety and material transparency. Look for classes that offer hands-on experience rather than just demonstrations, as physical practice is essential for understanding how wax behaves at different temperatures.
A high-quality workshop should provide constructive feedback on your technique. Avoid choosing a class based solely on popularity; instead, verify that the curriculum covers the chemistry of fragrance oils and the importance of proper wick selection. This ensures you gain a solid foundation that you can build upon at home.
Building a Practice Routine with Small Experimental Batches
Consistency is the secret to improvement in any craft. By working with small experimental batches, you can test new variables without wasting expensive materials. This method allows you to isolate specific factors, such as how a new dye interacts with a specific soy wax blend.
Treat every small batch as a learning opportunity. If a candle does not perform as expected, analyze the cooling time or the pouring temperature to identify the cause. Small-scale testing is the most efficient way to refine your skills and build confidence in your creative decisions.
Photographing and Displaying Creative Candle Designs
Once you have perfected your technique, candle photography becomes a vital tool for growth. Capturing your work in natural light helps you see details you might otherwise miss, such as surface imperfections or color inconsistencies. Many successful makers, like those behind the brand XO Illuminated, have used platforms like Instagram and TikTok to build a portfolio and connect with a wider audience.
Displaying your candles is not just about social media; it is about documenting your artistic evolution. Whether you share your progress with friends or an online community, external feedback can provide fresh perspectives on your design choices. Sharing your journey encourages you to maintain high standards for every piece you create.
Keeping a Design Journal for Formulas and Results
A candle design journal is perhaps the most important tool for any serious maker. By recording every detail—including wax type, wick size, fragrance load, and pouring temperature—you create a reliable reference for future projects. This documentation allows you to replicate your most successful designs with precision.
Include notes on how each candle performed during the burn test. Tracking these results helps you identify patterns and troubleshoot recurring issues effectively. Use the following table to organize your essential data points for every new experiment.
| Data Category | Why It Matters | Impact on Quality |
|---|---|---|
| Wax Temperature | Affects surface finish | Prevents sinkholes |
| Fragrance Load | Determines scent throw | Ensures safety |
| Wick Size | Controls burn rate | Prevents tunneling |
| Curing Time | Stabilizes the blend | Improves performance |
Conclusion
Your journey into candle making blends safety, material science, and artistic vision. Every pour brings you closer to creating professional quality handmade candles that brighten any room.
Belinda transformed her passion into a thriving brand called XO Illuminated by focusing on consistent experimentation. Her path from a 2020 hobbyist to a successful creator shows that small steps lead to big results. You can achieve similar growth by documenting your formulas and testing your designs carefully.
Start your practice with simple batches to build your confidence. Seek out local candle making workshops to refine your techniques and learn from experienced mentors. These sessions provide valuable insights that help you master wax, wicks, and fragrance combinations.
Patience remains your best tool as you develop your unique style. Keep testing your creations to ensure they perform reliably and look beautiful. Your dedication to this craft will turn simple materials into impressive works of art.
FAQ
What are the best candle art supplies for a total beginner?
How can I find reputable candle making workshops near me?
Are handmade candles safer than store-bought ones?
What are some easy candle decorating ideas for gifts?
Why is my candle tunneling, and how do I fix it?
How do I come up with creative candle designs that stand out?
Where can I see examples of successful candle art?

SmartLivingJournal
Prabir Dutta is a passionate digital creator, affiliate marketer, and wellness enthusiast who simplifies complex topics like AI tools, Vastu, pet care, and modern living. With a keen eye for SEO, tech trends, and everyday health solutions, he writes to empower readers with actionable, smart-living insights. When not curating content across his network of niche blogs, Prabir enjoys exploring new digital tools that make life easier and more efficient.
Keep exploring Smart Living Journal
Discover more practical ideas on wellness, home living, plants, pets, routines, and smarter everyday upgrades.