Did you know that over 70% of modern crafters are switching to light-curing materials to save hours of waiting time? Unlike traditional mixtures that require a full day to harden, this innovative medium transforms from liquid to solid in mere minutes.
This uv resin guide offers a simple path for beginners who want to create beautiful jewelry or decor without the mess. You will find that the process is incredibly straightforward and rewarding for any home studio project.
Learning how to use uv resin allows you to pour, shape, and cure your designs under a specialized lamp with ease. It is the perfect solution for hobbyists who crave immediate results and professional-looking finishes.
Key Takeaways
- Light-curing materials harden in minutes rather than hours.
- This medium is significantly more beginner-friendly than standard epoxy.
- A specialized lamp is essential for the curing process.
- The workflow involves simple steps like pouring and shaping.
- You can achieve professional results quickly in a home setting.
Understanding the Basics of UV Resin
If you are curious about how liquid resin turns into solid plastic in just a few minutes, you have come to the right place. Mastering this craft begins with understanding the unique properties of the materials you use on your workbench.
What is UV Resin and How Does It Work?
UV resin is a specialized liquid polymer that undergoes a chemical reaction when exposed to specific wavelengths of ultraviolet light. Unlike traditional resins that rely on a chemical hardener, this material is ready to use straight from the bottle.
Once you pour the resin into your mold, you simply place it under a UV lamp. The light triggers a rapid polymerization process, allowing your projects to be finished in just over ten minutes. This efficiency makes it a favorite choice for creators who enjoy fast-paced, small-scale projects.
“Creativity is intelligence having fun, and the right tools make that fun much easier to achieve.”
Key Differences Between UV Resin and Epoxy Resin
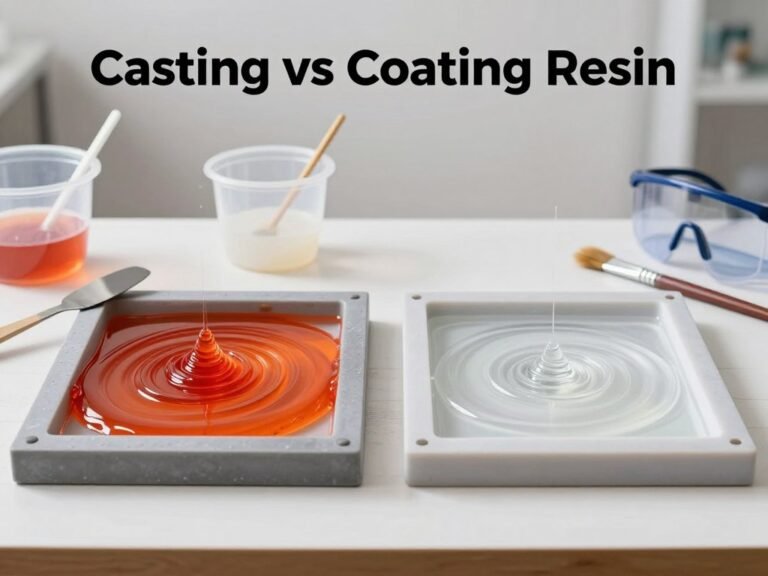
Choosing between UV resin and epoxy resin often comes down to your specific project goals. While both create beautiful, durable results, their curing mechanisms and application styles differ significantly.
| Feature | UV Resin | Epoxy Resin |
|---|---|---|
| Curing Time | Minutes | Hours to Days |
| Mixing Required | No | Yes (Part A + Part B) |
| Best For | Small Jewelry | Large Castings |
UV resin is incredibly convenient because it eliminates the need for precise measuring and mixing. However, epoxy resin remains the industry standard for larger items like tabletops or deep pours where a slower cure is necessary to prevent overheating. Understanding these core differences ensures you select the perfect medium for your artistic vision.
Essential Safety Precautions for Working with UV Resin
Creating a secure environment is the first step toward becoming a confident and responsible resin artist. By following uv resin safety precautions, you ensure that your crafting sessions remain both productive and healthy. Taking these small steps early on allows you to focus entirely on your creative vision without worry.
Setting Up a Safe Workspace
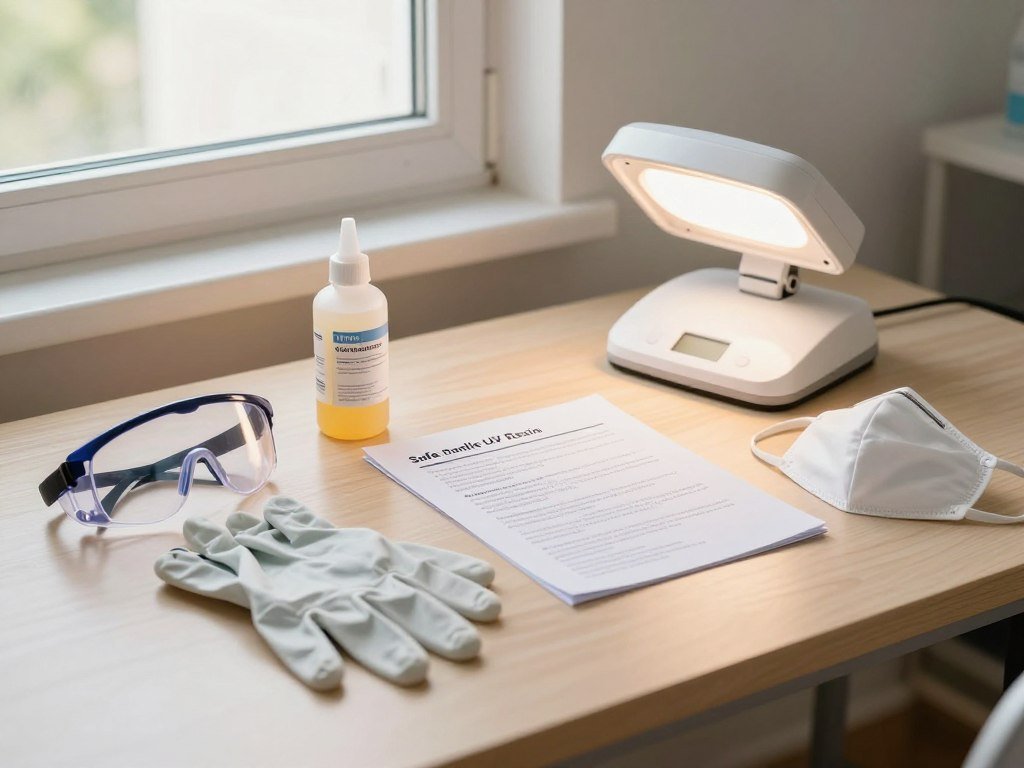
Your workspace should be a dedicated area where you can control the environment effectively. It is best to work in a room with a stable climate, as the optimal operating temperature for resin work is 60–85°F (15–29°C). Maintaining this temperature range helps the material cure properly and prevents unwanted chemical reactions.
Always cover your table with a silicone mat or parchment paper to protect surfaces from spills. Keeping your tools organized and within reach prevents accidental knocks or messes. A clean, flat surface is essential for achieving professional results in every project.
Personal Protective Equipment You Must Use
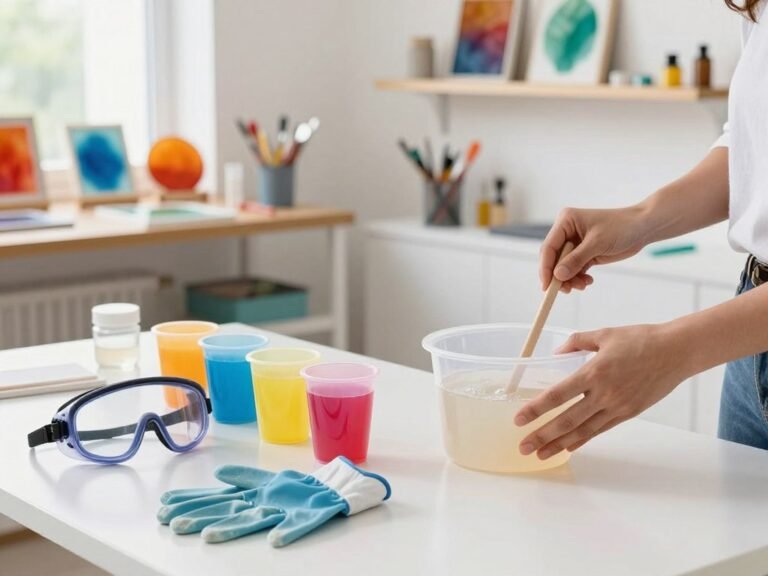
Never underestimate the importance of wearing the right gear when handling chemicals. You should always wear nitrile gloves to protect your skin from direct contact, which can cause irritation or sensitivity over time. Safety glasses are also a must to shield your eyes from accidental splashes during the pouring process.
“Safety is not just a rule; it is the foundation upon which all great art is built.”
Consider wearing a long-sleeved shirt or an apron to keep your clothing clean. If you are sensitive to chemicals, using a respirator mask can provide an extra layer of protection. These uv resin safety precautions are simple habits that safeguard your long-term well-being.
Proper Ventilation and Air Quality Management
Good airflow is critical when working with any resin product. Always work in a well-ventilated room, preferably near an open window or with a fan running to circulate fresh air. This practice helps to minimize the buildup of fumes and keeps your air quality high.
If you are working in a smaller space, consider using a portable air purifier to capture any airborne particles. Proper ventilation is a key component of uv resin safety precautions that every artist should prioritize. By keeping your air clean, you ensure that your crafting space remains a comfortable sanctuary for your imagination.
Selecting the Right UV Resin for Your Projects
Finding the perfect resin is the secret to turning your creative vision into a professional-looking masterpiece. Because every project has unique requirements, understanding the properties of different formulas will help you achieve the best results. Taking the time to choose wisely ensures your hard work stands the test of time.
Hard Type Versus Soft Type Resin
The most fundamental choice you will make is between hard and soft resin types. Hard type resin cures into a rigid, glass-like finish, making it the ideal choice for jewelry, pendants, and intricate charms. It provides the structural integrity needed for pieces that should not bend or flex.
In contrast, soft type resin offers a flexible finish, often measuring around 15D on the hardness scale. This variety is perfect for projects that require movement, such as custom phone cases or wearable accessories that need to contour to a surface. Choosing the wrong type can lead to brittle pieces that crack or overly flexible items that lose their shape.
Viscosity Levels and Their Applications
Viscosity refers to the thickness or flow of the resin, which significantly impacts your creative control. Thick UV resin has high viscosity and slow fluidity, which is excellent for creating beautiful spherical curved surfaces or realistic water droplet effects. It stays exactly where you place it, allowing for precise doming without spilling over the edges.
On the other hand, low-viscosity resin is much thinner and spreads easily across flat surfaces. This makes it a fantastic choice for coating large areas or filling thin bezels where you need the liquid to self-level quickly. Matching the viscosity to your specific design goal is essential for a clean, professional finish.
Evaluating Curing Speed and Clarity
When evaluating different products, always look for high-quality formulas that promise excellent clarity and resistance to yellowing. A premium resin will remain crystal clear even after prolonged exposure to light, keeping your colors vibrant and your embedded items looking sharp. Nothing ruins a beautiful piece faster than an unexpected yellow tint.
Curing speed is another factor that varies between brands and formulas. While faster curing times are convenient, they sometimes require more careful monitoring to prevent overheating or shrinkage. Always test your resin on a small scale to understand how it reacts to your specific UV lamp before starting a large or complex project.
Necessary Tools and Equipment for Beginners
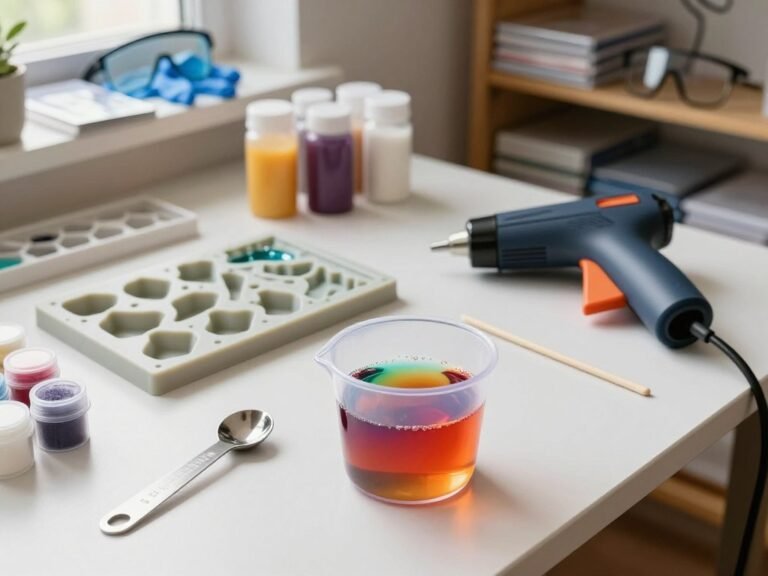
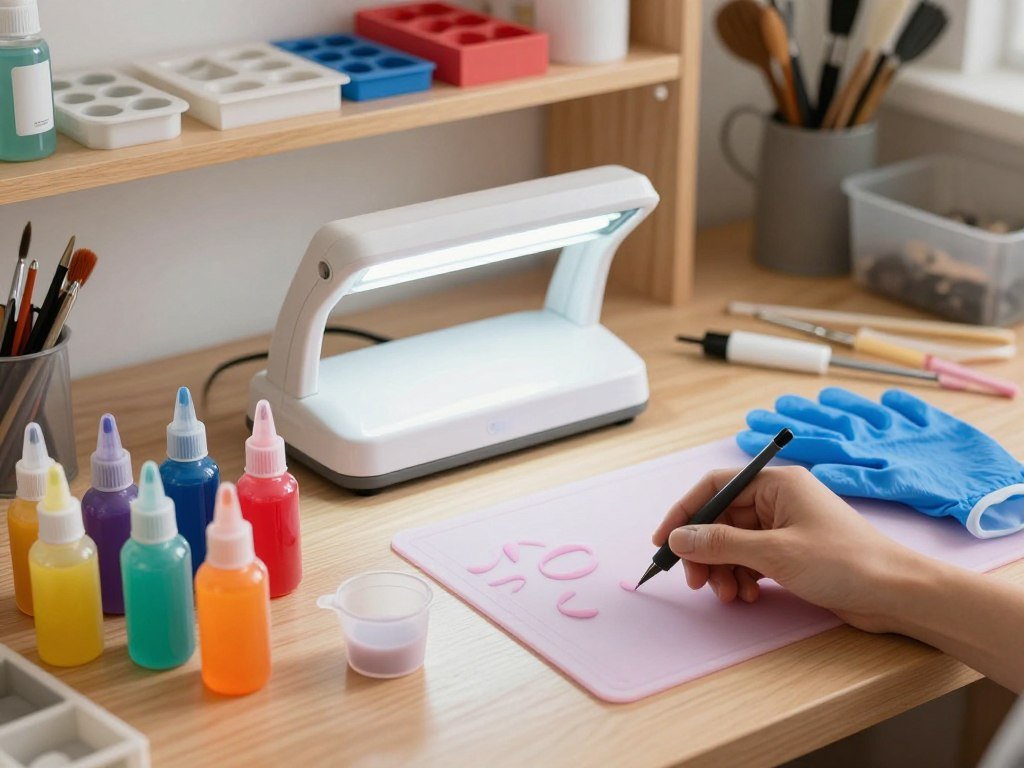
Building a reliable toolkit is the first step for anyone interested in uv resin for beginners. Having the right gear ensures that your creative process remains smooth and enjoyable from start to finish. A well-rounded starter kit typically includes the resin itself, a curing lamp, various molds, and essential mixing accessories.
Choosing the Best UV Lamp for Curing
The UV lamp acts as the heart of your workspace, as it triggers the chemical reaction needed to harden your creations. When selecting a lamp, look for one with a high wattage to ensure efficient and even curing. Many models designed for uv resin for beginners offer convenient timer settings, which help you avoid over-curing or under-curing your pieces.
Mixing Tools and Silicone Molds
Precision is vital when working with resin, so you should invest in high-quality silicone mixing cups and stirrers. Silicone is an excellent material because it allows cured resin to peel away easily, making cleanup a breeze. You will also need a variety of silicone molds to give your projects their desired shape, whether you are making jewelry, keychains, or small trinkets.
Surface Preparation and Cleaning Supplies
Maintaining a clean workspace is essential for achieving professional results. Keep a supply of isopropyl alcohol and lint-free wipes on hand to remove dust or fingerprints from your molds before you begin. These simple habits help ensure that your final product remains clear and free of unwanted debris.
| Tool Category | Primary Function | Key Benefit |
|---|---|---|
| UV Lamp | Curing resin | Fast hardening |
| Silicone Molds | Shaping designs | Easy demolding |
| Mixing Cups | Blending additives | Reusable material |
| Cleaning Wipes | Surface prep | Removes residue |
By focusing on these fundamental tools, you create a solid foundation for your future artistic endeavors. Mastering these basics will make your transition into uv resin for beginners much more rewarding and productive.
Preparing Your Workspace and Materials
A clean and organized workspace is the secret to professional-looking resin results. When you take the time to set up your area correctly, you significantly reduce the risk of dust contamination and accidental spills. Preparation is truly the foundation of every great craft project.
Cleaning Molds and Surfaces
Before you begin, ensure your silicone molds are completely free of dust, lint, or pet hair. Even a tiny speck of debris can ruin the clarity of your finished piece. Use a piece of clear adhesive tape to gently lift any particles from the surface of the mold.
Wipe down your work table with a lint-free cloth to create a pristine environment. If you are working on a mat, make sure it is flat and stable. A clean surface prevents unwanted textures from transferring onto your resin creations.
Organizing Your Resin and Additives
Efficiency is key when working with UV resin because it cures quickly once exposed to light. Gather all your pigments, glitters, and mixing tools before you open your resin bottle. Having everything within arm’s reach allows you to work with confidence and speed.
Arrange your additives in small containers or on a tray to keep your workspace tidy. This prevents you from fumbling for supplies while the resin is already in the mold. A well-organized station helps you maintain focus and creativity throughout the process.
Managing Ambient Light Exposure
One of the most important aspects of your setup is controlling the light in your room. UV resin is sensitive to light, and even sunlight streaming through a nearby window can cause it to harden prematurely. Always work in a shaded area away from direct sunlight to keep your resin liquid until you are ready to cure it.
If you cannot avoid a bright room, consider using a cardboard box or a light-blocking cover to shield your project. This simple step ensures that your resin stays workable for as long as you need. Keeping your workspace protected from UV rays is a critical habit for every resin artist.
| Task | Frequency | Importance |
|---|---|---|
| Clean Molds | Before every pour | High |
| Organize Tools | Before starting | Medium |
| Check Light Levels | During setup | Critical |
| Wipe Work Surface | After every session | High |
Step by Step Guide to Using UV Resin
Learning how to use uv resin effectively is the key to creating professional-looking crafts at home. By following a structured workflow, you can ensure that every piece you create is clear, durable, and free of common defects.
Pouring the Resin into Molds
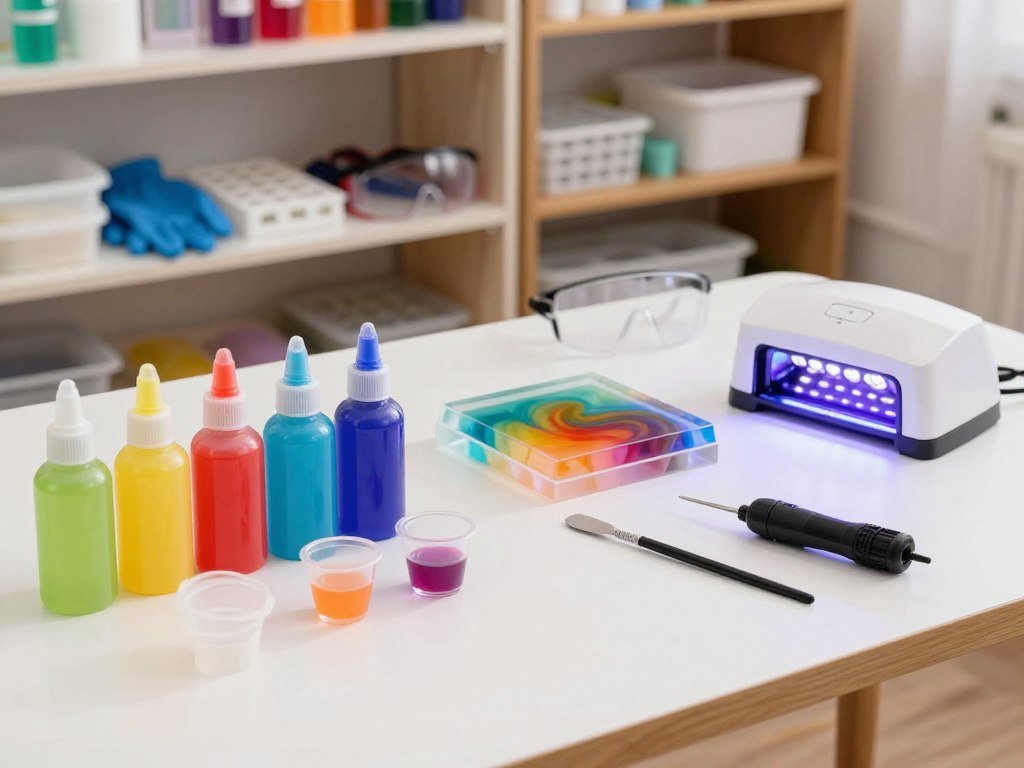
Before you begin, ensure your workspace is clean and your materials are ready. If you are working with open-back bezels or metal frames, you must first fix the frame onto a piece of specialized resin tape to seal the bottom.
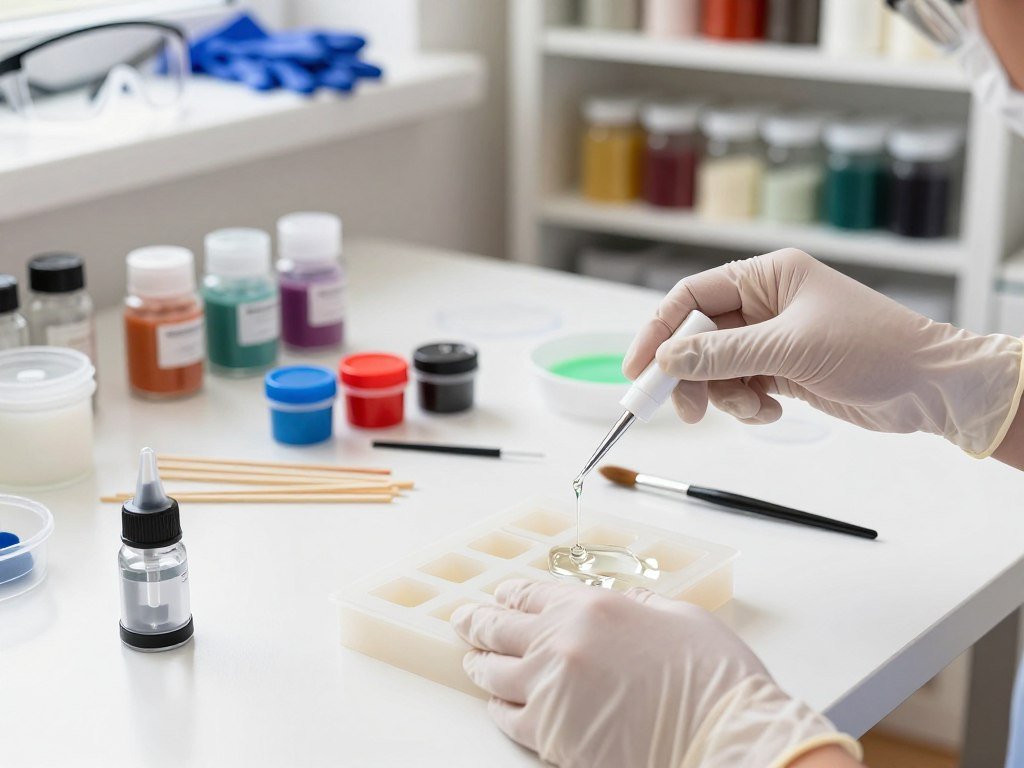
This step prevents the liquid from leaking out before it cures. Once the frame is secure, slowly pour the resin into the center of the mold. Allow the liquid to flow naturally toward the edges to avoid overfilling.
Removing Air Bubbles Effectively
Air bubbles are the most common challenge when learning how to use uv resin. If you notice bubbles trapped in your design, do not panic, as they are easy to manage with the right tools.
- Use a fine-tipped toothpick or a needle tool to pop bubbles on the surface.
- Gently warm the resin bottle in a bowl of warm water before pouring to reduce viscosity.
- Use a small butane torch or a heat gun on a low setting to quickly pass over the surface.
Always move your heat source quickly to avoid burning the resin or damaging your silicone molds. A steady, light touch is all you need to achieve a crystal-clear finish.
Layering Techniques for Deep Projects
For projects that require more depth, such as embedding dried flowers or charms, you should work in thin layers. Pouring too much resin at once can lead to uneven curing or trapped air.
Follow these steps to build your design:
- Pour a thin base layer and cure it completely under your UV lamp.
- Place your decorative elements, like delicate dried flowers, onto the cured surface.
- Add a small amount of resin to secure the items, then cure again.
- Continue adding layers until you reach the desired thickness for your project.
This layering method ensures that your embedded items stay exactly where you want them. It also provides a professional, three-dimensional look that adds significant value to your handmade jewelry and accessories.
Mastering UV Resin Curing Tips
Proper curing is the secret ingredient to turning liquid resin into a durable, beautiful masterpiece. Achieving a perfect finish requires attention to detail and a solid understanding of how light interacts with your materials. By following these expert uv resin curing tips, you can ensure your projects look professional and stand the test of time.
Optimizing Lamp Placement and Distance
The distance between your UV lamp and your project significantly impacts the final result. If the lamp is too far away, the light intensity drops, which may lead to an incomplete cure. Conversely, placing the lamp too close can sometimes cause the resin to overheat or warp.
For the best results, keep your project centered directly under the light source. Consistency is key when you are aiming for an even, high-quality finish across your entire piece. Always check your lamp manufacturer’s recommendations for the ideal height to maintain optimal light distribution.
Understanding Curing Times for Different Thicknesses
Not all projects require the same amount of time under the light. Thin layers of resin cure quickly, but deeper pours need more patience to ensure the center hardens properly. As a general rule, thick UV resin requires a curing time approximately 1 minute longer than that of thin UV adhesive.
If you are working on a deep project, consider curing it in multiple thin layers rather than one thick pour. This technique helps prevent trapped bubbles and ensures that the light penetrates every part of the resin. Utilizing these uv resin curing tips will help you avoid the frustration of soft or sticky surfaces.
Testing for Full Cure and Tackiness
Once the timer goes off, it is important to verify that your piece is fully cured. A properly cured project should feel hard and smooth to the touch. If the surface feels tacky or leaves a fingerprint, it needs additional time under the UV light.
You can gently tap the surface with a gloved finger or a toothpick to check for any remaining softness. If you notice any tackiness, simply return the piece to the lamp for another 30 to 60 seconds. Remember that some resins may have a slight inhibition layer that can be wiped away with a bit of rubbing alcohol if it persists.
| Project Type | Estimated Thickness | Recommended Time |
|---|---|---|
| Thin Coating | 1mm – 2mm | 60 – 90 Seconds |
| Standard Jewelry | 3mm – 5mm | 2 – 3 Minutes |
| Thick Pours | 6mm+ | 4+ Minutes |
Adding Color and Texture to Your Creations
Adding color and texture is the secret to making your resin creations truly stand out. Whether you are crafting delicate jewelry or unique trinkets, these artistic touches allow you to express your personal style. Transforming a simple clear shape into a vibrant masterpiece is a rewarding part of the creative process.
Using Liquid Pigments and Dyes
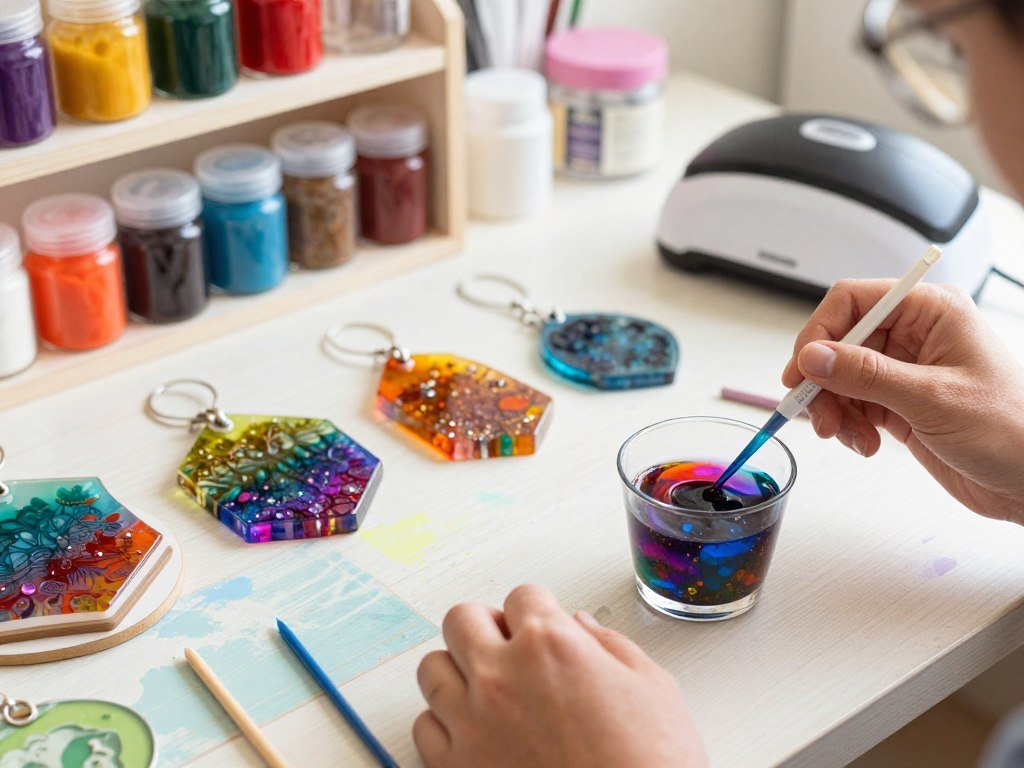
You have two main paths when it comes to coloring your work. You can purchase pre-colored UV resin, which is ready to use right out of the container. This option is perfect for beginners because it eliminates the need for measuring or mixing powders.
Alternatively, you can use liquid pigments or dyes to create custom shades. This method gives you complete control over the intensity and hue of your project. Always remember that a little goes a long way, so add your colorant drop by drop to avoid affecting the curing process.
Incorporating Glitters and Mica Powders
If you want to add sparkle or a metallic sheen, glitters and mica powders are your best friends. Mica powders provide a beautiful, pearlescent finish that catches the light from every angle. Fine-grade glitters work best for smaller molds, while chunky glitters can create a bold, textured look.
To achieve the best results, mix these additives thoroughly into the resin before pouring. This ensures an even distribution of color and sparkle throughout your piece. Be careful not to overfill your mold, as too much additive can sometimes interfere with the resin’s ability to cure properly.
Embedding Dried Flowers and Charms
Embedding organic materials like dried flowers adds a touch of nature and elegance to your designs. You can also include small metal charms or beads to create a layered, 3D effect. Always ensure your flowers are completely dried before placing them in the resin to prevent trapped moisture from causing issues.
When working with charms, place them carefully using tweezers to ensure they stay centered. You might want to cure a thin base layer first to hold your items in place before filling the rest of the mold. This technique prevents your decorative elements from shifting during the curing process.
| Additive Type | Best For | Visual Effect | Ease of Use |
|---|---|---|---|
| Liquid Pigments | Solid colors | Opaque or translucent | High |
| Mica Powders | Metallic looks | Shimmering/Pearlescent | Medium |
| Dried Flowers | Nature themes | Organic/Detailed | Medium |
| Chunky Glitter | Bold designs | Sparkling/Textured | High |
Advanced UV Resin Techniques
Taking your resin projects to the next level requires a few specialized skills and professional techniques. Once you have moved past the beginner stage, you can start experimenting with methods that add depth and a professional polish to your work. Implementing the best uv resin techniques will help you transform simple crafts into high-end accessories.
Creating Domed Effects on Jewelry
A perfect dome is the hallmark of professional resin jewelry. To achieve this, you must rely on the natural surface tension of the resin. Apply a small amount to the center of your piece and slowly guide it toward the edges using a toothpick or a fine-tipped silicone tool.
Be careful not to let the resin spill over the sides. If you work slowly, the resin will naturally form a beautiful, rounded curve that catches the light perfectly. This technique is one of the best uv resin techniques for giving your pendants a glass-like, expensive appearance.
Encapsulating Photos and Paper Ephemera
Encapsulating paper items can be tricky because porous materials often absorb resin, causing dark spots or bleeding. To prevent this, you must seal your paper thoroughly before placing it in the mold. A thin layer of clear glue or a quick coat of acrylic spray will protect the integrity of your images.
Once the sealant is dry, place your item into a thin base layer of resin. Cure it briefly to lock it in place before adding your final top layer. This careful layering ensures your ephemera remains crisp and vibrant without any unwanted warping.
Achieving a High Gloss Finish Without Sanding
Many crafters dread the time-consuming process of sanding and polishing. You can avoid this by using high-quality materials that offer superior leveling properties. Products containing HP6208A, an aliphatic polyurethane diacrylate oligomer, are excellent for this purpose.
This specific chemistry allows the resin to flow smoothly and self-level, creating a mirror-like surface automatically. By mastering these best uv resin techniques, you save hours of manual labor while ensuring your finished pieces look flawless and professional every single time.
UV Resin Troubleshooting and Common Mistakes
Even the most skilled crafters occasionally face hurdles, making effective uv resin troubleshooting a vital skill to master. When your projects do not cure perfectly, it is usually due to environmental factors or minor errors in your technique. By identifying these issues early, you can save your materials and improve your final results.
Fixing Sticky or Tacky Surfaces
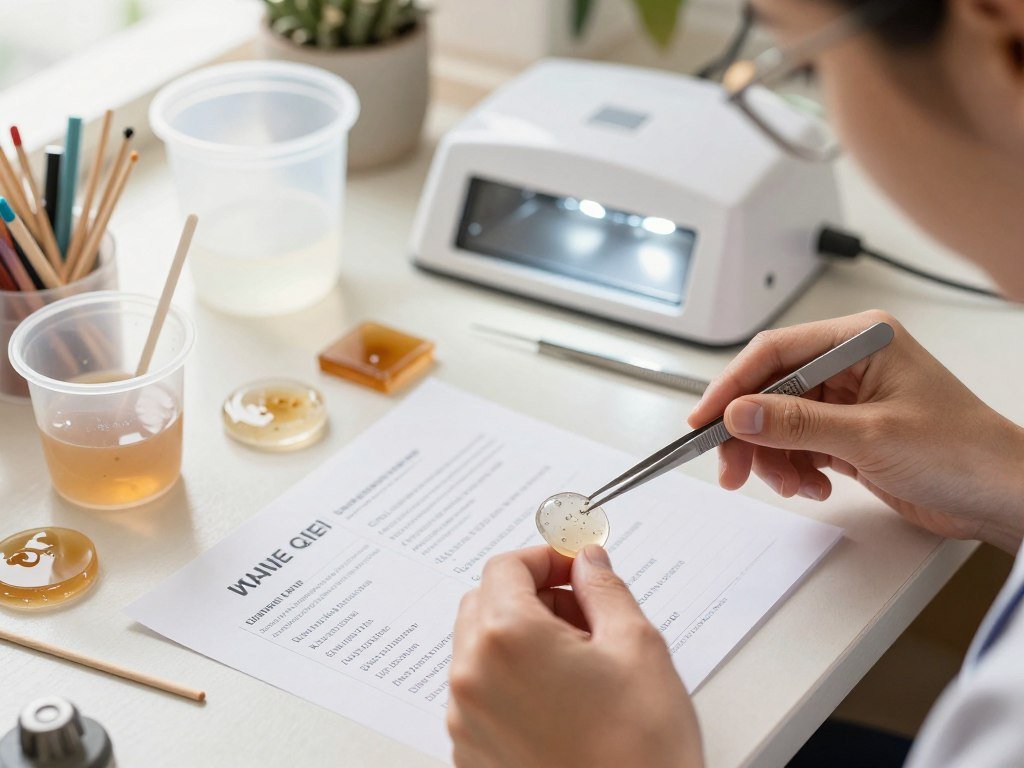
A sticky surface is one of the most common frustrations for beginners. This often happens when the resin does not receive enough light or when the curing time is too short. Always ensure your UV lamp is powerful enough and that the piece is positioned directly under the light source.
If you find a tacky spot, try placing the item back under the lamp for an additional cycle. You can also wipe the surface with a small amount of isopropyl alcohol to remove the uncured residue. If the stickiness persists, it may indicate that the resin has expired or was stored in poor conditions.
Preventing Yellowing Over Time
Yellowing is a natural reaction to prolonged exposure to intense UV rays or heat. To keep your creations looking clear, store finished pieces away from direct sunlight. Using a high-quality resin that contains UV stabilizers can also significantly slow down the discoloration process.
Dealing with Shrinkage and Warping
Shrinkage often occurs when the resin cures too quickly, causing the material to pull away from the edges of the mold. To prevent this, try working in thinner layers rather than filling the mold all at once. This technique allows the resin to settle and cure evenly, reducing internal stress.
If your piece warps, it might be due to excessive heat during the curing process. Keep your workspace at a stable room temperature to ensure consistent results. Effective uv resin troubleshooting involves observing how your specific brand reacts to different environments.
| Common Issue | Primary Cause | Recommended Fix |
|---|---|---|
| Sticky Surface | Insufficient UV light | Increase curing time |
| Yellowing | Sun exposure | Use UV-resistant resin |
| Shrinkage | Rapid curing | Apply thinner layers |
| Warping | High heat | Cooler environment |
Creative UV Resin Project Ideas
Transforming simple liquid resin into beautiful works of art is a rewarding experience for any crafter. Because this material cures rapidly under light, it is perfect for those who want to see immediate results. There are many uv resin project ideas that can help you build your skills while creating stunning items for yourself or as gifts.
Custom Jewelry and Pendants
Jewelry making is perhaps the most popular way to use this medium. You can easily create delicate necklaces, unique earrings, and intricate pendants by pouring resin into precision silicone molds. The ability to embed small items like dried flowers or gold leaf makes every piece feel truly one-of-a-kind.
Personalized Keychains and Accessories
If you want to make something practical, personalized keychains are a fantastic choice. You can add names, initials, or even small photos to create a thoughtful gift for friends and family. These accessories are durable and allow you to experiment with different color pigments and glitter textures to match any personal style.
Decorative Coasters and Small Trinket Trays
For those interested in home decor, crafting small trinket trays or coasters is a great way to start. These functional items look beautiful on a desk or nightstand and can be customized to fit your home’s aesthetic. Using high-quality molds ensures that your finished pieces have a professional, glossy finish that stands the test of time.
| Project Type | Difficulty Level | Primary Material |
|---|---|---|
| Custom Pendants | Beginner | Small Silicone Molds |
| Personalized Keychains | Beginner | Letter Molds |
| Trinket Trays | Intermediate | Large Flat Molds |
| Decorative Coasters | Intermediate | Round/Square Molds |
Exploring these uv resin project ideas will help you gain confidence in your crafting journey. Remember to keep your workspace organized and always experiment with new techniques to keep your creativity flowing.
Maintaining Your UV Resin Tools
Proper care for your resin supplies ensures that every project turns out as beautiful as the first. Taking a few minutes to clean and organize your gear will save you money and frustration in the long run. Consistency is the key to achieving professional results every time you sit down to craft.
Cleaning Silicone Molds Properly
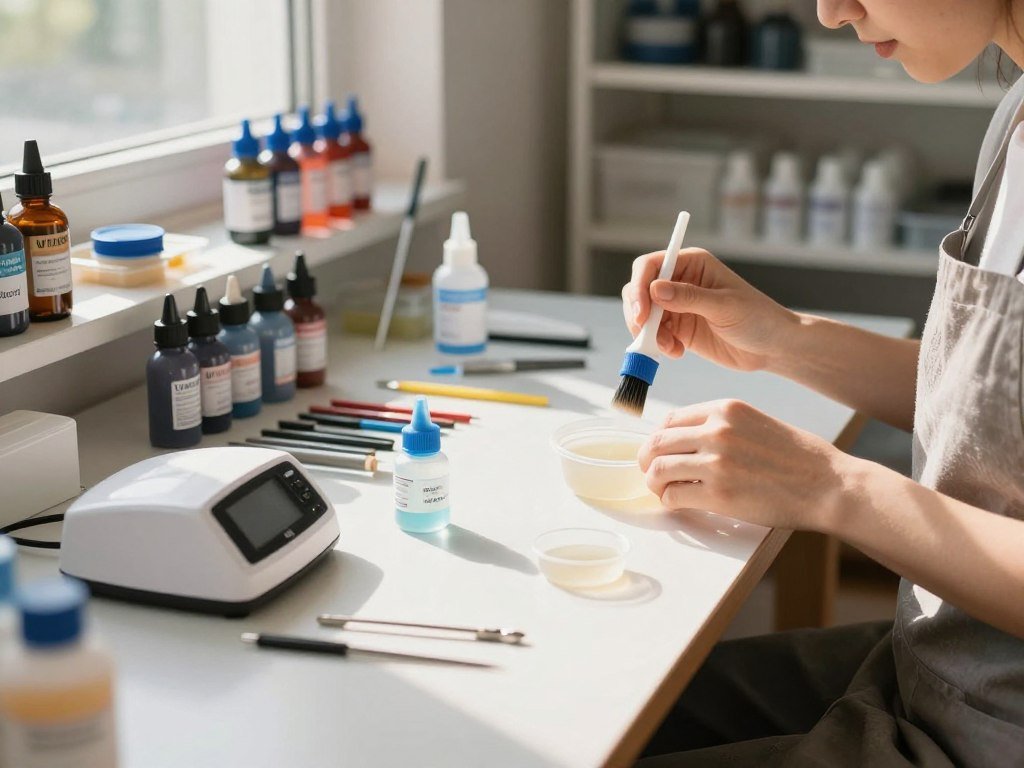
Silicone molds are the backbone of your creative process, so keeping them pristine is essential. Over time, dust and tiny bits of cured resin can accumulate, which might leave unwanted marks on your future pieces. You should always inspect your molds before and after each use.
To keep your molds in top condition, follow these simple steps:
- Use adhesive tape: Gently press a piece of clear tape onto the surface of the mold to lift away dust, hair, or glitter particles.
- Wash with care: If the mold feels sticky or dirty, rinse it with warm water and a drop of mild dish soap.
- Air dry completely: Always let your molds air dry fully before storing them to prevent water spots or trapped moisture.
Storing Resin Bottles to Prevent Premature Curing
Resin is highly sensitive to its environment, and improper storage can lead to wasted product. Exposure to direct sunlight or high heat will cause the liquid to thicken or even harden inside the bottle. Always keep your resin in a cool, dark place to maintain its shelf life.
Make sure to tighten the caps securely after every use to prevent air exposure. It is also a good practice to store your bottles in an upright position. This prevents leaks and ensures that the resin is ready to flow smoothly whenever inspiration strikes.
Replacing UV Lamp Bulbs
Your UV lamp is the engine of your crafting process, but its effectiveness fades over time. Even if the light still turns on, the intensity may drop, leading to sticky or under-cured projects. You should monitor your lamp’s performance closely to ensure it provides a consistent cure.
If you notice that your resin remains tacky after the recommended curing time, it is likely time to replace the bulbs or the entire unit. Most modern LED lamps have a long lifespan, but they do eventually lose their power. Regular maintenance of your light source is the best way to avoid the disappointment of a failed project.
The Comprehensive UV Resin Guide for Success
Mastering the art of resin crafting is a journey that evolves from simple experiments into a refined personal expression. With the global market for these materials growing by approximately 15% annually, there has never been a better time to refine your skills. This uv resin guide serves as your foundation for moving beyond basic tutorials and into the realm of professional artistry.
Developing Your Personal Style
To truly stand out, you must move past standard patterns and embrace your own creative voice. Start by experimenting with unique additives like metallic flakes, dried botanicals, or custom-mixed pigments that reflect your aesthetic. Consistency is key when you want to build a recognizable brand or signature look for your jewelry and trinkets.
Do not be afraid to combine different techniques, such as layering colors or embedding unconventional objects. By documenting your experiments, you can learn which combinations yield the most stunning results. Using this uv resin guide as a reference, you can confidently push the boundaries of what your materials can achieve.
Scaling Up Your Resin Crafting
When you feel ready to produce more pieces for friends or even start a small business, efficiency becomes your best friend. Scaling up requires a more organized workspace and a reliable supply chain for your materials. You might consider investing in higher-quality molds or a more powerful curing station to handle larger batches of work.
Transitioning to a professional level also involves understanding your costs and pricing your items fairly. Focus on creating high-quality, durable pieces that showcase your attention to detail. As you grow, remember that your dedication to learning will keep your work fresh and exciting for your audience.
| Feature | Hobbyist Setup | Professional Setup |
|---|---|---|
| Production Volume | Low (1-5 pieces) | High (Batch processing) |
| Equipment | Basic UV Lamp | Industrial Curing Oven |
| Material Sourcing | Retail Craft Stores | Wholesale Suppliers |
| Goal | Personal Enjoyment | Marketable Quality |
Conclusion
Your journey into the world of resin art is just beginning. You now possess the knowledge to select quality materials from brands like Let’s Resin and Jdiction while maintaining a safe environment for your creative projects.
Consistent practice remains the best way to refine your technique. Experimenting with different curing times and layering methods will help you discover your own artistic voice. Every piece you create builds your confidence and skill level.
Share your unique designs with fellow crafters to gain inspiration and feedback. Engaging with the resin community helps you stay updated on new trends and innovative tools. Keep exploring new textures and colors to push the boundaries of your work.
This guide serves as a foundation for your future success. Keep your workspace organized and your supplies stored properly to ensure every project reaches its full potential. Enjoy the process of turning your vision into beautiful, tangible art.
FAQ
What are the primary benefits for someone looking into uv resin for beginners compared to traditional epoxy?
What specific uv resin safety precautions should I follow in my home studio?
Which lamp is best for learning how to use uv resin successfully?
How can I master the best uv resin techniques for a professional, high-gloss finish?
What is the most common uv resin troubleshooting advice for pieces that remain tacky?
Can I use any type of pigment when learning how to use uv resin?
How should I store my materials to ensure they last as long as possible?
What are some essential uv resin curing tips for deep or thick projects?

SmartLivingJournal
Prabir Dutta is a passionate digital creator, affiliate marketer, and wellness enthusiast who simplifies complex topics like AI tools, Vastu, pet care, and modern living. With a keen eye for SEO, tech trends, and everyday health solutions, he writes to empower readers with actionable, smart-living insights. When not curating content across his network of niche blogs, Prabir enjoys exploring new digital tools that make life easier and more efficient.
Keep exploring Smart Living Journal
Discover more practical ideas on wellness, home living, plants, pets, routines, and smarter everyday upgrades.