Did you know that over 80% of DIY craft failures stem from choosing the wrong liquid polymer for a project? Many beginners assume all clear mixtures perform the same way, but the chemistry tells a different story.
These viscous liquids transform into solid, glass-like materials through specific chemical reactions. Understanding the nuances of casting vs coating resin is the secret to achieving professional results every time.
Whether you are creating deep-pour tabletops or thin, protective layers for artwork, selecting the correct medium is essential. This guide helps you navigate the technical maze with confidence. You will learn how to identify the perfect material for your artistic or industrial needs.
Key Takeaways
- Identify the chemical differences between deep-pour and surface-level polymers.
- Learn why viscosity plays a major role in your final project outcome.
- Discover how to avoid common mistakes that lead to bubbles or uneven curing.
- Match your specific artistic goals with the right material properties.
- Gain the confidence to select the best supplies for industrial or home use.
Understanding the Fundamental Chemistry of Resins
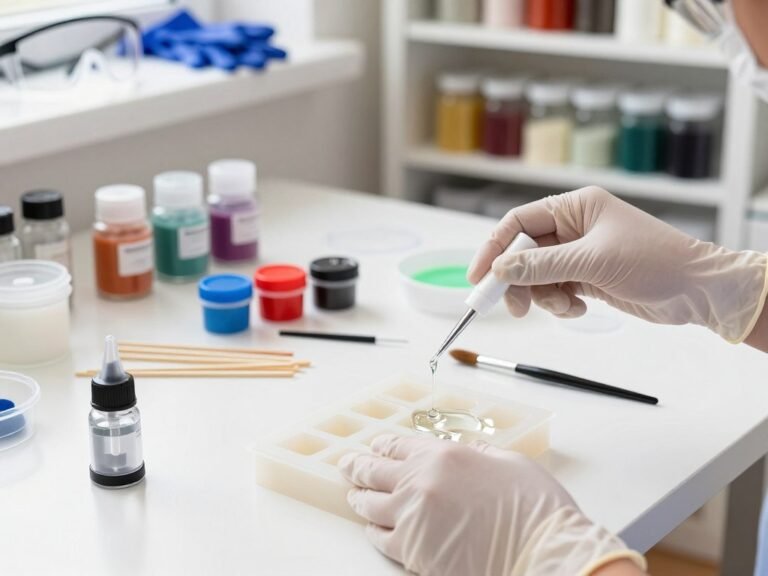
Mastering the art of resin starts by demystifying the chemical process that turns a simple liquid into a hardened masterpiece. At its core, resin is a liquid polymer that undergoes a remarkable change when combined with a specific hardener. This transformation is not magic; it is a precise chemical reaction that requires careful attention to detail.
When you mix these two components, you initiate a process called polymerization. The molecules begin to link together, creating a dense, solid structure. Understanding this foundation is the key to achieving professional results in every project you undertake.
Viscosity and Its Role in Resin Performance
Viscosity refers to the thickness or resistance to flow of your resin mixture. A low-viscosity resin acts much like water, allowing it to pour easily into intricate molds or spread across flat surfaces. Conversely, high-viscosity resins are thicker, often resembling honey or syrup, which makes them ideal for applications where you need the material to stay in place.
Choosing the right viscosity is essential for your project’s success. If your resin is too thick, you may struggle with trapped air bubbles that refuse to rise to the surface. If it is too thin, it might leak from your mold or fail to build the necessary thickness for your design.
“Chemistry is the study of matter, but I prefer to see it as the study of change.”
The Curing Process and Exothermic Reactions
Once the resin and hardener are combined, the mixture begins to cure, which is a transition from a liquid state to a solid state. During this phase, the material undergoes an exothermic reaction, meaning it releases heat as it hardens. This heat is a natural byproduct of the chemical bonds forming within the mixture.
It is important to monitor this heat, as excessive temperatures can cause the resin to crack or yellow. Always work in a temperature-controlled environment to ensure the curing process remains stable. By respecting these fundamental chemical properties, you gain full control over the quality and durability of your finished pieces.
Deep Dive into Casting Resin Characteristics
The secret to perfect, crystal-clear resin castings lies in the specific physical properties of the material. Unlike surface coatings, casting resins are engineered to fill large volumes while maintaining structural integrity. Understanding these traits helps you achieve flawless results in every project.
Why Low Viscosity Matters for Molds
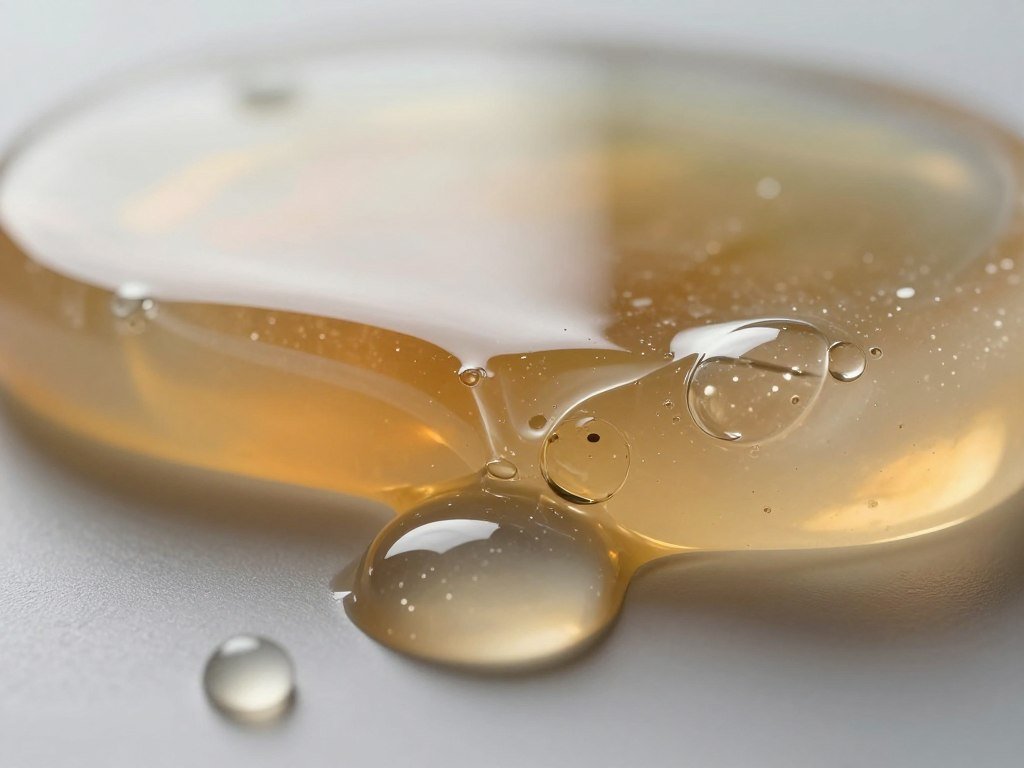
Casting resin typically features a very low viscosity, often described as having the consistency of water. This thin state is essential for intricate mold work because it allows the liquid to flow effortlessly into tight corners and complex textures. Without this fluidity, you would likely face trapped air pockets that ruin the final appearance of your piece.
Because the material is so thin, air bubbles rise to the surface much faster than they would in thicker formulas. This natural degassing process ensures that your finished casting remains clear and free of unsightly voids. When you work with detailed silicone molds, a low-viscosity resin acts like a liquid that captures every tiny detail of the original design.
Managing Shrinkage in Thick Pours
When you pour resin into deep molds, the chemical reaction generates heat, which can lead to shrinkage if not managed correctly. Controlling the exothermic reaction is the key to preventing cracks or warping as the material cures. Many professional artists choose to pour in stages or use specialized slow-curing formulas to keep the temperature stable.
Shrinkage occurs when the resin cools too quickly or the volume is too large for the specific formula to handle. By monitoring your workspace temperature and following the manufacturer’s guidelines for maximum pour depth, you can maintain dimensional accuracy. Proper planning ensures that your deep-pour projects remain solid and perfectly shaped once they fully harden.
| Feature | Low Viscosity Resin | High Viscosity Resin |
|---|---|---|
| Flow Rate | Excellent | Limited |
| Bubble Release | Fast | Slow |
| Best Use | Deep Molds | Surface Coating |
| Shrinkage Risk | Low | Moderate |
Exploring Coating Resin Properties
When you need a flawless finish for your creative projects, understanding the unique properties of coating resin is essential. These specialized formulas are engineered specifically for thin-film applications, providing a protective barrier that enhances the beauty of your work.
Unlike casting resins that fill deep volumes, coating resins focus on surface aesthetics and durability. They are the go-to choice for artists and woodworkers who want to achieve a professional, glass-like appearance on their finished pieces.
Self-Leveling Capabilities for Surface Finishes
One of the most impressive features of coating resin is its self-leveling nature. As you pour the liquid onto a flat surface, it naturally spreads and settles into a perfectly smooth layer.
This property is incredibly helpful for tabletops, bar tops, and artistic canvases. It eliminates the need for manual spreading, which often leads to uneven surfaces or unsightly brush marks.
“The secret to a truly professional finish lies in the patience of the pour and the quality of the material used to seal the surface.”
UV Resistance and Clarity Requirements
Maintaining long-term transparency is a critical requirement for any high-quality coating resin. Over time, exposure to sunlight can cause standard resins to yellow, which ruins the visual impact of your project.
Manufacturers incorporate UV stabilizers into these formulas to prevent discoloration and maintain crystal-clear results. This ensures that your artwork or furniture remains vibrant and clear for many years to come.
Choosing a resin with high UV resistance is vital if your project will be displayed in a bright room or near a window. It provides the peace of mind that your hard work will not fade or turn amber as it ages.
Key Differences Between Casting and Coating Resin
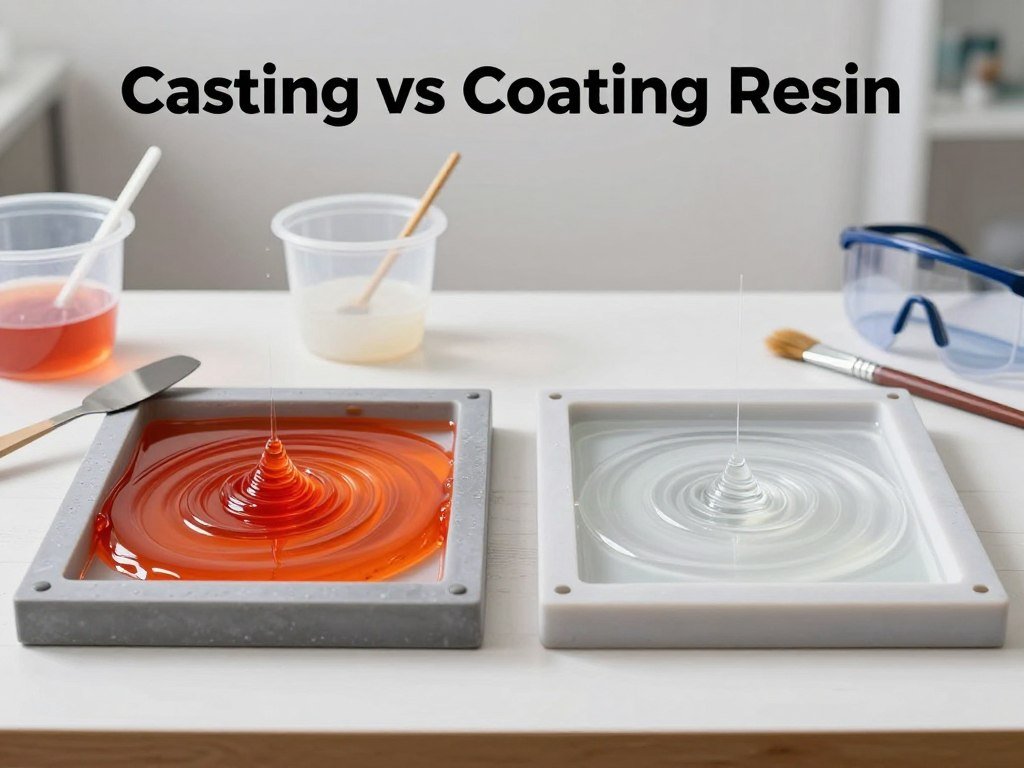
Understanding the nuances of casting vs coating resin helps you achieve professional results every time. While both materials belong to the epoxy family, they are engineered for very different tasks. Knowing the difference between casting and coating resin ensures your project remains durable and visually stunning.
Comparing Pot Life and Working Time
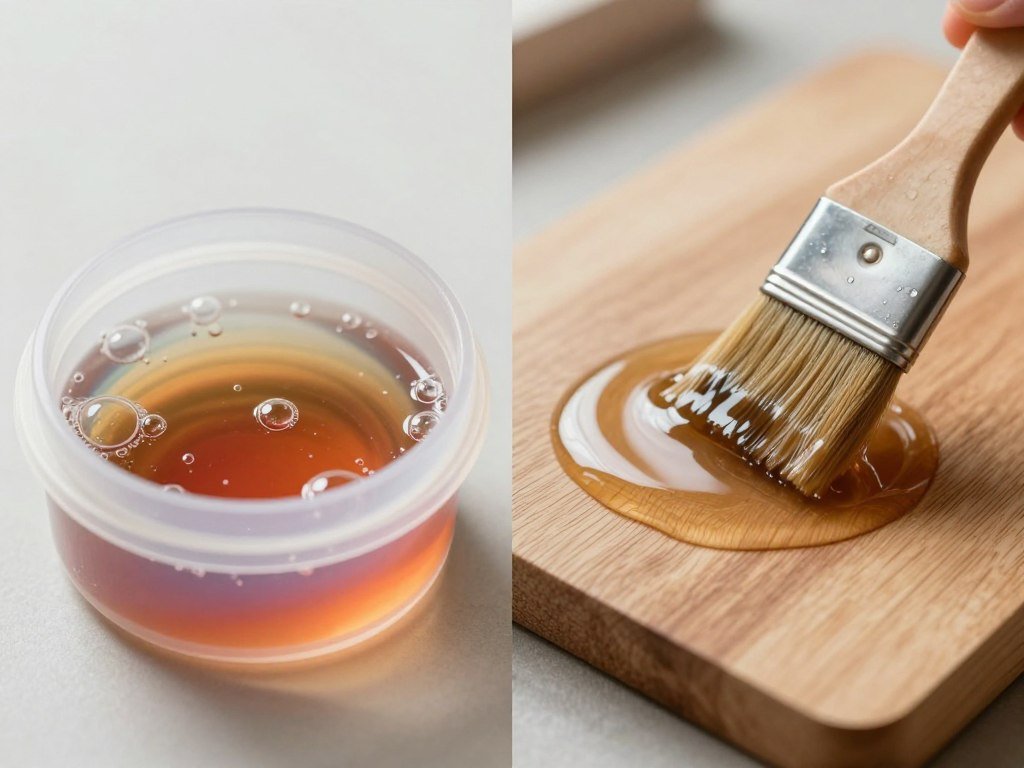
The most noticeable distinction lies in how quickly these materials set. Coating resins are designed for rapid turnaround, typically curing fully within 48 to 72 hours. This makes them ideal for thin, protective layers on tabletops or art pieces.
In contrast, casting resins require a much slower curing process to prevent overheating in thick volumes. You should expect a full cure time of up to 7 days for deep pours. This extended window allows air bubbles to escape naturally before the material hardens.
Hardness and Flexibility Trade-offs
When selecting your material, consider the final application’s needs. Coating resins are formulated to be hard and scratch-resistant, providing a glass-like finish that protects surfaces from daily wear.
Casting resins often prioritize structural integrity and volume. They may be slightly more flexible to prevent cracking during the long curing phase. Key differences include:
- Coating Resin: High surface hardness, fast cure, thin application.
- Casting Resin: Lower viscosity, deep pour capability, slower cure.
| Feature | Coating Resin | Casting Resin |
|---|---|---|
| Cure Time | 48-72 Hours | Up to 7 Days |
| Primary Use | Surface Protection | Molds and Deep Pours |
| Finish | High Gloss/Hard | Clear/Structural |
Selecting the Best Resin for Casting Projects
Selecting the best resin for casting requires a clear understanding of your project goals and the specific properties of the materials available. Whether you are creating jewelry, decorative figurines, or functional art, the chemistry of your chosen medium dictates the final outcome. Taking the time to evaluate your needs ensures that your hard work results in a durable, high-quality piece.
Choosing Between Epoxy and Polyurethane Casting Resins
Epoxy resin is often favored for its exceptional clarity and long working time, making it a top choice for beginners. It cures slowly, which allows air bubbles to rise to the surface before the material hardens. This makes it the best resin for casting deep, clear objects where transparency is the primary goal.
In contrast, polyurethane resin is known for its rapid cure time and high impact resistance. It is typically opaque or tinted, which makes it ideal for detailed figurines or industrial parts. Because it sets quickly, you must work efficiently to ensure the material fills every corner of your resin casting molds before it begins to gel.
Factors Influencing Mold Release Success
Achieving a clean release from your resin casting molds depends heavily on proper preparation and material compatibility. Always ensure your mold is clean and free of dust or debris before pouring. Using a high-quality release agent is essential to prevent the resin from bonding permanently to the mold surface.
Temperature also plays a significant role in how easily your cast object will pop out. If the ambient temperature is too low, the resin may remain tacky, leading to potential damage during demolding. Conversely, maintaining a stable environment helps the resin cure evenly, ensuring that your finished piece retains its intended shape and detail without sticking to the sides of the mold.
Mastering the Resin Coating Process
Mastering the art of applying resin coatings can transform ordinary surfaces into stunning, durable works of art. Whether you are working on a wooden tabletop or a decorative tray, the resin coating process requires patience and precision to achieve professional results. By following a structured approach, you can ensure your projects look polished and stand the test of time.
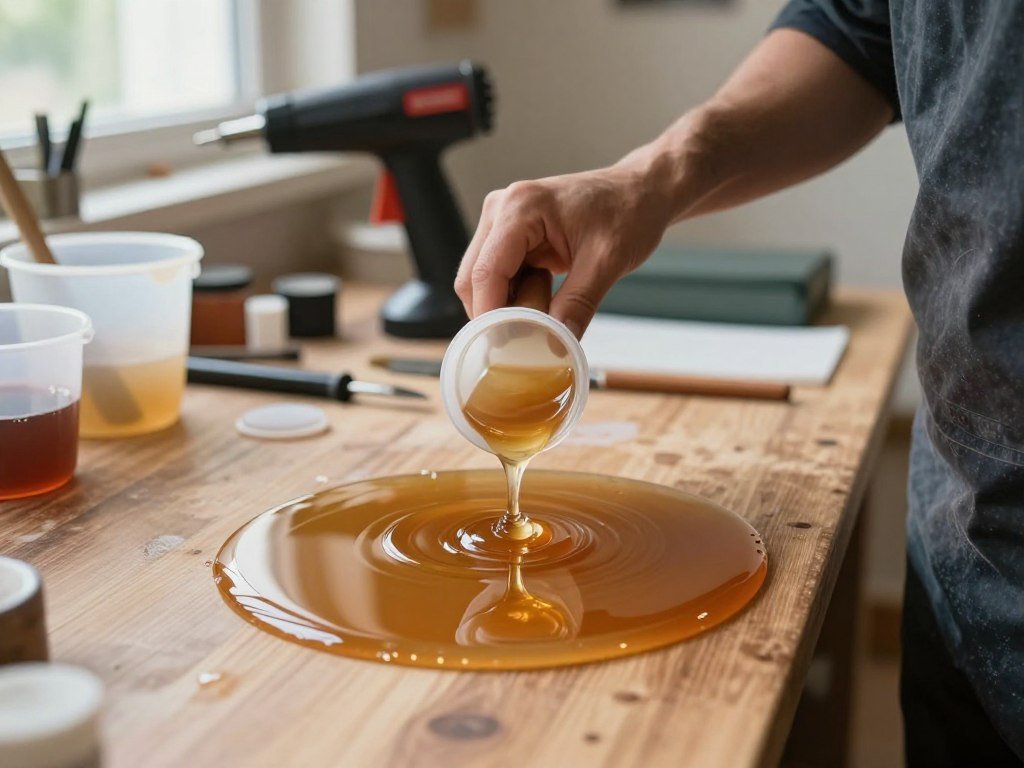
Most resin coating applications involve applying thin layers, typically between 1/8 and 1/4 inch deep. This thickness provides enough body to level out while maintaining the structural integrity of the finish. Understanding how to manage these thin layers is the first step toward success.
Surface Preparation for Optimal Adhesion
Before you begin, your surface must be perfectly clean and dry. Any dust, oil, or debris can cause the resin to pull away, leading to unsightly gaps known as fisheye. Proper sanding is essential to create a “tooth” that allows the resin to grip the material effectively.
If you are working with porous materials like wood, you must apply a thin seal coat first. This prevents air from escaping the material and creating bubbles in your final layer. Taking the time to prepare your workspace and materials will significantly improve your final outcome.
Techniques for Achieving a Bubble-Free Finish
Bubbles are the most common challenge for beginners, but they are easily managed with the right tools. Start by mixing your resin slowly to avoid whipping excess air into the mixture. Once poured, you can use a heat gun or a small butane torch to gently pop surface bubbles.
Keep the heat source moving constantly to avoid scorching the resin. Consistency is key when applying these coatings to ensure a smooth, glass-like appearance. Refer to the table below to troubleshoot common issues you might encounter during your project.
| Common Issue | Primary Cause | Recommended Solution |
|---|---|---|
| Fisheye | Surface Contamination | Clean with denatured alcohol |
| Sticky Spots | Improper Mixing | Scrape sides of mixing cup |
| Surface Bubbles | Trapped Air | Use a torch or heat gun |
| Cloudy Finish | High Humidity | Control workspace environment |
By mastering these techniques, you will find that your resin coating applications become much more reliable. Always remember that the quality of your finish is a direct reflection of your preparation. With practice, you will achieve that perfect, crystal-clear look every time.
Common Resin Casting Techniques for Beginners
Many beginners struggle with their first projects, but these essential resin casting tips and tricks can help you achieve professional results. Learning the right resin casting techniques early on will save you from common mistakes like overheating or trapped bubbles. By following a few simple rules, you can create stunning, clear pieces with confidence.
Layering Methods for Deep Pours
When you want to create a thick or deep project, pouring all the resin at once can lead to an exothermic reaction. This happens when the resin gets too hot, which may cause it to crack or yellow. To prevent this, you should use a layering method.
Simply pour your resin in thin, manageable layers, allowing each one to reach a “tacky” state before adding the next. This approach helps manage the heat buildup effectively. Patience is your best tool when working with deep molds, as it ensures a smooth and stable cure.
Embedding Objects Without Trapping Air
Adding items like dried flowers, stones, or trinkets into your resin adds a unique touch to your work. However, these objects often hold onto air, which can create unsightly bubbles in your finished piece. To avoid this, always seal your objects with a thin coat of resin or a spray sealer before placing them in the mold.
When you are ready to embed the item, pour a small amount of resin into the mold first. Gently place your object into the liquid and use a toothpick to nudge it, ensuring no air is trapped underneath. Slow and steady movements are the secret to achieving a crystal-clear finish that highlights your embedded items perfectly.
Essential Resin Coating Applications
Discover how versatile resin coating applications can elevate your DIY projects to a professional level. Whether you are a woodworker or a painter, these materials provide a unique blend of beauty and strength that is hard to match with traditional finishes.
Understanding the resin coating process is the first step toward achieving that glass-like, high-gloss look. By choosing the right formula, you can ensure your hard work remains protected for years to come.
Protecting Wood Surfaces and Tabletops
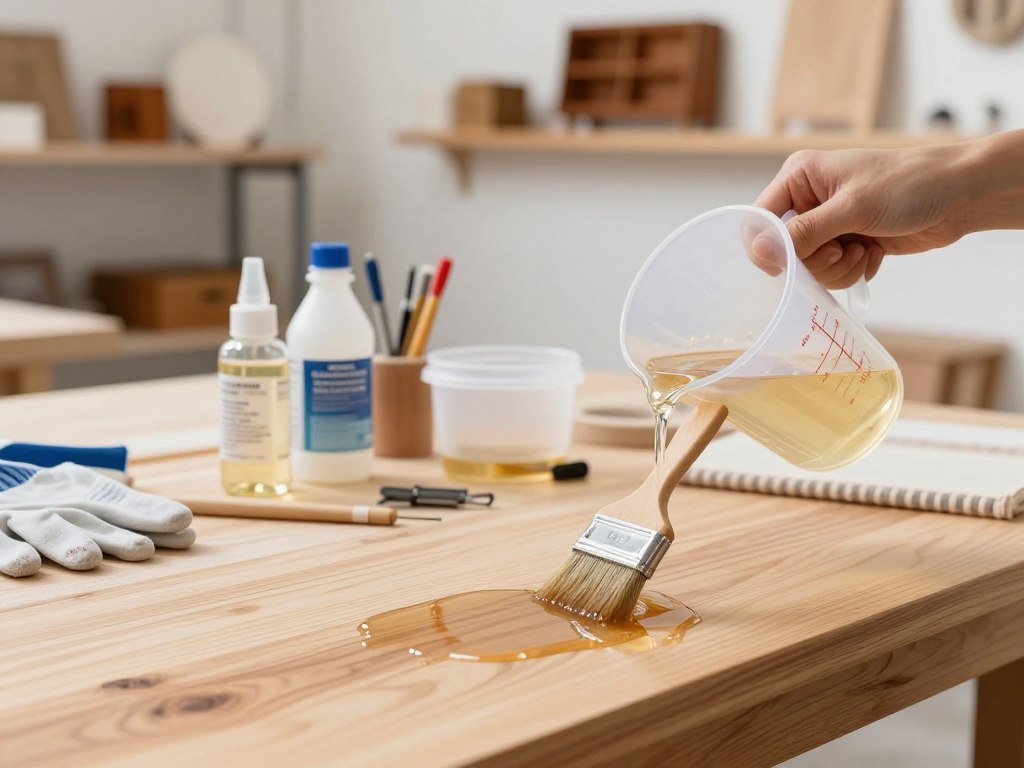
Epoxy resin is widely considered the go-to choice for protecting wood surfaces like tabletops and bar counters. It creates a durable, shiny shield that guards against scratches, spills, and daily wear. This makes it an ideal solution for high-traffic areas in your home.
Beyond its strength, resin preserves the natural beauty of the wood grain. It adds a deep, rich luster that highlights the unique character of your lumber. Many makers find that this finish provides a sophisticated touch that elevates a simple piece of furniture into a stunning centerpiece.
Adding Depth to Artistic Canvases
Artists often use these coatings to add professional flair and visual depth to their work. By applying a thin, clear layer over a finished painting, you can make colors pop and create a sense of three-dimensional space. This technique is especially popular for abstract art and mixed-media projects.
The resin coating process allows for a smooth, bubble-free finish that protects your artwork from dust and UV damage. It gives your canvas a gallery-quality appearance that is both striking and resilient. With a little practice, you can master the flow of the resin to create beautiful, professional results on every piece you create.
Resin Casting Tips and Tricks for Professional Results
Mastering the art of resin casting involves a delicate balance of science and patience. While high-quality materials are essential, your environment plays a critical role in the final outcome of your work. By refining your workflow, you can consistently achieve the smooth, glass-like finish that defines professional-grade projects.
Managing Temperature and Humidity in Your Workspace
Temperature is perhaps the most influential factor in the curing process. Most resins perform best in a stable environment between 70°F and 75°F. If your workspace is too cold, the resin may remain tacky or fail to harden completely. Conversely, excessive heat can cause the mixture to cure too quickly, leading to cracks or unwanted internal stress.
Humidity also demands your attention when applying these resin casting techniques. High moisture levels in the air can react with the resin, resulting in a cloudy or dull surface finish. Always use a hygrometer to monitor your room, and consider using a dehumidifier if your workspace is prone to damp conditions.
Troubleshooting Common Casting Failures
Even experienced makers encounter issues from time to time. If you notice bubbles trapped in your piece, try warming the resin bottle in a water bath before mixing to lower its viscosity. This simple step allows air to escape more easily during the pouring phase.
When dealing with soft or sticky spots, double-check your mixing ratios. Inaccurate measurements are the most common cause of curing failures. Utilizing these resin casting tips and tricks will help you maintain consistency. If a project does fail, remember that it is often a learning opportunity to refine your technique for the next pour.
Safety Protocols for Working with Epoxy and Polyurethane
Prioritizing your health is the most important step when starting any resin project. Whether you are exploring epoxy resin vs polyurethane resin casting, you must treat these chemicals with respect. Establishing a safe workspace ensures that your creative process remains enjoyable and free from unnecessary risks.
Personal Protective Equipment Requirements
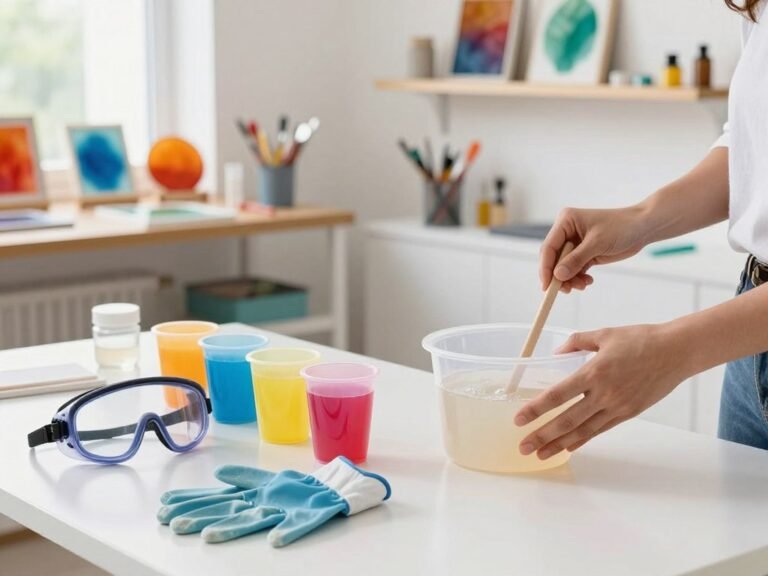
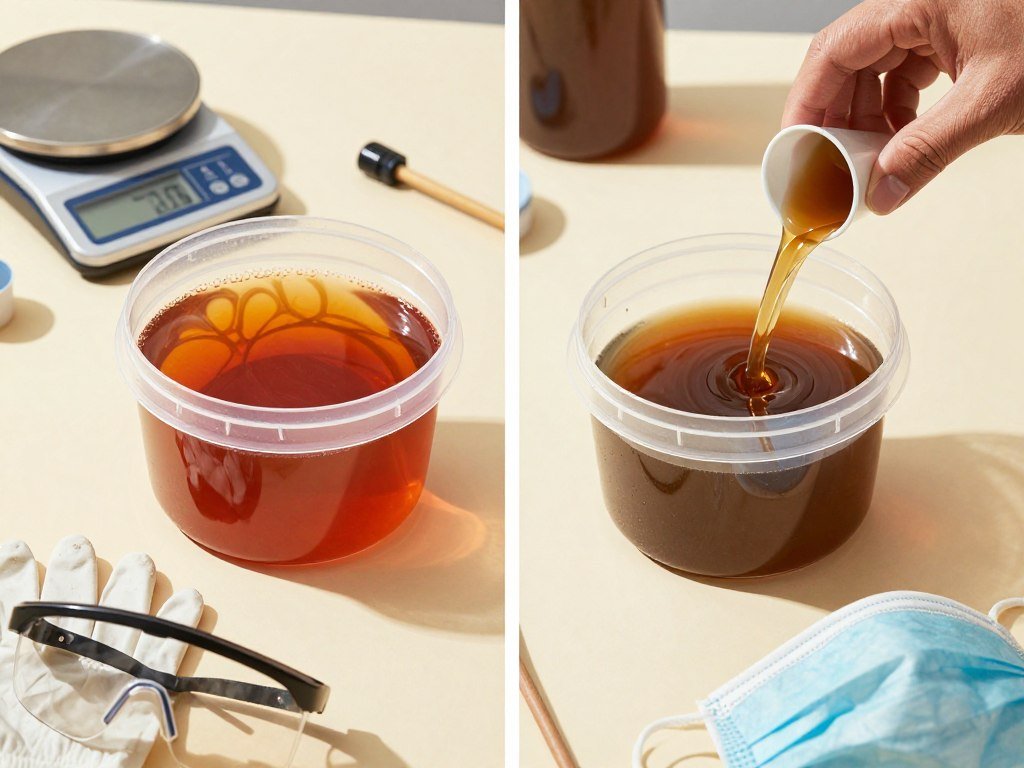
Wearing the right gear is your first line of defense against chemical irritation. You should always use nitrile gloves to prevent skin contact, as resin can cause severe allergic reactions over time. Never rely on standard household gloves, as they may not provide an adequate barrier against specific chemical compounds.
Protecting your eyes is equally vital during the mixing process. Safety goggles or a full face shield will prevent accidental splashes from reaching your eyes. Additionally, wearing long sleeves and an apron helps keep your skin covered, minimizing the risk of accidental exposure during your epoxy resin vs polyurethane resin casting workflow.
Proper Ventilation and Chemical Handling
A well-ventilated workspace is non-negotiable when working with liquid polymers. You should always work in an area with a steady flow of fresh air, such as near an open window or with an exhaust fan running. If you are working in a confined space, a respirator equipped with organic vapor cartridges is highly recommended to filter out harmful fumes.
Proper storage and disposal are also key components of chemical safety. Always keep your containers tightly sealed when not in use to prevent spills and unnecessary evaporation. When you finish your epoxy resin vs polyurethane resin casting project, dispose of all waste materials according to local environmental regulations to keep your home and community safe.
| Safety Gear | Purpose | Frequency |
|---|---|---|
| Nitrile Gloves | Skin Protection | Every Session |
| Safety Goggles | Eye Protection | During Mixing |
| Respirator | Fume Filtration | Always Indoors |
| Protective Apron | Clothing Shield | Every Session |
Comparing Epoxy Resin vs Polyurethane Resin Casting
Choosing the right material for your next project requires a deep look at epoxy resin vs polyurethane resin casting. Each material offers distinct physical properties that can significantly influence the outcome of your work. Understanding these differences ensures that your final piece meets your specific needs for strength and longevity.
Durability and Impact Resistance Differences
When you prioritize physical toughness, polyurethane often stands out as the superior choice. It is known for its remarkable impact resistance and ability to withstand mechanical stress without cracking. This makes it a favorite for functional parts that might face daily wear and tear.
In contrast, epoxy resin is generally more rigid and brittle. While it provides excellent structural support, it may not handle high-impact situations as gracefully as polyurethane. If your project requires a material that can flex slightly under pressure, polyurethane is usually the better option.
Color Stability and Yellowing Factors
A major consideration for any clear casting project is how the material ages over time. Epoxy resin offers superior UV resistance compared to many other resin types, which helps it maintain its clarity for longer periods. This makes it ideal for decorative items that will be displayed in bright, sunny areas.
On the other hand, polyurethane resin is more prone to yellowing when exposed to direct sunlight. Even with added stabilizers, it often loses its crystal-clear appearance faster than epoxy. If you are creating a piece where long-term aesthetic clarity is the top priority, you should lean toward using high-quality epoxy resin for your casting needs.
Tools and Equipment for Resin Success
Achieving professional results in your workshop starts with gathering the right gear. When you have reliable equipment, you can focus entirely on your creativity rather than worrying about technical failures. Investing in quality tools is the most effective way to ensure your projects turn out exactly as you envisioned.
Selecting the Right Resin Casting Molds
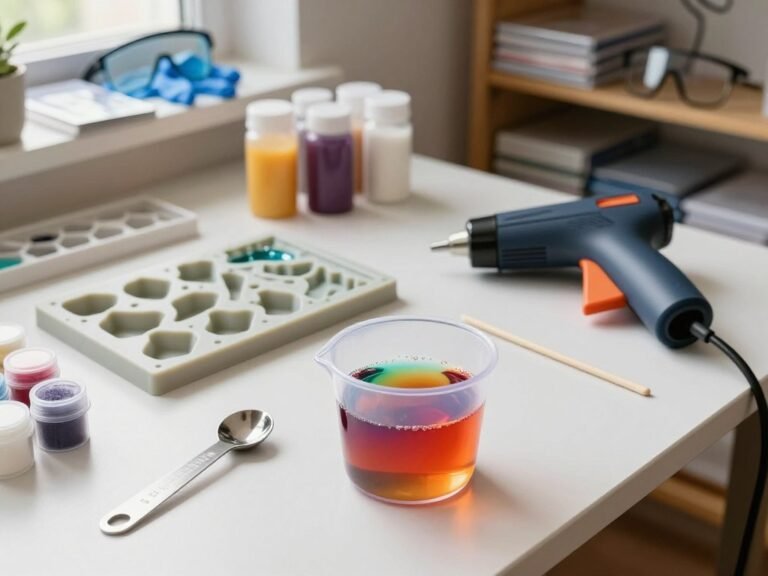
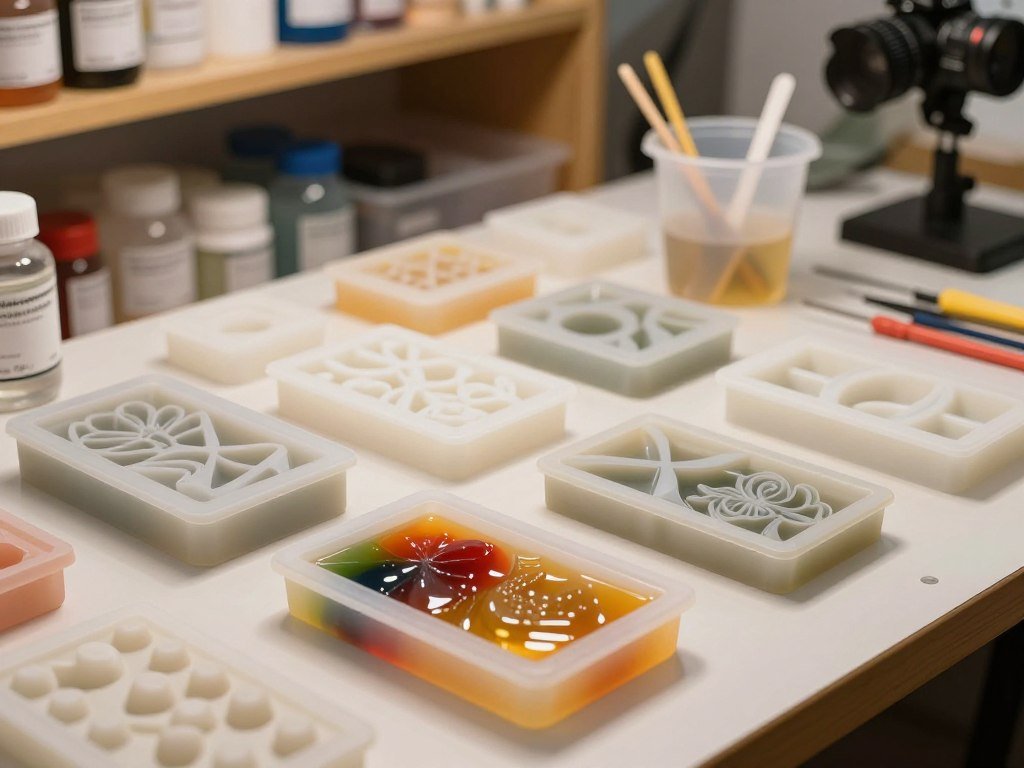
Choosing the best resin for casting requires a compatible container that allows for easy removal once the material hardens. Silicone resin casting molds are highly recommended for this purpose because of their incredible flexibility and non-stick properties. These molds allow you to pop out your finished pieces without damaging the delicate surface or the mold itself.
When shopping for molds, look for high-grade silicone that can withstand repeated use without tearing. A smooth interior finish is vital, as any texture on the mold will transfer directly to your final piece. Taking care of your molds by cleaning them gently after every use will significantly extend their lifespan.
Mixing and Measuring Tools for Precision
Resin chemistry is unforgiving, so accuracy is non-negotiable during the preparation phase. You should always use graduated mixing cups and stir sticks to ensure the correct ratio of resin to hardener. Even a small deviation in measurement can lead to sticky spots or incomplete curing, which is why precision is your best friend in the studio.
Digital scales are often more accurate than volume-based measuring cups for achieving the perfect mix. After you finish your project, wipe down your mixing tools immediately while the resin is still wet. If you allow the material to harden on your equipment, it becomes nearly impossible to remove without damaging the surface. Consistent maintenance ensures that your tools remain ready for your next creative endeavor.
Conclusion
Selecting the right material determines the success of your creative vision. You now possess the knowledge to identify the core difference between casting and coating resin for any project. Understanding these unique properties allows you to achieve professional results with every pour.
Your ability to manage viscosity and cure times remains the secret to high-quality art. Whether you choose products from brands like ArtResin or TotalBoat, your focus on proper application methods ensures a durable finish. You are ready to transform raw materials into stunning, long-lasting pieces.
Experiment with your new skills to see how different formulas react in your workspace. Share your latest creations with the crafting community to inspire others. Your journey into the world of resin art starts with these fundamental choices.
FAQ
What is the primary difference between casting and coating resin?
Which is the best resin for casting deep-pour projects like river tables?
What are the most effective resin casting techniques for avoiding bubbles?
How does the resin coating process differ from deep pouring?
When comparing epoxy resin vs polyurethane resin casting, which should I choose?
What are the most common resin coating applications in home decor?
Can you share some resin casting tips and tricks for managing temperature?
Why is the mixing ratio so critical for both types of resin?
What type of resin casting molds are best for intricate details?
How long is the typical working time for coating resins?

SmartLivingJournal
Prabir Dutta is a passionate digital creator, affiliate marketer, and wellness enthusiast who simplifies complex topics like AI tools, Vastu, pet care, and modern living. With a keen eye for SEO, tech trends, and everyday health solutions, he writes to empower readers with actionable, smart-living insights. When not curating content across his network of niche blogs, Prabir enjoys exploring new digital tools that make life easier and more efficient.
Keep exploring Smart Living Journal
Discover more practical ideas on wellness, home living, plants, pets, routines, and smarter everyday upgrades.