Did you know that over 70% of home decor enthusiasts now use liquid polymers to breathe new life into tired furniture? This incredible material acts as a durable adhesive, turning basic household items into stunning works of art.
Whether you want to coat a tabletop or create custom gifts, this epoxy resin guide provides the clarity you need. It is the perfect starting point for anyone eager to explore their creative side.
Mastering this craft is easier than you might think. By following our epoxy resin for beginners approach, you will gain the confidence to turn simple liquid components into hard-cured masterpieces. Get ready to transform your living space with professional results.
Key Takeaways
- Liquid polymers offer a versatile way to coat and protect home decor.
- Beginners can achieve professional results with the right preparation.
- This material is ideal for creating custom gifts and furniture upgrades.
- Safety and patience are the two most important factors for success.
- You can transform simple items into durable, high-gloss masterpieces.
Understanding the Basics of Epoxy Resin
Mastering the basics of epoxy resin is the foundation of every successful creative project. Whether you are a hobbyist or a budding professional, this epoxy resin guide will help you navigate the complexities of this versatile material.
What is Epoxy Resin and How Does It Work?
At its core, epoxy resin is a two-part system consisting of a resin and a hardener. When you mix these two components in the correct ratio, a chemical reaction occurs that transforms the liquid into a solid, durable plastic.
This process is known as curing. It is essential to follow the manufacturer’s instructions precisely, as even minor deviations can prevent the mixture from hardening properly. Proper measurement is the secret to achieving a crystal-clear, rock-hard finish every time.
Distinguishing Between Casting and Coating Resins
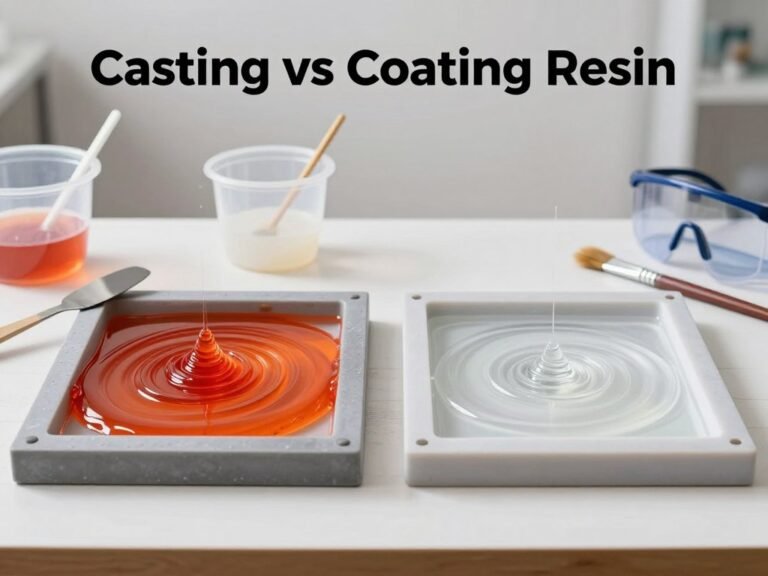
Not all resins are created equal, and choosing the right type is vital for your success. Coating resins are typically more viscous and designed to cure quickly, which makes them perfect for creating a protective, glossy layer over surfaces like tabletops or art pieces.
In contrast, casting resins have a thinner consistency and a slower cure time. This specific formulation allows air bubbles to escape easily, making them the ideal choice for pouring into deep molds or embedding objects. Using this epoxy resin guide as your reference, you can ensure that your project achieves the desired hardness and clarity regardless of the application.
Understanding these fundamental differences helps you avoid common pitfalls. Always check the label to ensure you are using the correct product for your specific needs, as using the wrong resin can lead to frustrating results like sticky surfaces or excessive bubbles.
Essential Safety Gear and Workspace Preparation
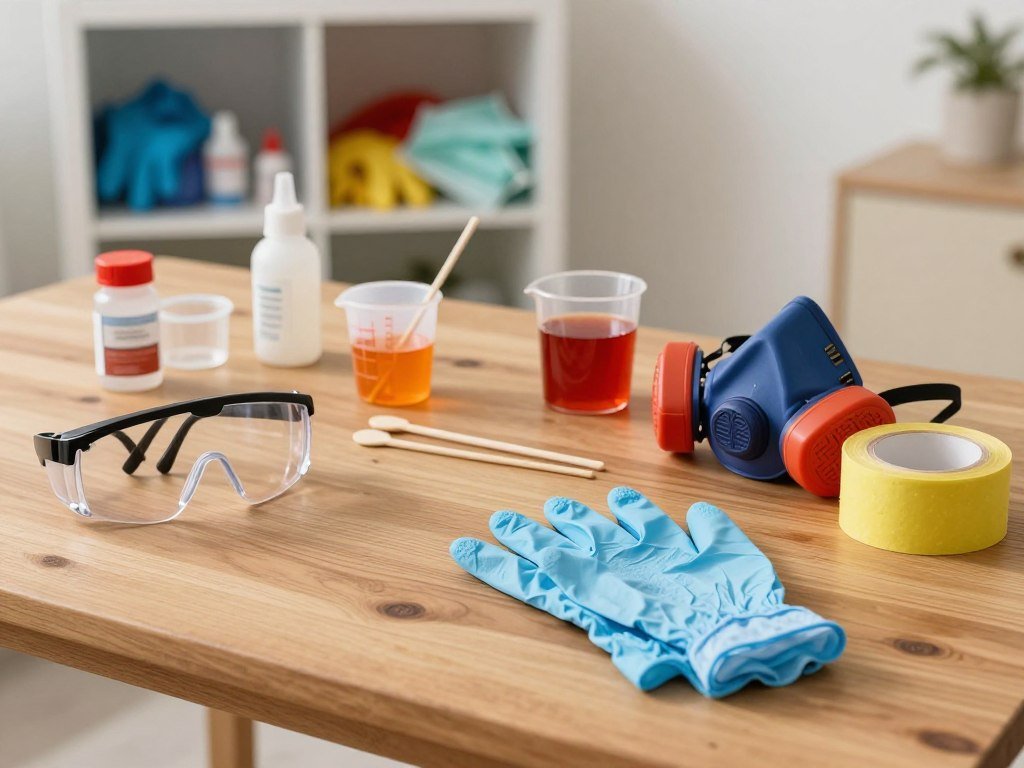
Establishing a secure and clean area is the foundation of every successful resin project. Before you mix your first batch, you must prioritize your physical safety and the integrity of your workspace. Following these epoxy resin tips will help you avoid common hazards while ensuring your final pieces look professional.
Personal Protective Equipment You Must Have
Working with chemical compounds requires a serious approach to personal protection. You should always wear a respirator rated for organic vapors to protect your lungs from fumes. Additionally, keep your skin safe by wearing gloves and clothing that covers your arms completely.
Safety goggles are also essential to prevent accidental splashes from reaching your eyes. Never underestimate the importance of these items, as they are your primary defense against irritation or chemical exposure. Keeping your gear in good condition is one of the most vital epoxy resin tips for any hobbyist.
| Equipment | Purpose | Frequency |
|---|---|---|
| Respirator | Filters harmful fumes | Every use |
| Nitrile Gloves | Protects skin contact | Every use |
| Safety Goggles | Prevents eye splashes | Every use |
| Long Sleeves | Covers exposed skin | Every use |
Setting Up a Dust-Free and Ventilated Environment
A pristine workspace is just as important as your safety gear. You must ensure your area has proper ventilation to allow fumes to escape, especially in smaller rooms. Open windows or use a fan to keep the air moving away from your breathing zone.
Dust is the enemy of a smooth, glossy finish. Try to work in a room that is free from pet hair, lint, and airborne debris. Covering your workspace with a clean plastic sheet or using a dedicated box to cover your curing projects will keep them pristine. Applying these epoxy resin tips will ensure your creations remain free of unwanted contaminants.
Selecting the Right Tools for Your Projects
Achieving professional results in your resin projects starts with selecting high-quality equipment. When you prioritize the best epoxy resin practices, you ensure that your materials perform exactly as intended. Having the right gear on hand makes the entire crafting process much smoother and more enjoyable for beginners and experts alike.
Mixing Containers and Stirring Utensils
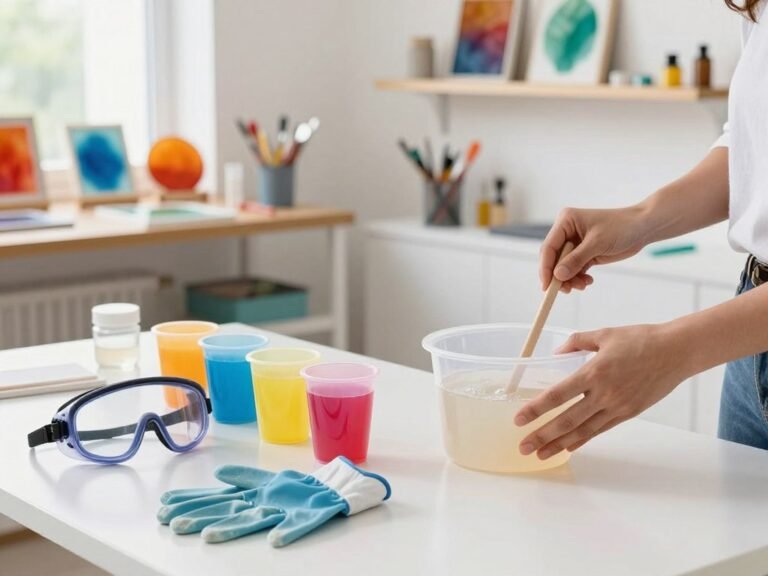
The foundation of any successful pour begins with your choice of mixing vessels. You should always use smooth-sided plastic or silicone cups that allow for easy scraping of the sides and bottom. Avoid using containers with ridges, as these can trap unmixed resin and lead to sticky spots in your final piece.
For stirring, simple wooden craft sticks or sturdy dowel rods work exceptionally well. It is vital to use tools that do not introduce air into the mixture. Slow, deliberate stirring helps maintain the integrity of the resin and prevents unwanted bubbles from forming during the process.
Precision Measuring Tools for Accurate Ratios
Accuracy is the most critical component when working with two-part systems. Even a slight deviation in the ratio can prevent your project from curing properly, leaving you with a tacky or soft surface. Utilizing precision measuring tools is one of the best epoxy resin practices you can adopt to guarantee a hard, glass-like finish.
Many crafters prefer using graduated measuring cups with clear markings to ensure exact volumes. If you are working on larger projects, a digital scale can provide even greater accuracy by measuring the weight of the components. Always double-check your measurements before you begin the mixing phase to avoid common errors.
| Tool Type | Primary Use | Key Benefit |
|---|---|---|
| Graduated Cups | Volume measurement | Easy to read markings |
| Digital Scale | Weight measurement | High precision accuracy |
| Silicone Stirrers | Mixing components | Reusable and easy to clean |
| Wooden Sticks | Blending resin | Disposable and cost-effective |
Mastering the Mixing Process
Mastering the mixing process is the most critical step in any epoxy resin tutorial. While it may seem simple, the chemical reaction between your components determines the final strength and clarity of your work. Taking your time here prevents common issues like sticky spots or uneven curing.
Calculating Ratios for Perfect Curing
Every brand has specific requirements, so always check the manufacturer’s label before you begin. Most standard kits require a 1:1 ratio of resin to hardener by volume. Using a precise measuring cup is essential to ensure the chemical reaction occurs exactly as intended.
“Precision in measurement is the silent partner of every great artist; without it, the chemistry simply fails to hold.”
If your ratios are off, the resin may remain tacky or soft indefinitely. Always double-check your measurements before pouring them into your mixing container. Consistency at this stage is the hallmark of a skilled crafter.
Techniques for Thorough Mixing Without Bubbles
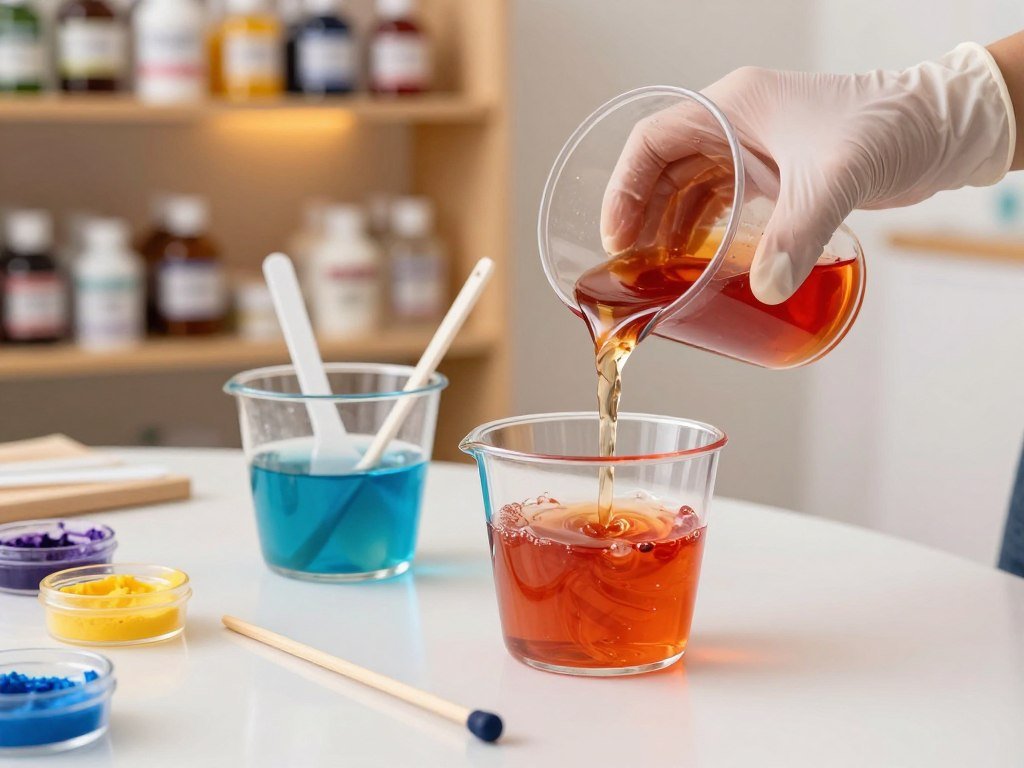
Once you have measured your components, the physical act of blending begins. You should stir your mixture slowly and steadily for at least three minutes. This duration ensures that the resin and hardener molecules bond completely.
To avoid introducing excess air, keep your stirring utensil in contact with the bottom of the container. It is vital to scrape the sides and the bottom of your cup frequently during the process. This prevents unmixed material from clinging to the edges and ruining your pour.
Learning how to use epoxy resin effectively means embracing patience during this phase. By avoiding aggressive whipping motions, you keep the mixture clear and free of unwanted bubbles. A calm, methodical approach will yield the professional, glass-like finish you desire.
Comprehensive Epoxy Resin Guide for Surface Preparation
Proper surface preparation is the hidden foundation of every successful epoxy project. Before you begin, ensure your workspace is set to a stable temperature of 70 degrees Fahrenheit or higher. Working on a perfectly level surface is also essential to prevent the resin from pooling unevenly as it cures.
Following this epoxy resin tutorial will help you avoid common pitfalls like air bubbles or peeling. Taking the time to prep your base material ensures that your final piece looks professional and lasts for years.
Cleaning and Sealing Porous Materials
Porous materials like wood, concrete, or stone act like sponges. If you pour resin directly onto them, air trapped inside the pores will escape, creating unsightly bubbles in your finish. You must seal these surfaces with a thin coat of resin or a dedicated sealer first.
Start by sanding the surface to remove loose debris and dust. Once clean, apply a thin “seal coat” using a brush or squeegee. This layer fills the voids and locks in any loose fibers, providing a smooth, non-porous base for your main pour.
Ensuring Proper Adhesion on Different Substrates
Understanding how to use epoxy resin on various materials requires knowing how to create a mechanical bond. Smooth surfaces like metal or plastic often need to be roughed up with sandpaper to give the resin something to grip. Without this step, your cured resin might eventually pop off the substrate.
Always wipe down your surfaces with isopropyl alcohol after sanding to remove oils and dust. This simple cleaning step significantly improves the chemical bond between the resin and your project base.
| Substrate Type | Preparation Method | Key Requirement |
|---|---|---|
| Wood | Sand and Seal | Remove all loose dust |
| Metal | Scuff with sandpaper | Degrease with alcohol |
| Plastic | Light abrasion | Ensure surface is dry |
| Concrete | Clean and Prime | Seal porous areas |
By following these steps, you ensure that your project remains durable and clear. Mastering these basics is the best way to learn how to use epoxy resin effectively for any home improvement or craft task.
Adding Color and Texture to Your Resin
Transforming clear resin into a vibrant masterpiece is where your artistic vision truly comes to life. Customizing your creations is arguably the most enjoyable part of the entire crafting process. By experimenting with different additives, you can turn a simple pour into a unique work of art that reflects your personal style.
Using Liquid Pigments and Mica Powders
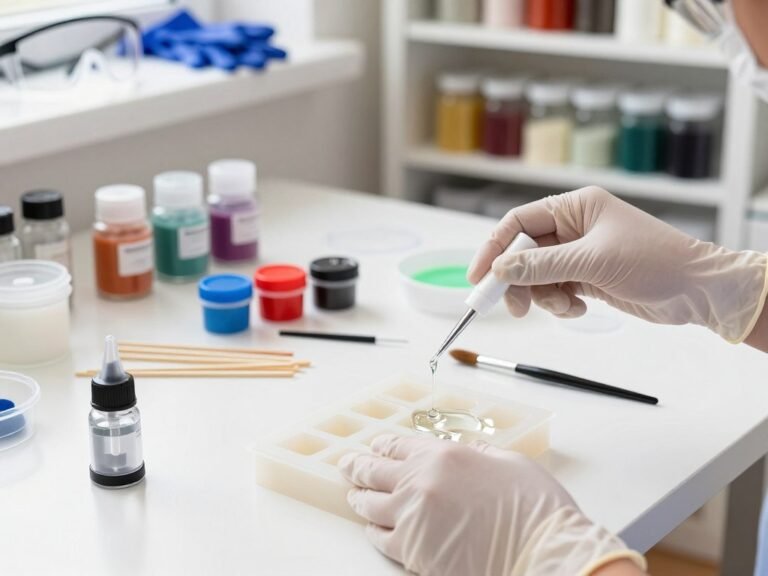
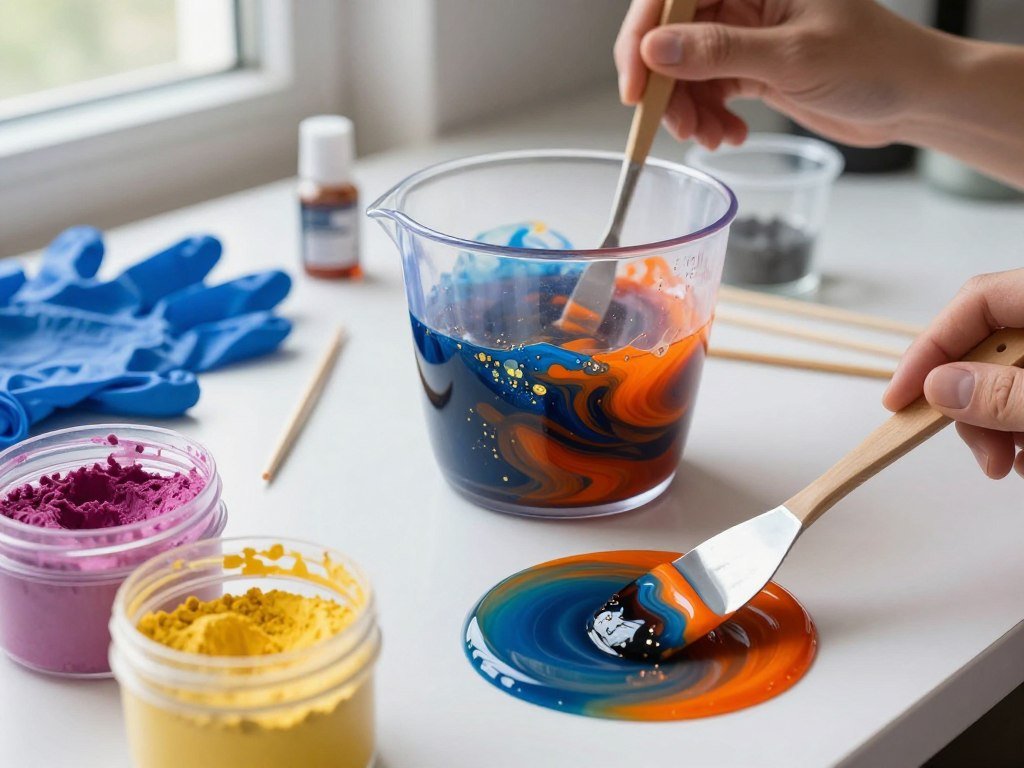
When you want to introduce bold hues, liquid pigments and alcohol inks are your best friends. These concentrated dyes disperse beautifully, allowing you to create everything from solid opaque colors to stunning translucent effects. Always remember that a little goes a long way, so start with just a drop or two to avoid affecting the curing process.
Mica powders offer a different aesthetic, providing a shimmering, metallic, or pearlescent finish to your work. These fine powders mix easily into the resin and create beautiful swirls when combined with other colors. Consistency is key, so ensure you stir the powder thoroughly to prevent any clumps from settling at the bottom of your mold.
Incorporating Inclusions Like Dried Flowers and Glitter
Beyond color, you can add physical depth by embedding various decorative items into your resin. Glitter and gold leaf are popular choices for adding a touch of glamour and sparkle to jewelry or coasters. When using these materials, distribute them evenly to ensure a balanced look throughout the piece.
Dried flowers are another fantastic way to bring nature into your designs. Before you begin, ensure your flowers are completely dried to prevent moisture from causing the resin to cloud or spoil. You can layer these delicate items carefully to create a beautiful, three-dimensional effect that remains preserved for years to come.
Pouring Techniques for Professional Results
Achieving a professional finish on your projects requires mastering specific epoxy resin techniques. Whether you are coating a tabletop or filling a deep mold, the way you handle the liquid material determines the final look. Proper control helps you avoid common issues like uneven surfaces or trapped air bubbles.
Managing the Flood Coat Method
The flood coat method is ideal for creating a smooth, high-gloss finish on flat surfaces. You should pour the mixed resin into the center of your project and allow it to spread naturally toward the edges. Use a notched spreader or a silicone brush to guide the material gently if it does not reach the corners on its own.
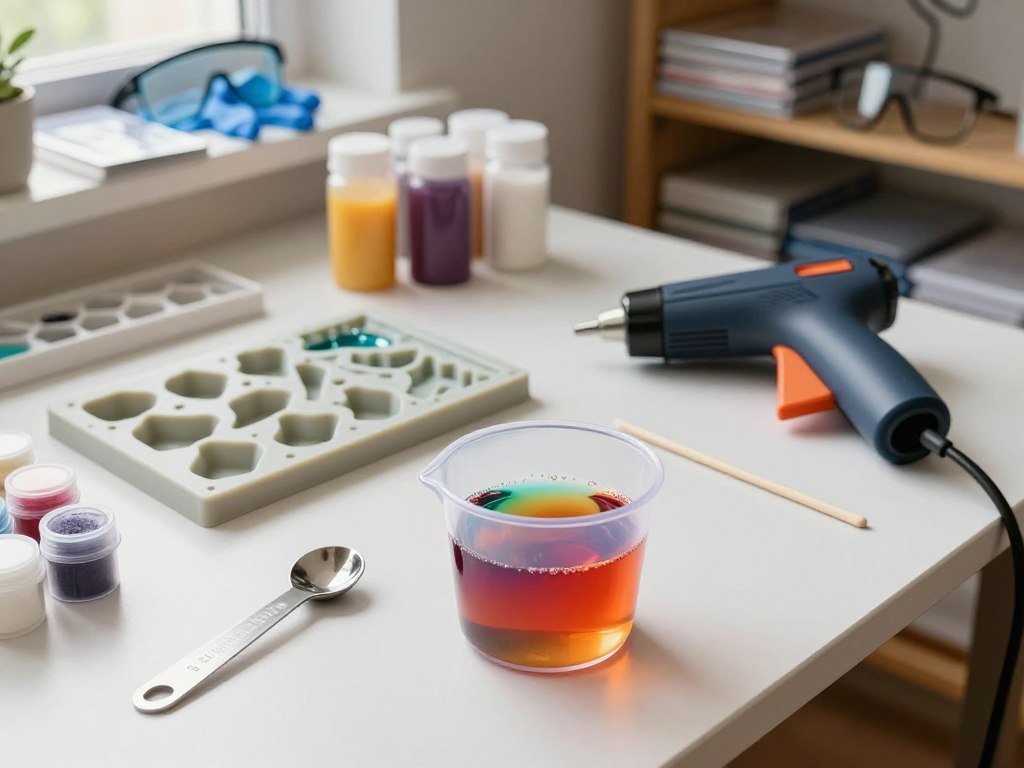
It is essential to work in a level environment to ensure the resin settles evenly. Once the surface is covered, you can use a heat gun to pop any surface bubbles that appear. This method provides a durable, glass-like layer that protects your work from scratches and moisture.
Layering Techniques for Deep Pours
When working on projects that require significant depth, you must use a layering approach. Pouring too much resin at once can cause the material to overheat and crack during the curing process. Instead, build your project in stages to maintain structural integrity.
A second layer of resin can be applied once the first layer has set, typically within one to two hours. This timing ensures that the layers bond chemically for a seamless look. Always check your manufacturer’s instructions, as some epoxy resin techniques vary depending on the specific product brand.
| Method | Primary Use | Key Benefit | Difficulty |
|---|---|---|---|
| Flood Coat | Tabletops/Art | High-gloss finish | Beginner |
| Deep Pour | Molds/River tables | Structural depth | Intermediate |
| Seal Coat | Porous surfaces | Prevents bubbles | Beginner |
By practicing these epoxy resin techniques, you will gain the confidence needed for complex designs. Remember that patience is your best tool when working with liquid resins. Taking your time during the pouring phase ensures a result you can be proud of for years to come.
Managing Bubbles and Surface Imperfections
Achieving a professional, glass-like finish on your projects requires mastering specific epoxy resin techniques. While air bubbles are a common challenge for beginners, they are easily managed with the right tools and a bit of patience. By staying attentive during the initial stages of your pour, you can ensure a smooth and clear result.
Using Heat Guns and Torches Safely
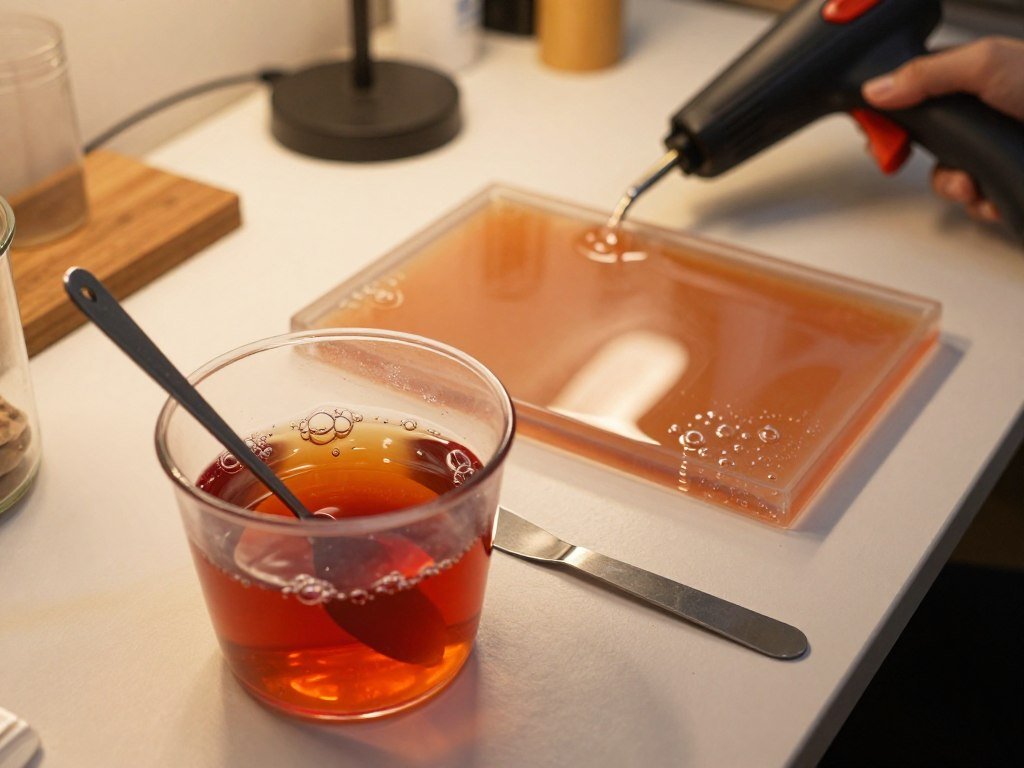
When bubbles rise to the surface of your resin, you can quickly eliminate them using a heat gun or a small butane torch. Simply pass the heat source over the surface in a swift, sweeping motion to pop the bubbles instantly. Be careful not to hold the flame or heat too close for too long, as this can scorch the resin or damage your mold.
If you do not have a torch handy, a gentle exhale across the surface can often do the trick. This simple method is one of the most effective epoxy resin techniques for those working on smaller, delicate pieces. Always prioritize safety by keeping your workspace well-ventilated and free of flammable materials.
Removing Debris During the Curing Phase
Even in a clean environment, tiny particles like dust or pet hair can occasionally land on your wet resin. It is important to inspect your project periodically during the first hour of the curing phase. If you spot a piece of debris, use a pair of clean tweezers to carefully lift it out of the liquid.
After removing the debris, the resin will usually self-level to fill the small gap left behind. If the surface remains slightly uneven, you can lightly touch it up with a toothpick to smooth the area. Mastering these essential maintenance steps will help you achieve a flawless, professional appearance every time.
Curing Times and Environmental Factors
Environmental conditions are the silent partners in every successful resin pour. Even when you follow the best epoxy resin practices, the air around your workspace dictates how your project sets. Small fluctuations in your room can change the final clarity and hardness of your work.
How Temperature and Humidity Affect Curing
Temperature is perhaps the most critical factor in the chemical reaction of resin. If your workspace is too cold, the mixture may remain tacky or take significantly longer to harden. Conversely, excessive heat can cause the resin to cure too quickly, which often leads to unwanted bubbles or cracks.
Humidity also plays a major role in the outcome of your craft. High moisture levels in the air can cause a cloudy or blush effect on the surface of your cured piece. Maintaining a stable environment between 70°F and 75°F is one of the best epoxy resin practices to ensure a smooth, glass-like finish.
Knowing When Your Project is Ready for Handling
Patience is a virtue when working with epoxy. While you can often demold your project after 24 hours, it is important to remember that the material is still soft at this stage. The resin requires additional time to reach its maximum structural integrity.
A full cure typically takes between 3 and 7 days depending on the thickness of your pour and the ambient temperature. Avoid placing heavy objects on your piece until the full curing cycle is complete. Following these best epoxy resin practices will help you avoid surface dents and permanent imperfections.
| Curing Stage | Timeframe | Handling Status |
|---|---|---|
| Initial Set | 4–8 Hours | Do not touch |
| Demold Ready | 24 Hours | Handle with care |
| Full Cure | 3–7 Days | Ready for use |
Finishing and Polishing Your Epoxy Creations
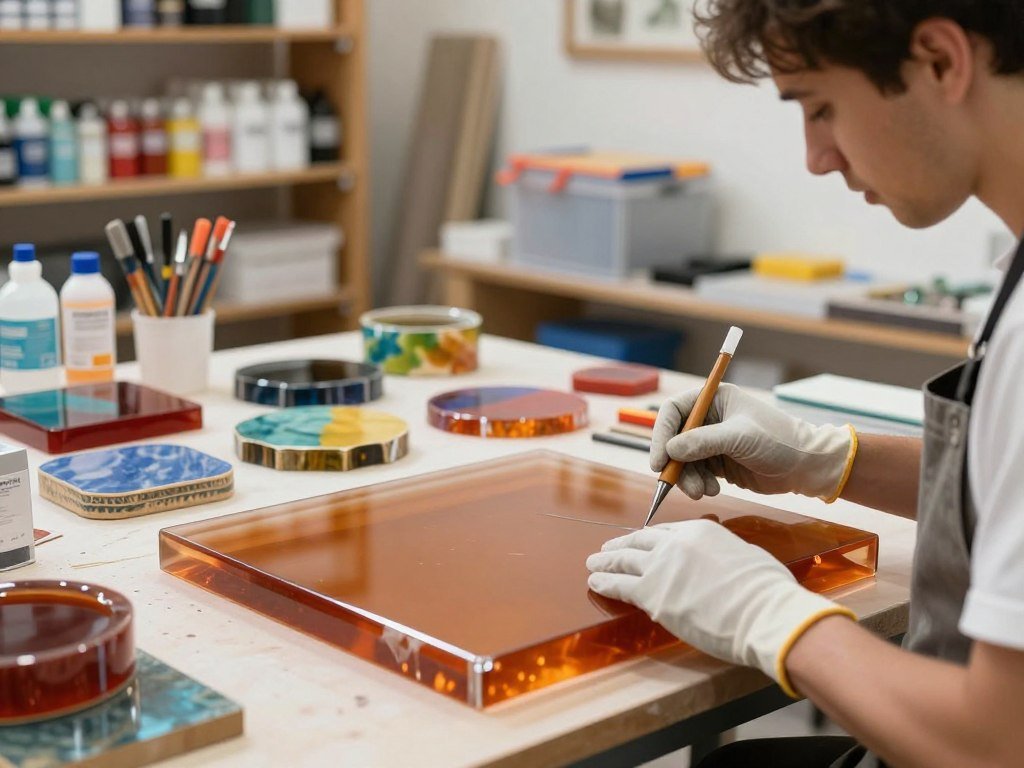
Finishing your epoxy creations is the secret step that separates amateur crafts from high-end decor. Even with the most careful pouring techniques, your project may require a little extra attention to reach a flawless, professional appearance. By dedicating time to the final stages, you ensure your hard work looks its absolute best.
Sanding Through the Grits for a Smooth Finish
Sanding is the standard method for removing surface imperfections and smoothing out rough edges on your cured resin. You should start with a coarser grit, such as 220, to level out any bumps or drips. Always keep your surface wet during this process to prevent dust inhalation and to keep the sandpaper from clogging.
After the initial pass, move to progressively finer grits to refine the surface. Transition from 400 to 800, and eventually up to 2000 or higher for a glass-like texture. Consistency is key; ensure you sand the entire surface evenly at each stage before moving to the next level of grit.
Applying Final Polishes and Protective Waxes
Once you have finished sanding, your piece may look slightly dull or matte. This is perfectly normal and is easily corrected with a high-quality polishing compound. Apply a small amount of polish to a soft microfiber cloth or a buffing pad attached to a rotary tool.
Work the compound into the resin using circular motions to restore that stunning, high-gloss luster. For added longevity, you can finish the process by applying a thin layer of protective wax. This final step provides a beautiful shine while acting as a barrier against minor scratches and fingerprints.
Common Epoxy Resin Troubleshooting
Epoxy resin troubleshooting is a vital skill for anyone looking to achieve professional results. Even when you follow every instruction carefully, unexpected challenges can arise during the curing process. Understanding how to identify and resolve these common issues will help you save your projects and improve your future work.
Fixing Sticky or Tacky Spots
If you notice that your project remains tacky or soft after the recommended cure time, the most likely culprit is an improper mixing ratio. Resin requires precise measurements to trigger the chemical reaction necessary for hardening. If the components are not combined thoroughly, the mixture will never fully set.
To fix this, you can often apply a thin, fresh coat of properly mixed resin over the tacky surface. Ensure you scrape the sides and bottom of your mixing container thoroughly during the process to avoid unmixed streaks. If the stickiness is severe, it may be necessary to carefully scrape away the uncured layer before applying a new, perfectly measured batch.
Correcting Cloudy or Yellowed Resin
Cloudiness often occurs due to high humidity or moisture contamination during the mixing phase. To prevent this, always work in a dry environment and ensure your tools are completely free of water. If your piece appears cloudy, you can sometimes restore clarity by sanding the surface and applying a thin, clear topcoat.
Yellowing is typically a result of environmental factors, specifically heat exposure. While most high-quality resins are heat resistant up to 110° F, exceeding this threshold can cause the material to lose its crystal-clear appearance over time. Avoid placing your finished pieces in direct sunlight or near heat sources to maintain their original color. By mastering these epoxy resin troubleshooting techniques, you ensure your creations remain beautiful and durable for years to come.
Creative Epoxy Resin Project Ideas for Beginners
Exploring the world of resin art opens up a vast landscape of creative possibilities for your home. Once you have mastered the fundamental techniques, it is time to start crafting beautiful, functional items that showcase your unique style. These epoxy resin projects are perfect for those looking to build confidence while having fun with their materials.
Choosing the right epoxy resin project ideas can make all the difference in your early success. By starting with small, manageable tasks, you can learn how your specific resin brand behaves without the pressure of a large-scale pour. These simple activities serve as the perfect foundation for your future artistic endeavors.

Creating Custom Resin Coasters
Coasters are widely considered the gold standard of epoxy resin for beginners. They are small, require minimal material, and offer a flat surface that is very forgiving during the curing process. You can experiment with various pigments, glitters, or even dried flowers to create a set that perfectly matches your home decor.
Because they are functional, these coasters make wonderful, personalized gifts for friends and family. Simply pour your mixture into silicone molds, let it cure, and enjoy the satisfaction of a finished product that you can use every single day.
Designing Decorative Resin Jewelry Pieces
If you want to explore more intricate designs, jewelry making is an excellent path to follow. You can create stunning pendants, earrings, or rings that highlight your personal aesthetic. This category of epoxy resin project ideas allows for endless creativity, as you can embed tiny charms or metallic flakes into the resin.
Working on jewelry is a fantastic way to practice precision and detail-oriented work. It is an accessible form of epoxy resin for beginners because it requires very little space and equipment. With just a few silicone molds and some basic findings, you can produce professional-looking accessories that truly stand out.
Conclusion
Resin crafting serves as a rewarding hobby that lets you build durable, stunning pieces for your home or as gifts. You now possess the knowledge to turn raw materials into professional art.
Applying these epoxy resin tips helps you avoid common mistakes while you refine your unique style. Every pour brings you closer to mastering the chemistry behind these beautiful creations.
Begin your first of many epoxy resin projects today to see your vision come to life. Your workspace is ready for your next big idea.
Share your finished work with friends or keep these custom items as centerpieces in your living space. The creative process offers endless possibilities for growth and personal expression.
What is the best way to start for a complete novice?
Why is my resin still bendy or soft?
How do I prevent bubbles without a torch?
Can I use any paint to color my resin?
How do I clean my reusable mixing tools?
What are some easy epoxy resin project ideas for gifts?

SmartLivingJournal
Prabir Dutta is a passionate digital creator, affiliate marketer, and wellness enthusiast who simplifies complex topics like AI tools, Vastu, pet care, and modern living. With a keen eye for SEO, tech trends, and everyday health solutions, he writes to empower readers with actionable, smart-living insights. When not curating content across his network of niche blogs, Prabir enjoys exploring new digital tools that make life easier and more efficient.
Keep exploring Smart Living Journal
Discover more practical ideas on wellness, home living, plants, pets, routines, and smarter everyday upgrades.