
Why We Recommend It
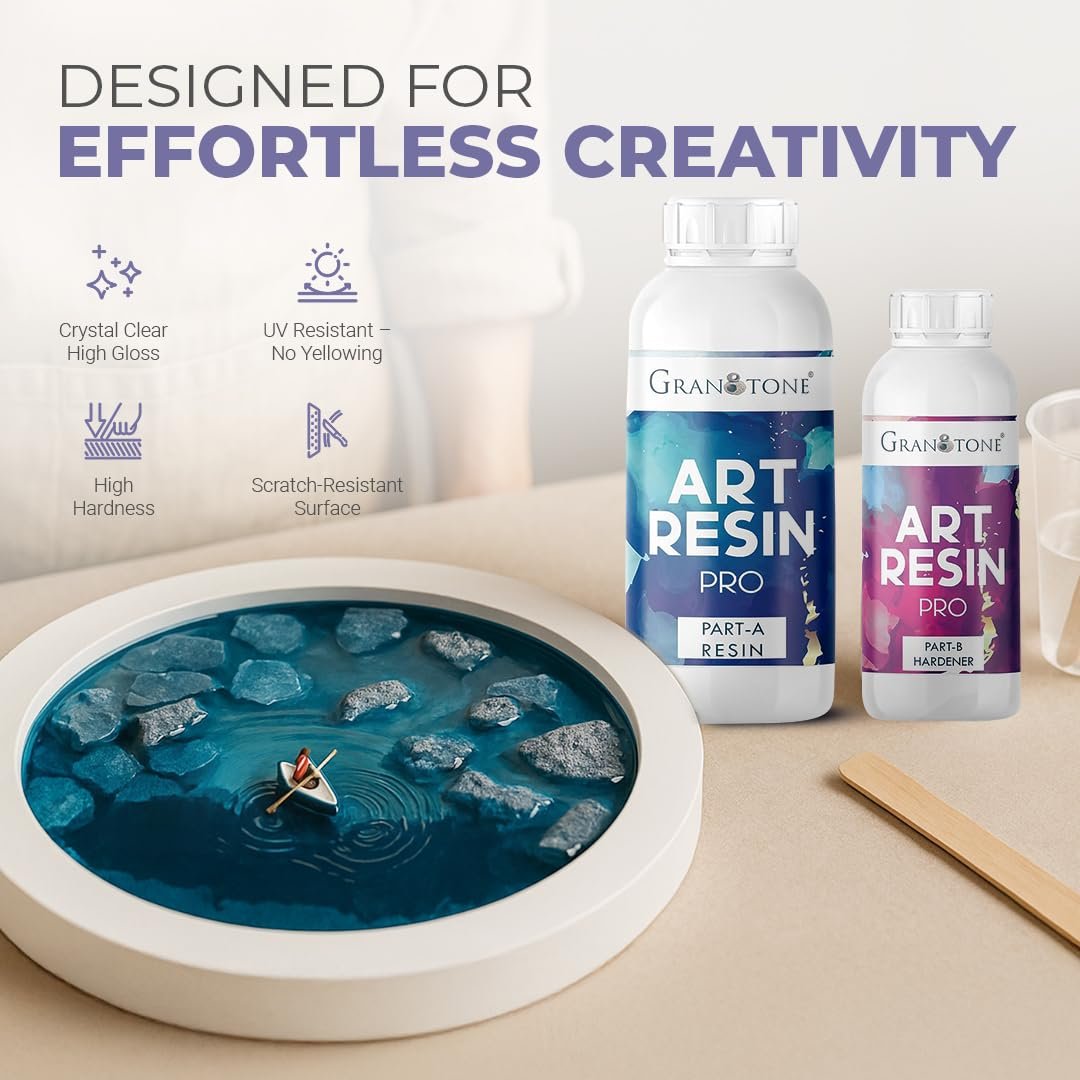
GRANOTONE Crystal Clear 2:1 Epoxy Resin Kit – 300g
The GRANOTONE Crystal Clear Epoxy Resin Kit is a compact two-part resin system designed for beginners, hobby crafters and resin artists working on small decorative projects.
The kit contains epoxy resin and hardener that must be combined in a 2:1 ratio. When measured, mixed and cured correctly, it is designed to create a transparent, smooth and high-gloss finish suitable for resin jewellery, keychains, pendants, bookmarks, small coasters, decorative moulds and mixed-media artwork.
GRANOTONE describes its art-resin formula as self-leveling, self-degassing, odourless and UV-resistant, with approximately 45 minutes of working time at room temperature. These are manufacturer claims, and actual results can vary according to measuring accuracy, room temperature, humidity, mixing technique, pigment quantity and mould depth.
The 300g quantity is especially convenient for beginners who want to practise without purchasing a large professional pack.
Key Product Features
Simple 2:1 Mixing Ratio
Mix two parts resin with one part hardener. The straightforward ratio is easier for beginners to understand than more complex resin formulations.
Crystal-Clear Appearance
The resin is designed to cure with a transparent, glass-like appearance that allows glitter, mica powder, dried flowers, alcohol ink and decorative inclusions to remain visible.
High-Gloss Finish
When measured and cured correctly, it produces a smooth, shiny finish suitable for decorative crafts and jewellery.
Self-Leveling Formula
The liquid spreads across the mould or project surface, helping create a more even finish. The project should still be placed on a completely level work surface.
UV-Resistant Formula
The manufacturer markets the resin as UV-resistant and anti-yellowing. This may help slow discolouration, although no clear epoxy resin should be presented as permanently immune to yellowing.
Approximately 45 Minutes of Working Time
The manufacturer indicates around 45 minutes of working time at room temperature, giving users time to mix pigments, arrange inclusions and pour the resin.
Compact 300g Starter Quantity
The smaller pack is suitable for testing the material, learning mixing techniques or completing several small mould-based projects.
Suitable for Multiple Craft Applications
It can be considered for jewellery, pendants, earrings, keychains, bookmarks, small coasters, decorative pieces and mixed-media resin art.
What You Can Make With It
This resin kit is most suitable for:
Resin keychains and name tags
Pendants, earrings and small jewellery
Zodiac keychain cards
Bookmarks
Small decorative coasters
Fridge magnets
Dried-flower resin pieces
Glitter and mica-powder designs
Small silicone-mould crafts
Resin coating over artwork or photographs
For thick blocks, deep flower-preservation moulds or large trays, check the manufacturer’s maximum recommended pouring depth first. A standard art resin should not automatically be treated as a specialist deep-pour casting resin.
Benefits
Good Entry Point for Beginners
The affordable pack size allows new resin artists to practise measuring, mixing, colouring and pouring before investing in a larger kit.
Suitable for Small Commercial Crafts
The resin can be used for small handmade products such as keychains, pendants, bookmarks and customised gift items.
Works With Popular Resin Additions
It can be paired with compatible mica powders, resin pigments, glitter, foil flakes, dried flowers and decorative inclusions.
Clear Finish Highlights Decorations
The transparent finish is useful when the design depends on visible flowers, photographs, lettering, charms or layered pigments.
Less Material Waste for Occasional Users
A 300g pack can be more practical than a large container for people who make resin art only occasionally.
How to Use
Step 1: Prepare the Workspace
Cover the work surface with a silicone mat or disposable protective sheet. Ensure the table is level, clean and free from dust.
Step 2: Measure Accurately
Measure the resin and hardener according to the stated 2:1 ratio. Confirm whether the instructions specify measuring by weight or volume.
Step 3: Mix Slowly
Stir slowly and continuously, scraping the sides and bottom of the mixing cup. Avoid whipping the mixture, as fast stirring can introduce additional air bubbles.
Step 4: Add Colour or Decorations
Add a small amount of compatible pigment, mica powder, glitter or resin colour. Excessive colourant can interfere with curing.
Step 5: Pour Into the Mould
Pour slowly into a clean, completely dry silicone mould. Arrange flowers, foil or decorative elements with tweezers.
Step 6: Remove Visible Bubbles
Allow bubbles to rise. Use an appropriate resin bubble-removal method while following the manufacturer’s safety instructions. Avoid overheating the resin or silicone mould.
Step 7: Protect While Curing
Cover the project to prevent dust from settling on the surface. Leave it undisturbed for the full curing period stated on the package.
Honest Customer Feedback Summary
The product currently has a substantial Amazon review history.
Positive feedback commonly mentions:
Clear and glossy results
Easy-to-understand 2:1 ratio
Relatively easy mixing
Low or limited odour
Fewer bubbles when mixed carefully
Suitability for beginners and small crafts
Some critical feedback mentions:
Resin remaining sticky
Dissatisfaction with the perceived quantity
Inconsistent results
Problems caused by incorrect measurement or incomplete mixing
Longer-than-expected curing in some conditions
Customer reports are mixed, and sticky resin can result from incorrect ratio, insufficient mixing, excessive pigment, low temperatures, moisture or premature demoulding—not necessarily only from the resin itself.
Pros and Considerations
Advantages
Simple 2:1 mixing system
Small, affordable trial quantity
Clear and glossy appearance
Suitable for jewellery and keychains
Self-leveling formulation
Good volume of Amazon customer feedback
Useful for beginners and occasional users
Compatible with many decorative resin materials
Considerations
Accurate measuring is essential
Incorrect mixing may leave sticky patches
The 300g quantity is not economical for large projects
It should not automatically be used for deep pours
UV-resistant does not mean permanently yellow-proof
“Non-toxic” is a marketing claim, not a reason to avoid protective equipment
No food-contact safety certification is visible in the supplied listing
Safety Information
Although the listing markets the formula as non-toxic and odourless, uncured epoxy resin and hardener should still be handled carefully.
Use suitable chemical-resistant gloves, eye protection and good ventilation. Avoid skin contact, do not eat or drink at the workstation, and follow the product label or Safety Data Sheet. A lack of strong smell does not prove that exposure is safe. NIOSH specifically recommends appropriate protective equipment and increased ventilation when working with epoxy resins.
Keep uncured resin away from children, pets, food, cooking utensils and direct food-contact surfaces.
Who Should Buy It?
This product is a suitable option for:
Resin-art beginners
Hobby crafters
Jewellery and keychain makers
Students learning resin techniques
People testing epoxy resin for the first time
Makers completing small personalised gifts
Occasional users who do not need a large pack
It may not be the best choice for:
Large tables or countertops
Thick river-table pours
Large flower-preservation blocks
High-volume commercial production
Projects requiring certified food-contact safety
Users requiring a specialist fast-curing or deep-pour resin
Recommended FAQ Content
Is Granotone epoxy resin suitable for beginners?
Yes. The compact 300g pack and 2:1 mixing ratio make it a reasonable beginner option. Accurate measuring and thorough mixing are still essential.
Can it be used for resin keychains?
Yes. The product is marketed for keychains, jewellery and similar small resin-art projects.
Does Granotone resin cure completely clear?
It is designed to create a transparent and glossy finish. Clarity can be affected by moisture, bubbles, excessive pigment, inaccurate measurement and curing conditions.
Is this resin completely bubble-free?
No resin should be guaranteed as completely bubble-free. Slow mixing, dry materials, suitable room temperature and correct pouring techniques help minimise bubbles.
How long can I work with the mixed resin?
The manufacturer describes approximately 45 minutes of working time at room temperature. Actual working time can vary with batch size and ambient temperature.
Is Granotone resin food-safe?
The supplied listing does not show recognised food-contact certification. It should not be promoted for plates, bowls, serving trays or other direct food-contact applications.
Can it be used for deep resin casting?
This 300g art-resin kit is better positioned for small and relatively shallow projects. Check the manufacturer’s permitted casting depth before attempting a thick pour.
Key Features
Simple 2:1 Mixing Ratio
Mix two parts resin with one part hardener. The straightforward ratio is easier for beginners to understand than more complex resin formulations.
Crystal-Clear Appearance
The resin is designed to cure with a transparent, glass-like appearance that allows glitter, mica powder, dried flowers, alcohol ink and decorative inclusions to remain visible.
High-Gloss Finish
When measured and cured correctly, it produces a smooth, shiny finish suitable for decorative crafts and jewellery.
Self-Leveling Formula
The liquid spreads across the mould or project surface, helping create a more even finish. The project should still be placed on a completely level work surface.
UV-Resistant Formula
The manufacturer markets the resin as UV-resistant and anti-yellowing. This may help slow discolouration, although no clear epoxy resin should be presented as permanently immune to yellowing.
Approximately 45 Minutes of Working Time
The manufacturer indicates around 45 minutes of working time at room temperature, giving users time to mix pigments, arrange inclusions and pour the resin.
Compact 300g Starter Quantity
The smaller pack is suitable for testing the material, learning mixing techniques or completing several small mould-based projects.
Suitable for Multiple Craft Applications
It can be considered for jewellery, pendants, earrings, keychains, bookmarks, small coasters, decorative pieces and mixed-media resin art.
Practical Benefits
Good Entry Point for Beginners
The affordable pack size allows new resin artists to practise measuring, mixing, colouring and pouring before investing in a larger kit.
Suitable for Small Commercial Crafts
The resin can be used for small handmade products such as keychains, pendants, bookmarks and customised gift items.
Works With Popular Resin Additions
It can be paired with compatible mica powders, resin pigments, glitter, foil flakes, dried flowers and decorative inclusions.
Clear Finish Highlights Decorations
The transparent finish is useful when the design depends on visible flowers, photographs, lettering, charms or layered pigments.
Less Material Waste for Occasional Users
A 300g pack can be more practical than a large container for people who make resin art only occasionally.
Product Details
Step 1: Prepare the Workspace
Cover the work surface with a silicone mat or disposable protective sheet. Ensure the table is level, clean and free from dust.
Step 2: Measure Accurately
Measure the resin and hardener according to the stated 2:1 ratio. Confirm whether the instructions specify measuring by weight or volume.
Step 3: Mix Slowly
Stir slowly and continuously, scraping the sides and bottom of the mixing cup. Avoid whipping the mixture, as fast stirring can introduce additional air bubbles.
Step 4: Add Colour or Decorations
Add a small amount of compatible pigment, mica powder, glitter or resin colour. Excessive colourant can interfere with curing.
Step 5: Pour Into the Mould
Pour slowly into a clean, completely dry silicone mould. Arrange flowers, foil or decorative elements with tweezers.
Step 6: Remove Visible Bubbles
Allow bubbles to rise. Use an appropriate resin bubble-removal method while following the manufacturer’s safety instructions. Avoid overheating the resin or silicone mould.
Step 7: Protect While Curing
Cover the project to prevent dust from settling on the surface. Leave it undisturbed for the full curing period stated on the package.